I thought I would chuck together a quick post about the clothing I wear when I am tramping, so to that end I give you...
The "Jon Moake Outdoor Clothing System" or JMOCS
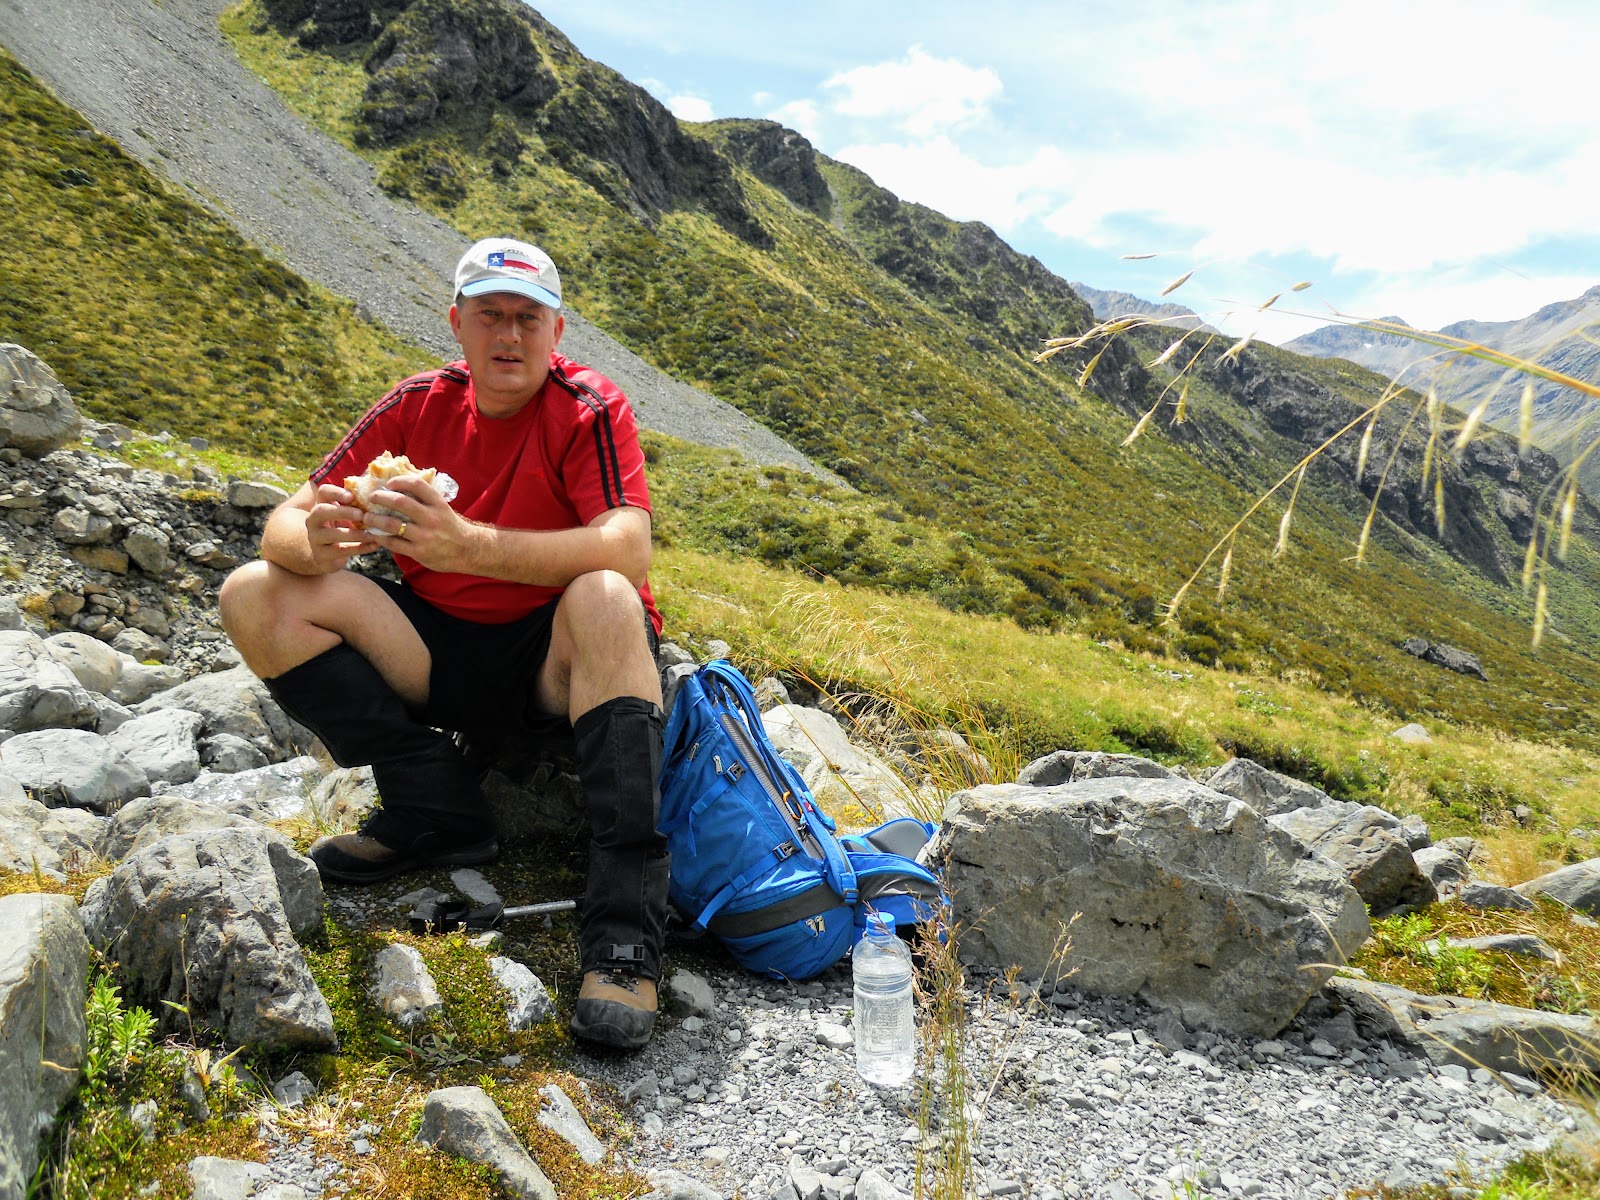 |
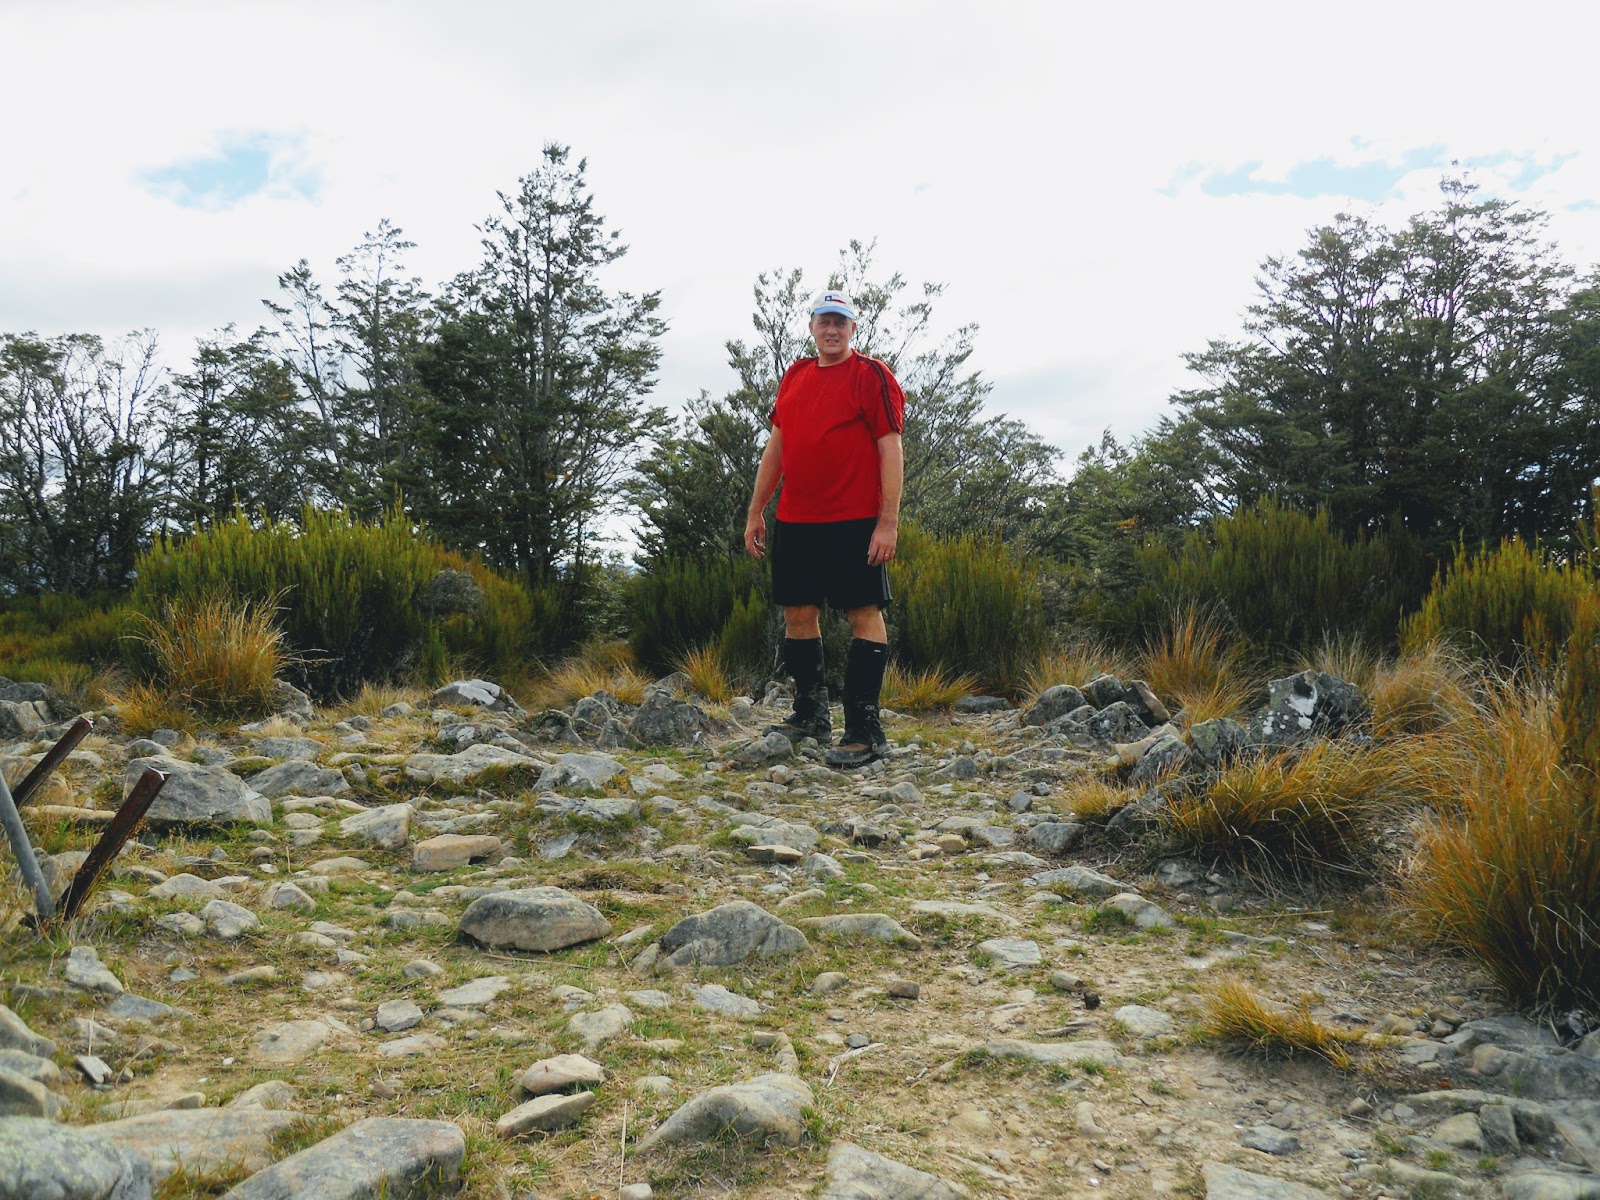
| Summer tramping at its best, t-shirt and shorts weather |
I wont go deeply into comparisons of natural vs synthetic material, discuss layering theory or spend a lot of time comparing brands etc. There are multiple websites which explain all of this. What I am discussing here is the particular gear I use when tramping, commonly called a "clothing system".
What is a clothing system?
It is a system because all of the items worn or carried can be interchanged to suit the particular climatic conditions you find yourself in. You add or remove layers to maintain your body temperature at a comfortable level. What is required is a compromise between:
We are looking for the maximum coverage of all the potential conditions we might face while carrying the least amount of weight. This set of gear does that for me.
- material choice
- fit
- weight
- ruggedness
- cost.
We are looking for the maximum coverage of all the potential conditions we might face while carrying the least amount of weight. This set of gear does that for me.
 |
| All my tramping clothing laid out |
To be frank I find the term "system" slightly irritating as well as pretentious. Calling your tramping clothes a system denotes some sort of forethought, and most people (me included...) just settle on gear that works through trial and error. Still, it is the easiest way to categorise what this is, so here in all its splendour is the "Jon Moake Outdoor Clothing System" or JMOCS... (TM), patent pending, don't tell the dog, rada-rada, etc, etc...
Base Layers
Base-layers draw perspiration away from your body in a wicking action, it then transpires into the atmosphere (or at least that is the theory...). Therefore, the material your layers are made from needs to have these wicking abilities. There are many materials both synthetic and natural which do this, you should do a bit of research before selecting yours.
 |
| Tramping gear for warm weather tops/shorts |
 |
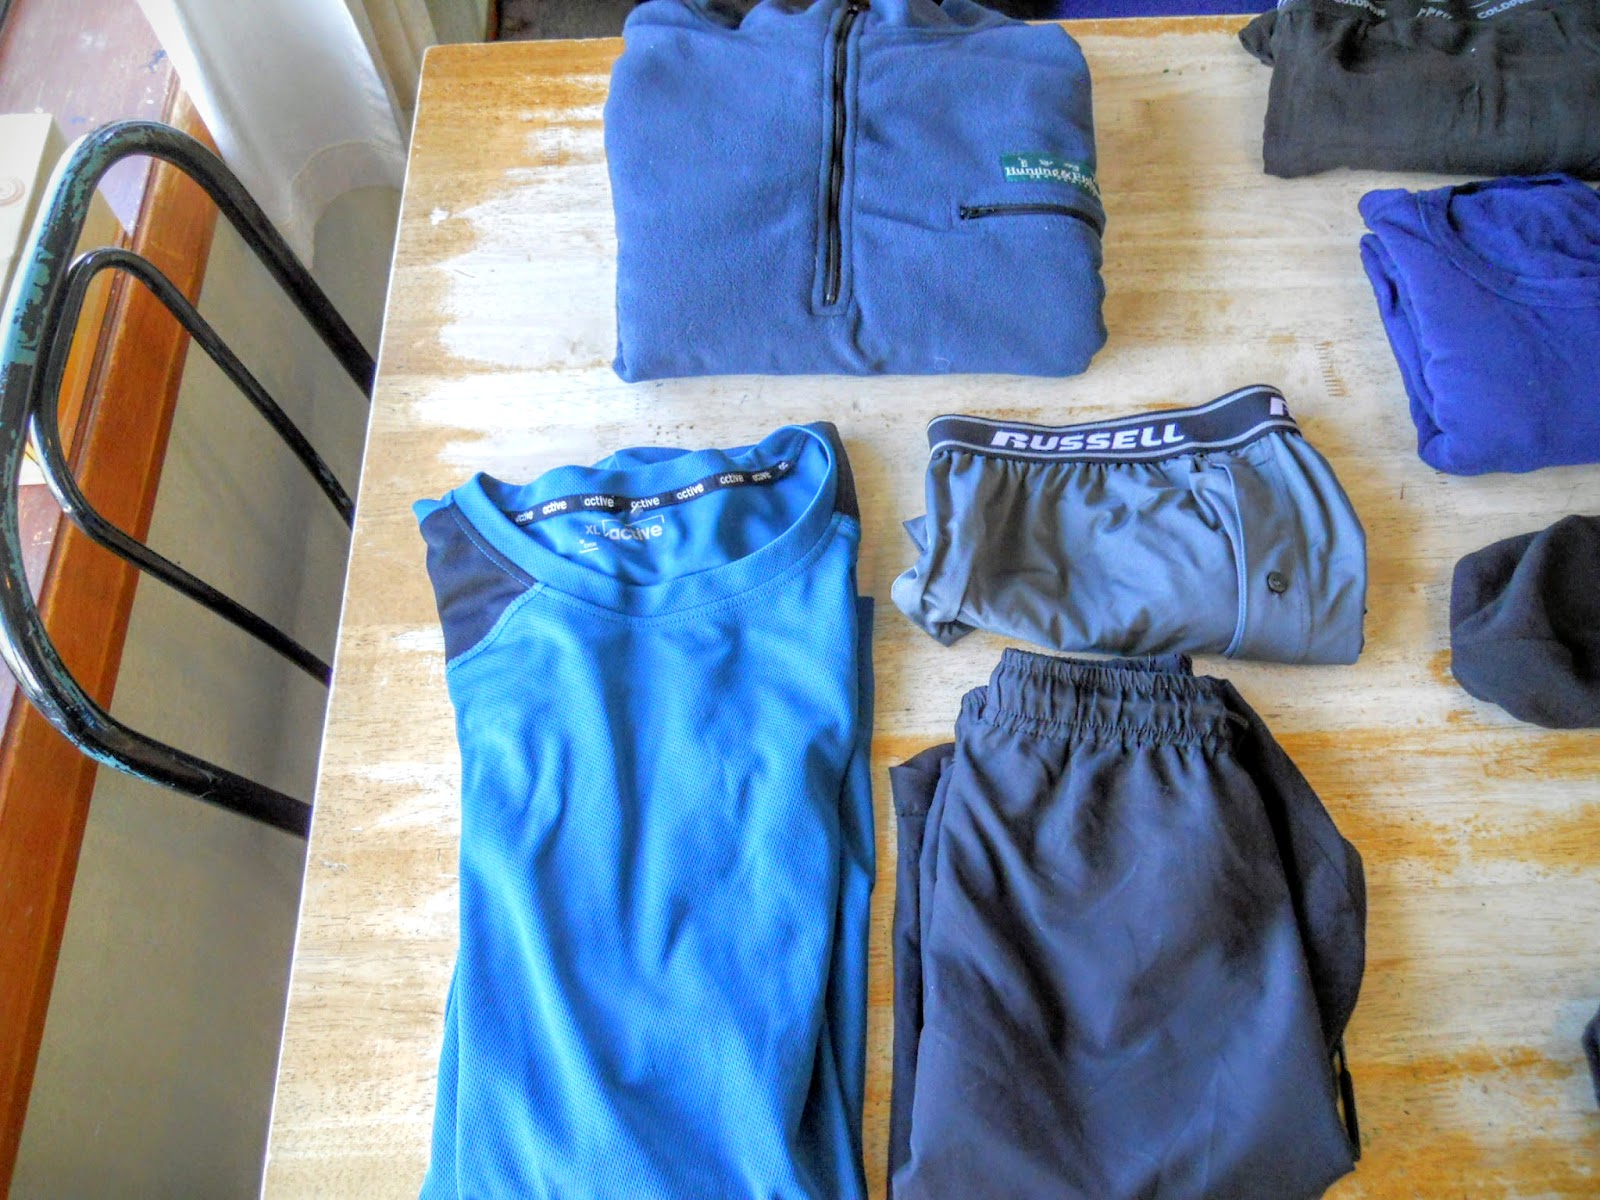
| All synthetic materials base layers |
My base layers are all synthetic, it is much easier to clean and dries a lot faster than wool or one of the other natural materials. I wear nylon shorts and boxers and my top is made of a technical material called Powder Dry these all have wicking abilities.The top and shorts are cheap Warehouse (like Walmart to those in the US...) items, the boxers are from Russell Athletic.
I carry two sets of clothes: one for tramping in and the other for wearing at night, that way I don't have to sleep in wet clothes.
Thermal base layers
 |
| I needed that sun hat, 30 Celcius... Kowai River Valley in December!!! |
I carry two sets of clothes: one for tramping in and the other for wearing at night, that way I don't have to sleep in wet clothes.
Thermal base layers
If it is cold then you need to wear warmer base-layers to insulate you from heat loss. These can be either synthetic or a natural fibre depending on your preference. Knit is better than woven material when it comes to heat retention.
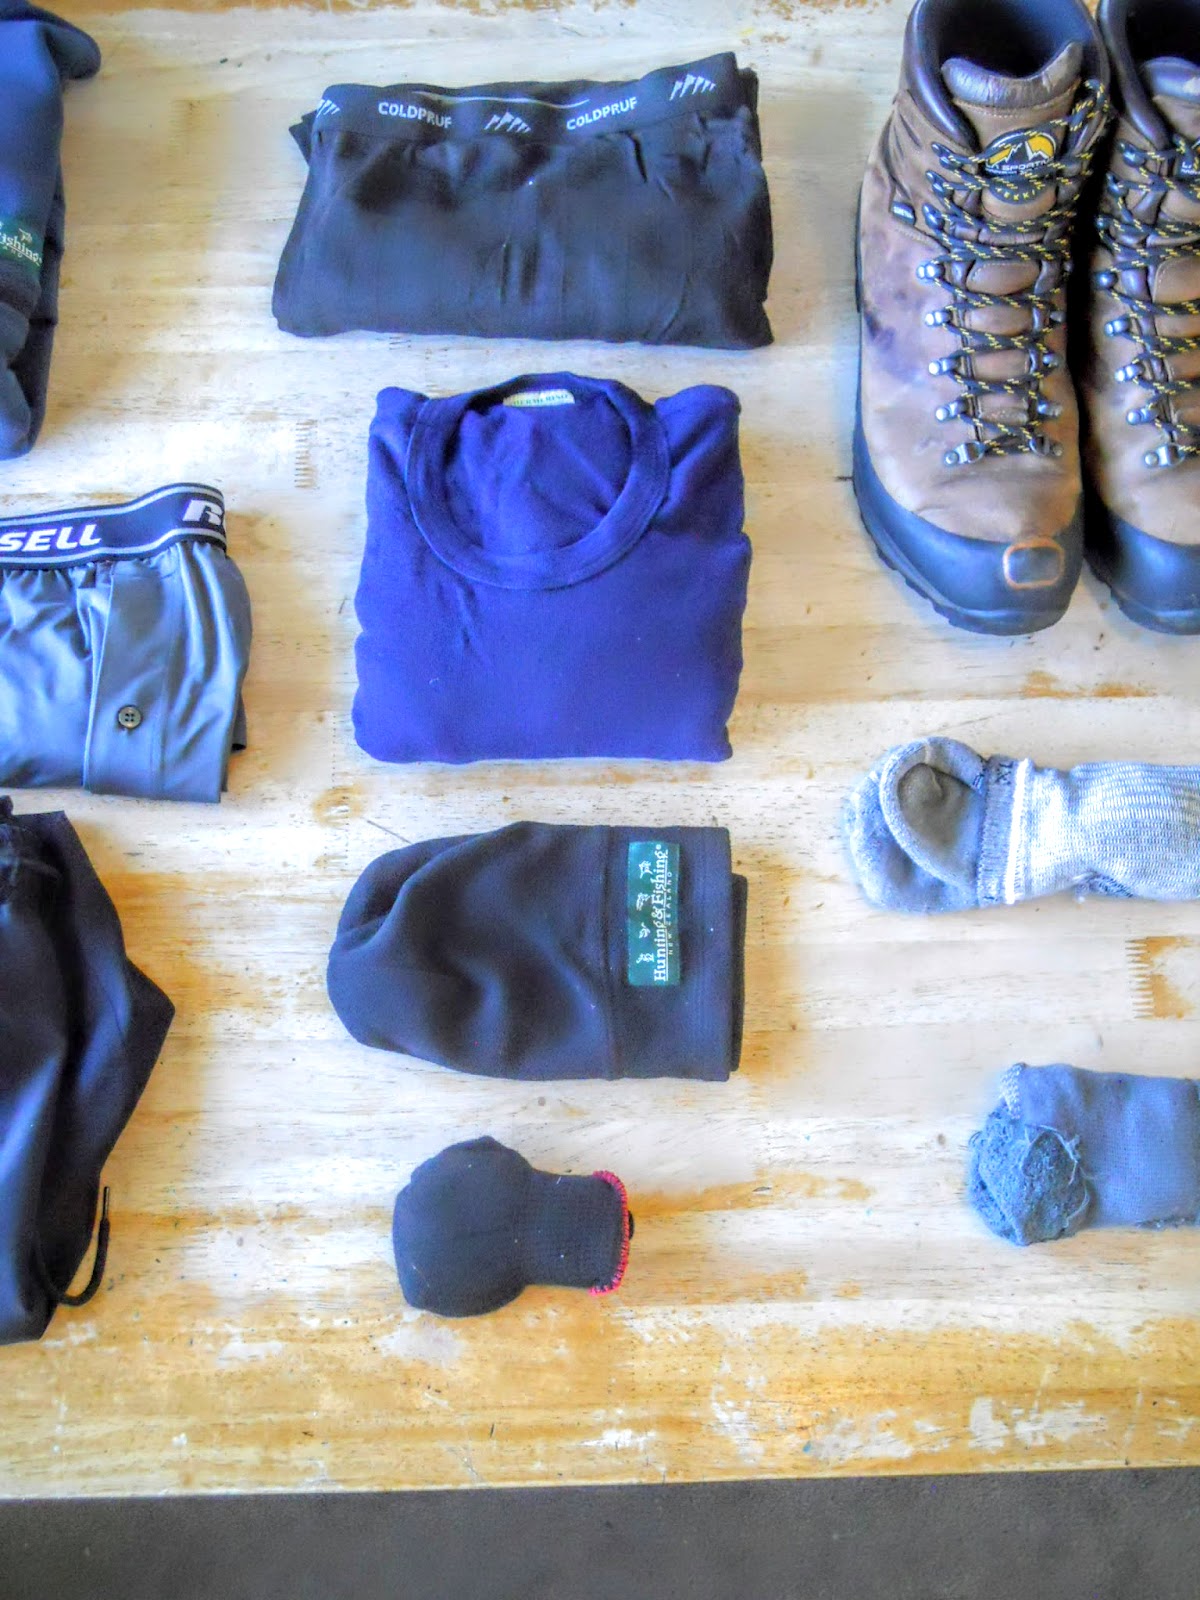
In my case I use a knit merino wool top (Thermerino/Stony Creek) and merino leggings/long-johns (ColdPruf), with a generic fleece hat and polypropylene gloves. Wool had all but disappeared from tramping apparel but the advent of merino clothing has lead to a resurgence of this ancient fibre. It is soft, light, warm, doesn't stink when wet and is now made in many colours and styles.
 |
| Merino/synthetic thermal gear |
 |
| My thermal gear for tramping laid out: hat, gloves, wool top and leggings |
 |
| Wearing a merino top up a snowy Hawdon Valley in 2016 |
Middle or insulation layer
You need something to keep you warm- most people will start to feel the cold within 10 minutes once stationary. There are different schools of thought about what these warm layer should be: fleece or down, thick/thin weight, single/multiple layers.
What works best for me is a fleece top, in the 200 weight range. I have been using Hunting and Fishing fleece for over 10 years now and have never had a problem with them. They are light weight, rugged, cheap and come in several colours, my current one is blue.

 |
| Wearing my fleece on top of a windy spur Banks Peninsula |
If it is very cold I will pair these with my long-johns, wet weather pants or wrap my sleeping bag around me in camp/hut.
The outer shell layer
New Zealand is a temperate country which means it can get windy, cold
and really WET at any time of the day/year. For that reason I usually
carry a head to foot shell set so that I can continue to tramp in foul weather. Your shell is your first line of defence against wind, cold and rain.
If I am on a day tramp and it is hot and sunny I will often leave the over-trousers behind, otherwise I carry all three items on all my tramping trips.
If I am on a day tramp and it is hot and sunny I will often leave the over-trousers behind, otherwise I carry all three items on all my tramping trips.
 |
| Tramping shell gear: jacket, over trousers and over mitts |
My jacket is a Macpac Copland, the over trousers are from Stony Creek and the gortex over mitts are Outdoor Research. My jacket is due to be replaced with something lighter but as always quality gear means big dollars required....
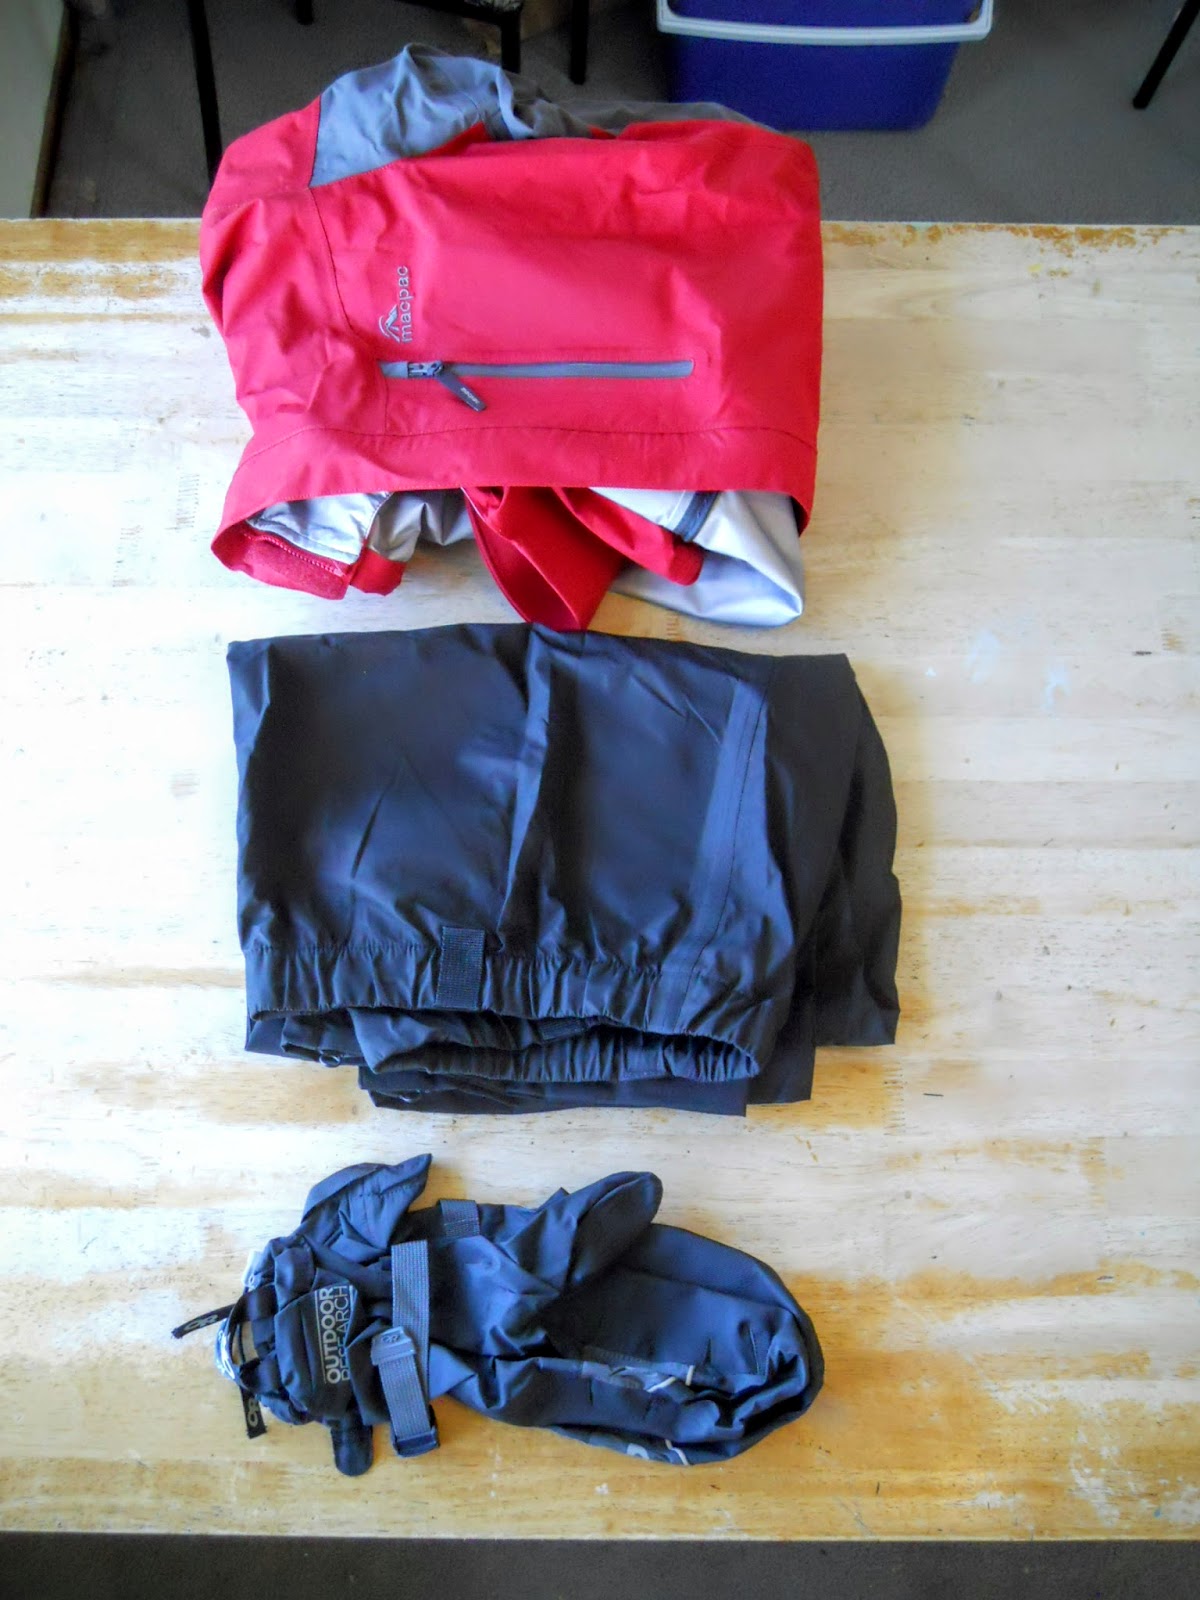 |
| Wet weather gear aka "the Outer Shell" |
 |
| Windy conditions on the Lewis Pass Tops, 2015 |
Wearing a 'baller cap' will stop the hood of your jacket falling over your eyes...
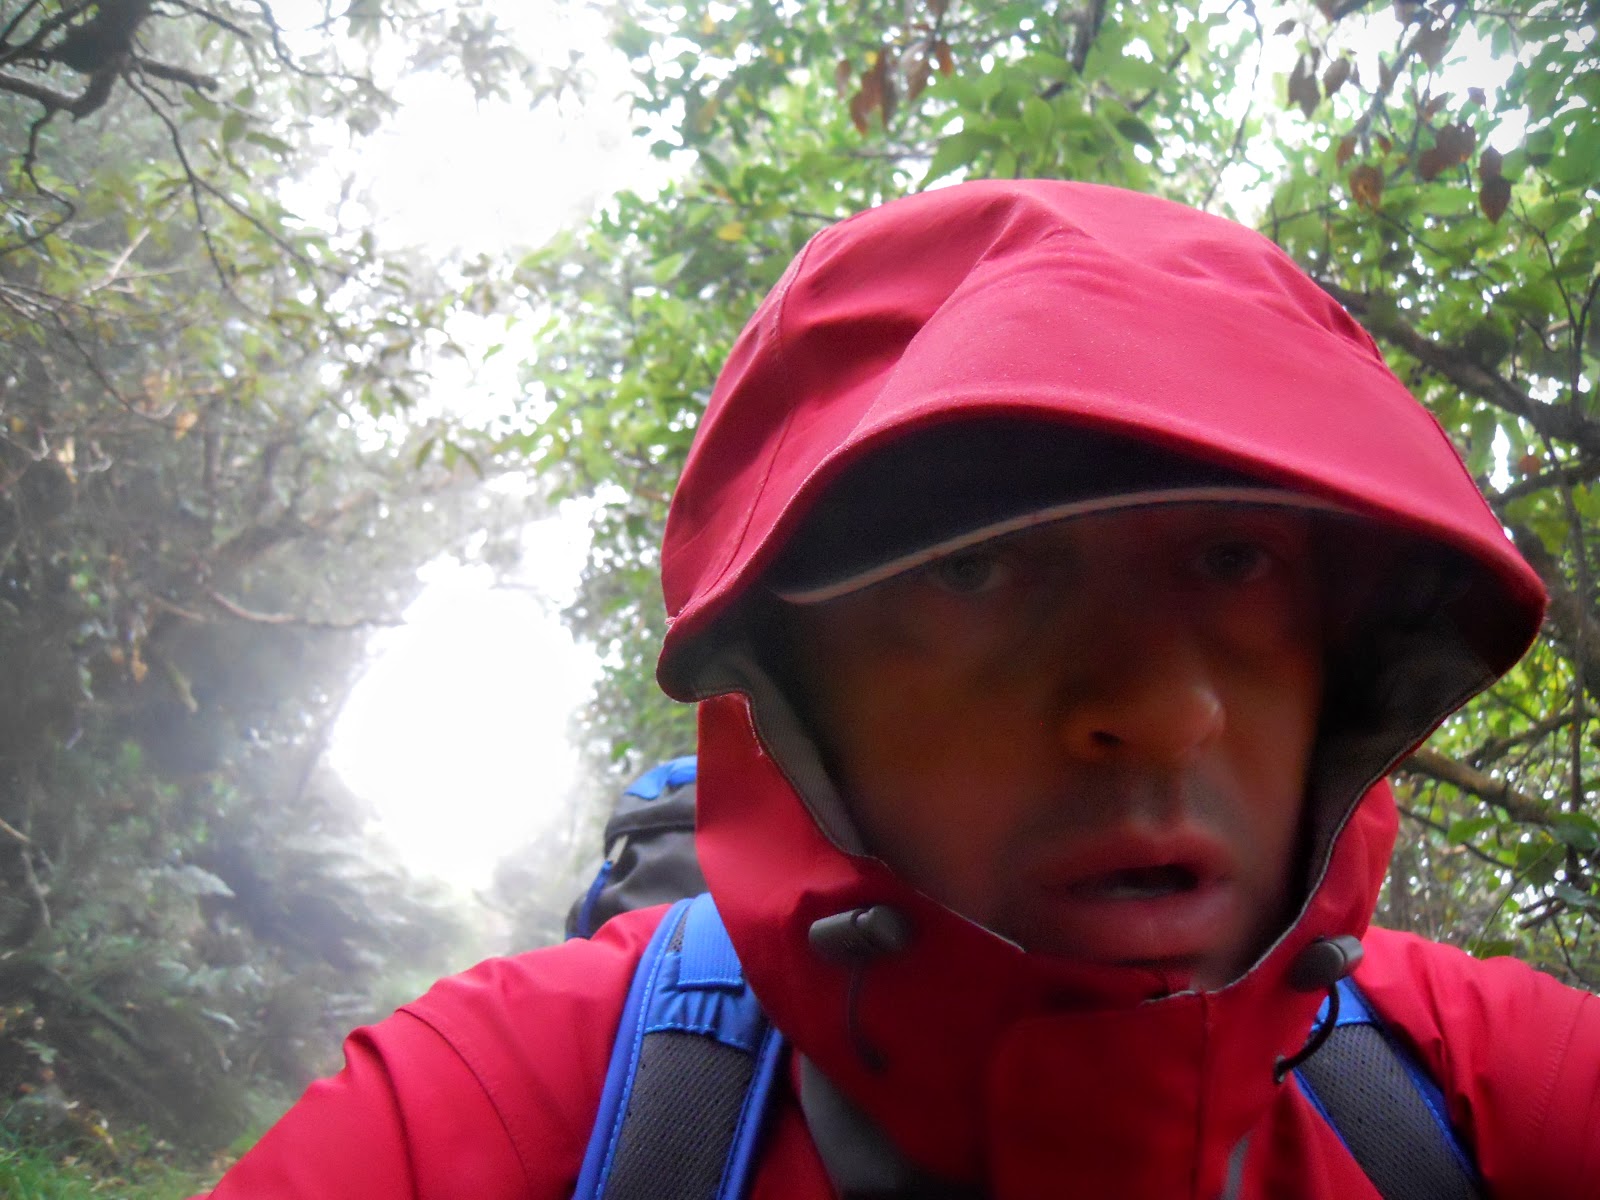 |
| In the rain but still walking, Summit Walkway 2016 |
Footwear
I
wear boots: at the moment mine are La Sportiva Valojets, but I also
wear mountain running shoes on day walks. Personally I like boots but
there is a growing movement towards lighter footwear, which decreases the overall amount of weight you are carrying.
I imagine as I grow older this shift will become more appealing to me.
I imagine as I grow older this shift will become more appealing to me.
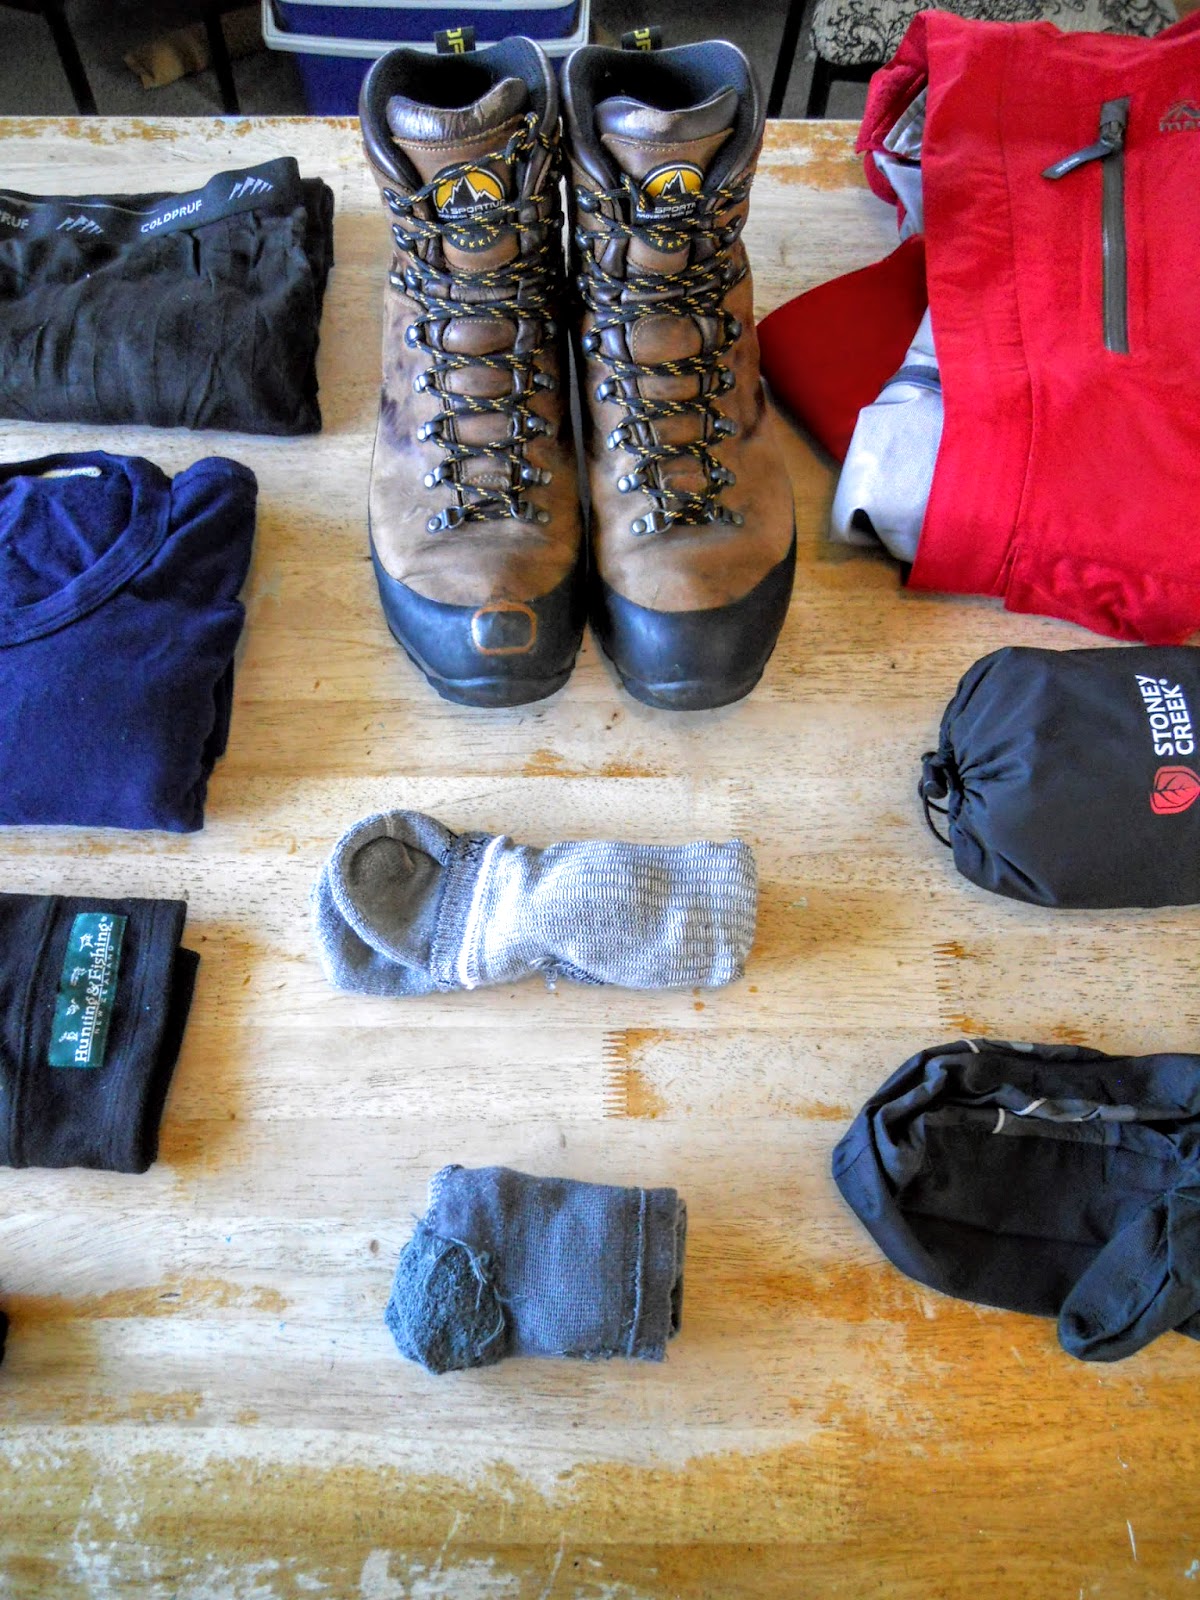 |
| Tramping boots and socks |
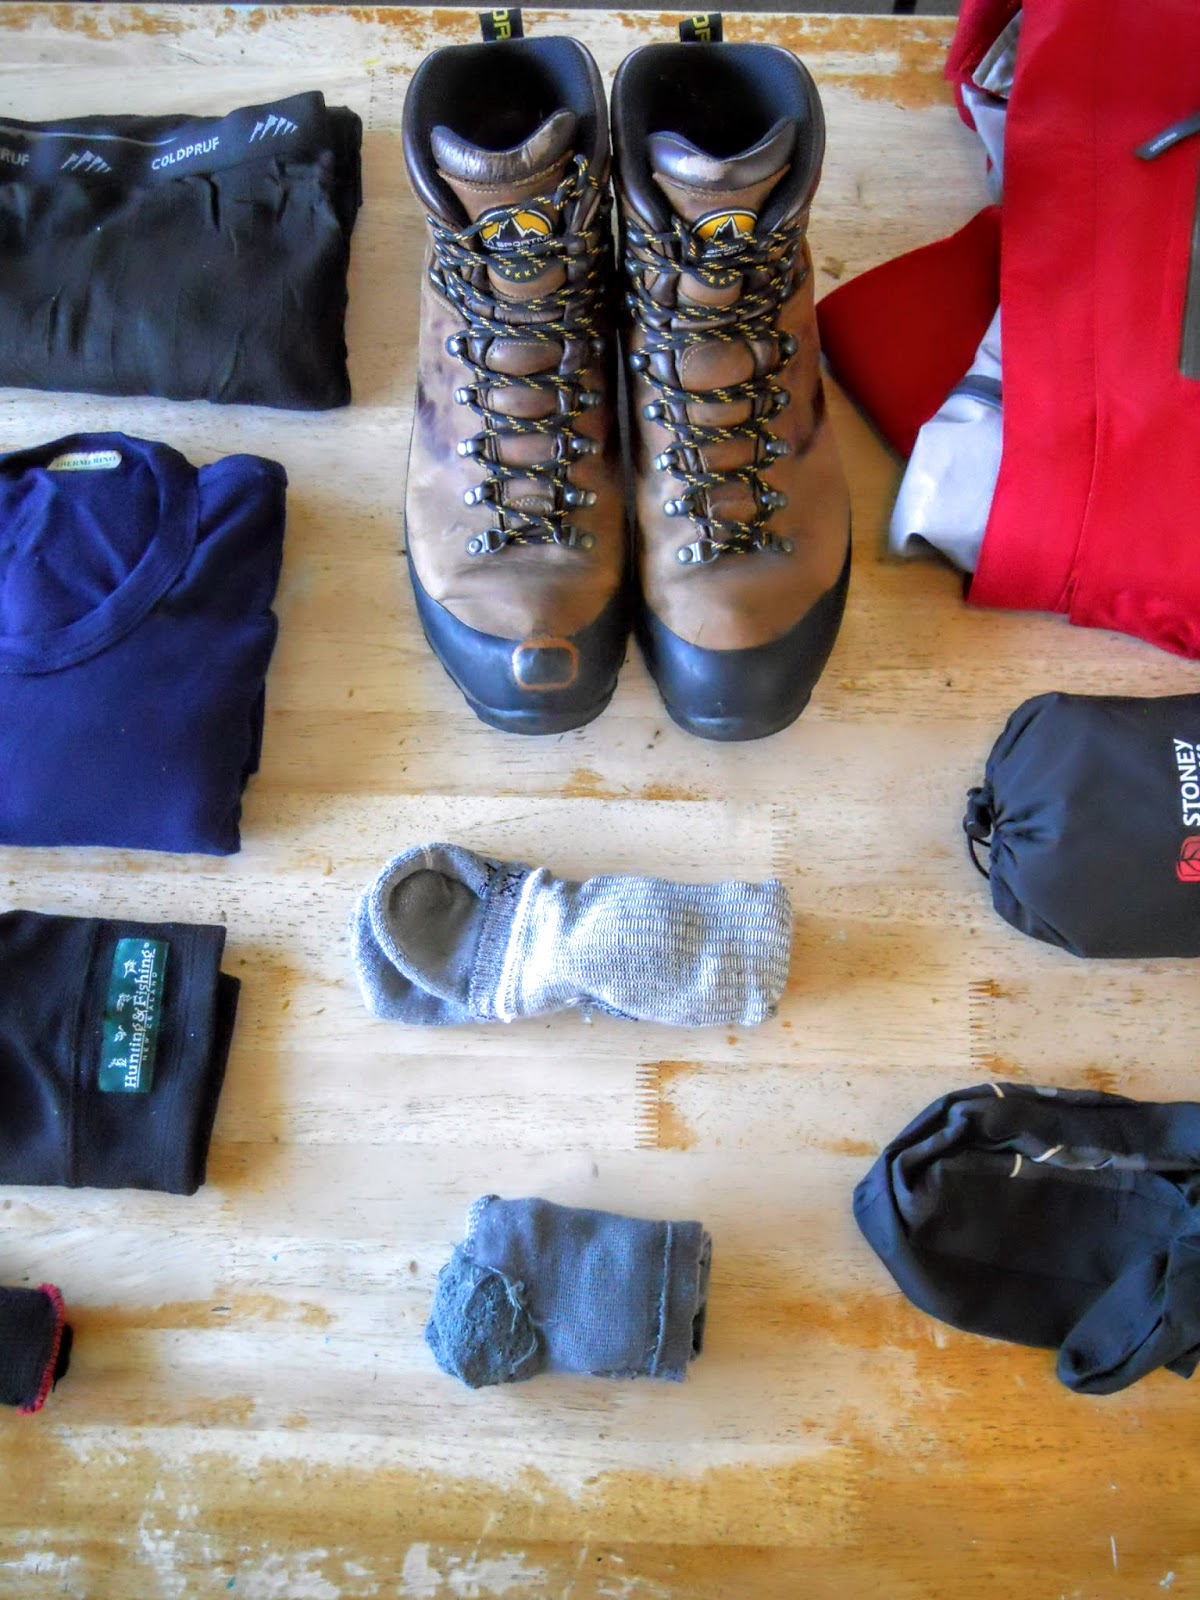 |
| Medium weight and lightweight socks for tramping |
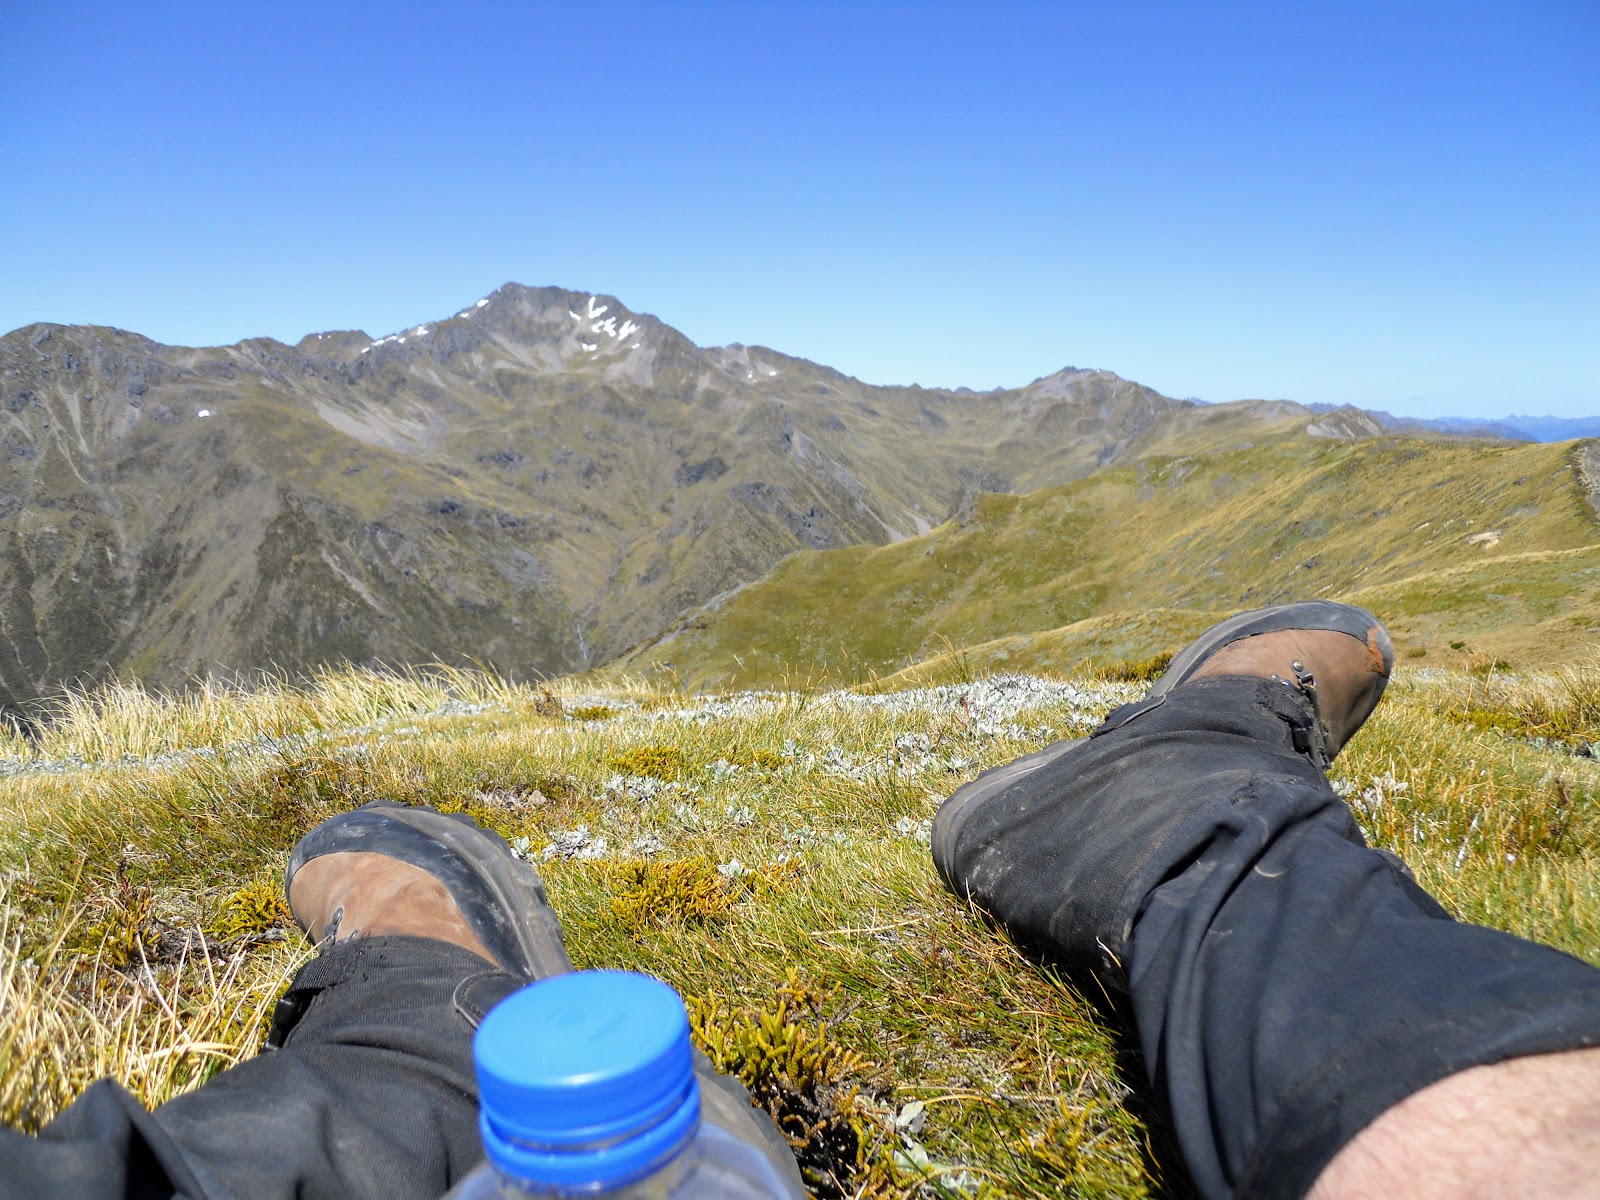 |
| Boots and gaiters on the Lewis Pass tops |
I use both light and medium weight socks. I am currently using Lorpen socks, the T3 Lite Hiker is a light hot weather sock while the Merino Lite Hiker is a warmer medium weight sock. Both work well with my current boots and are made from a blend of synthetic materials and merino wool.
Some advice....buy good quality socks your feet will thank you!
Here is a link to an article by Andrew Skurka (a well known American outdoor personality) about this kind of layering which he calls the Core 13. This is aimed at the US but the basic tenents are applicable right around the world.
Here is a link to an article by Andrew Skurka (a well known American outdoor personality) about this kind of layering which he calls the Core 13. This is aimed at the US but the basic tenents are applicable right around the world.
Some examples of how the system would be used
By mixing and matching these few garments we can keep our bodies running in tip top shape.
 |
| The entire Jon Moake outdoor clothing system laid out |
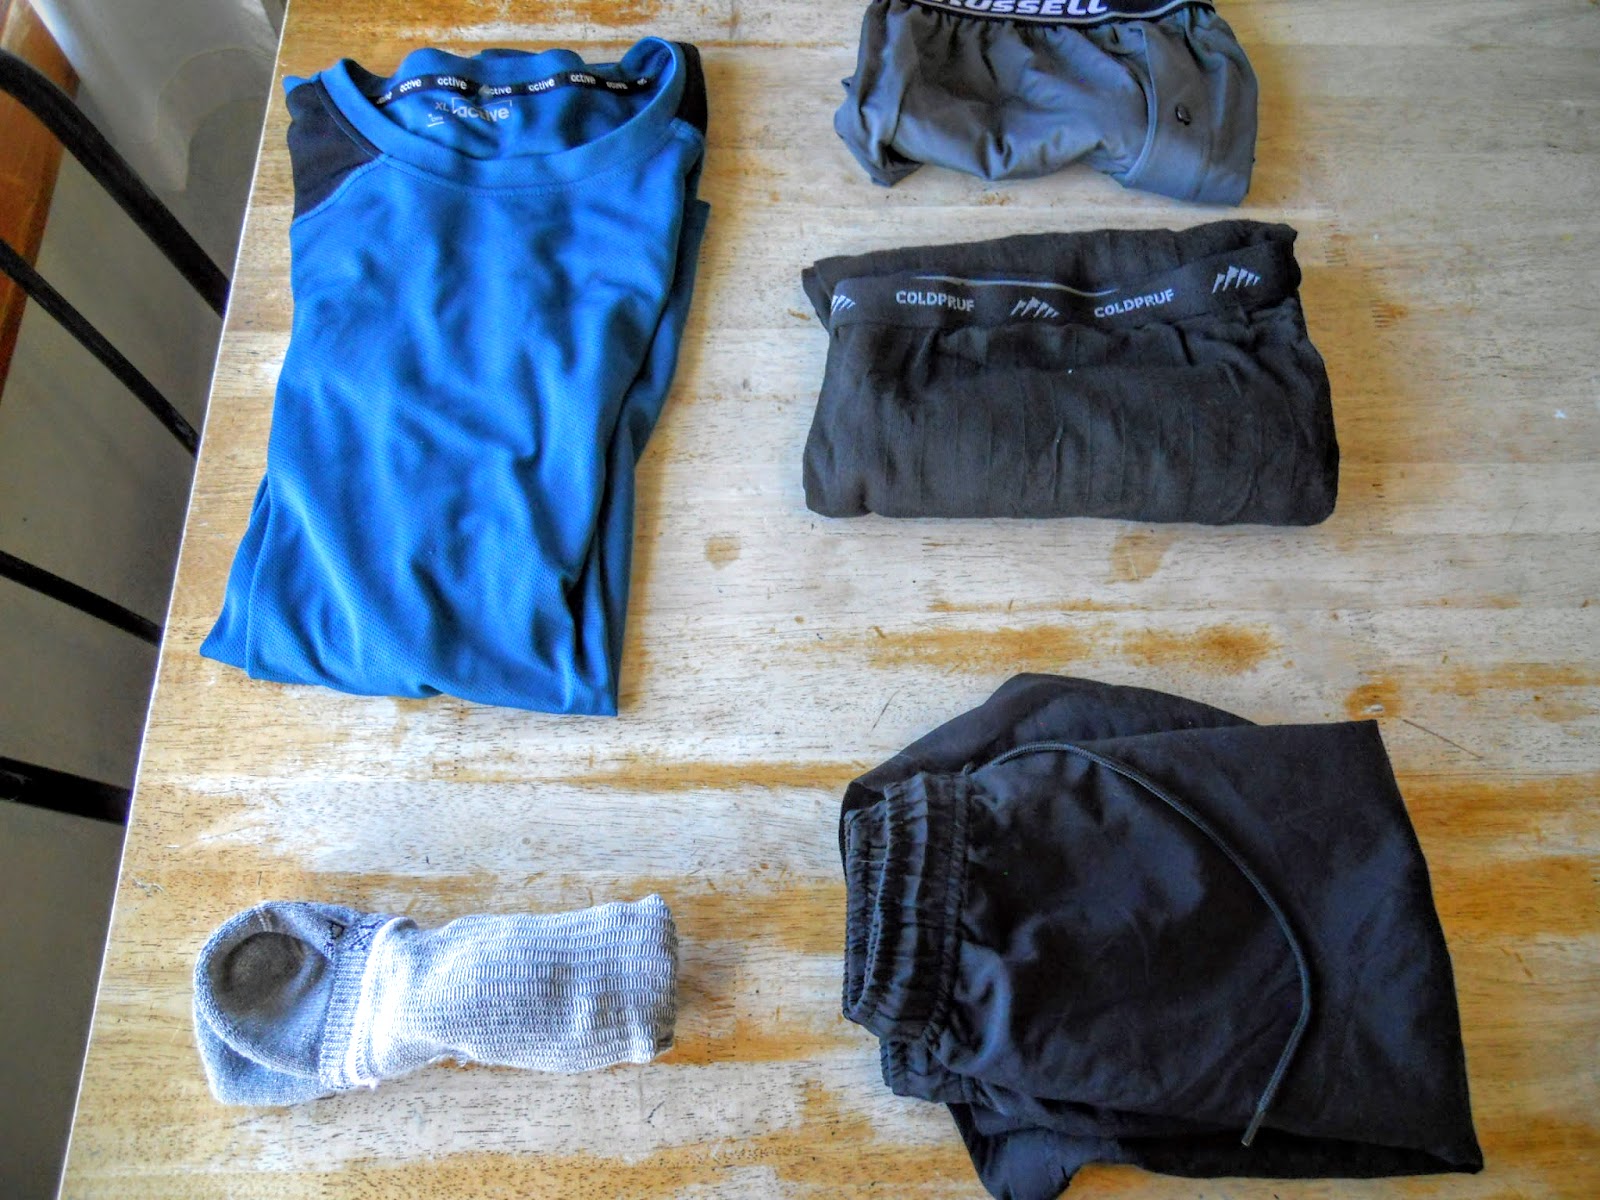
Warm and Dry: In warm, dry conditions all you need is a top (long or short sleeved) and a pair of shorts, make sure your underwear will wick sweat away from the body. Short thin socks make more sense than heavier ones in these kind of conditions. Don't roast your toes in merino wool when it is 30 degrees outside...that is madness.
 |
| Warm, dry weather layers |
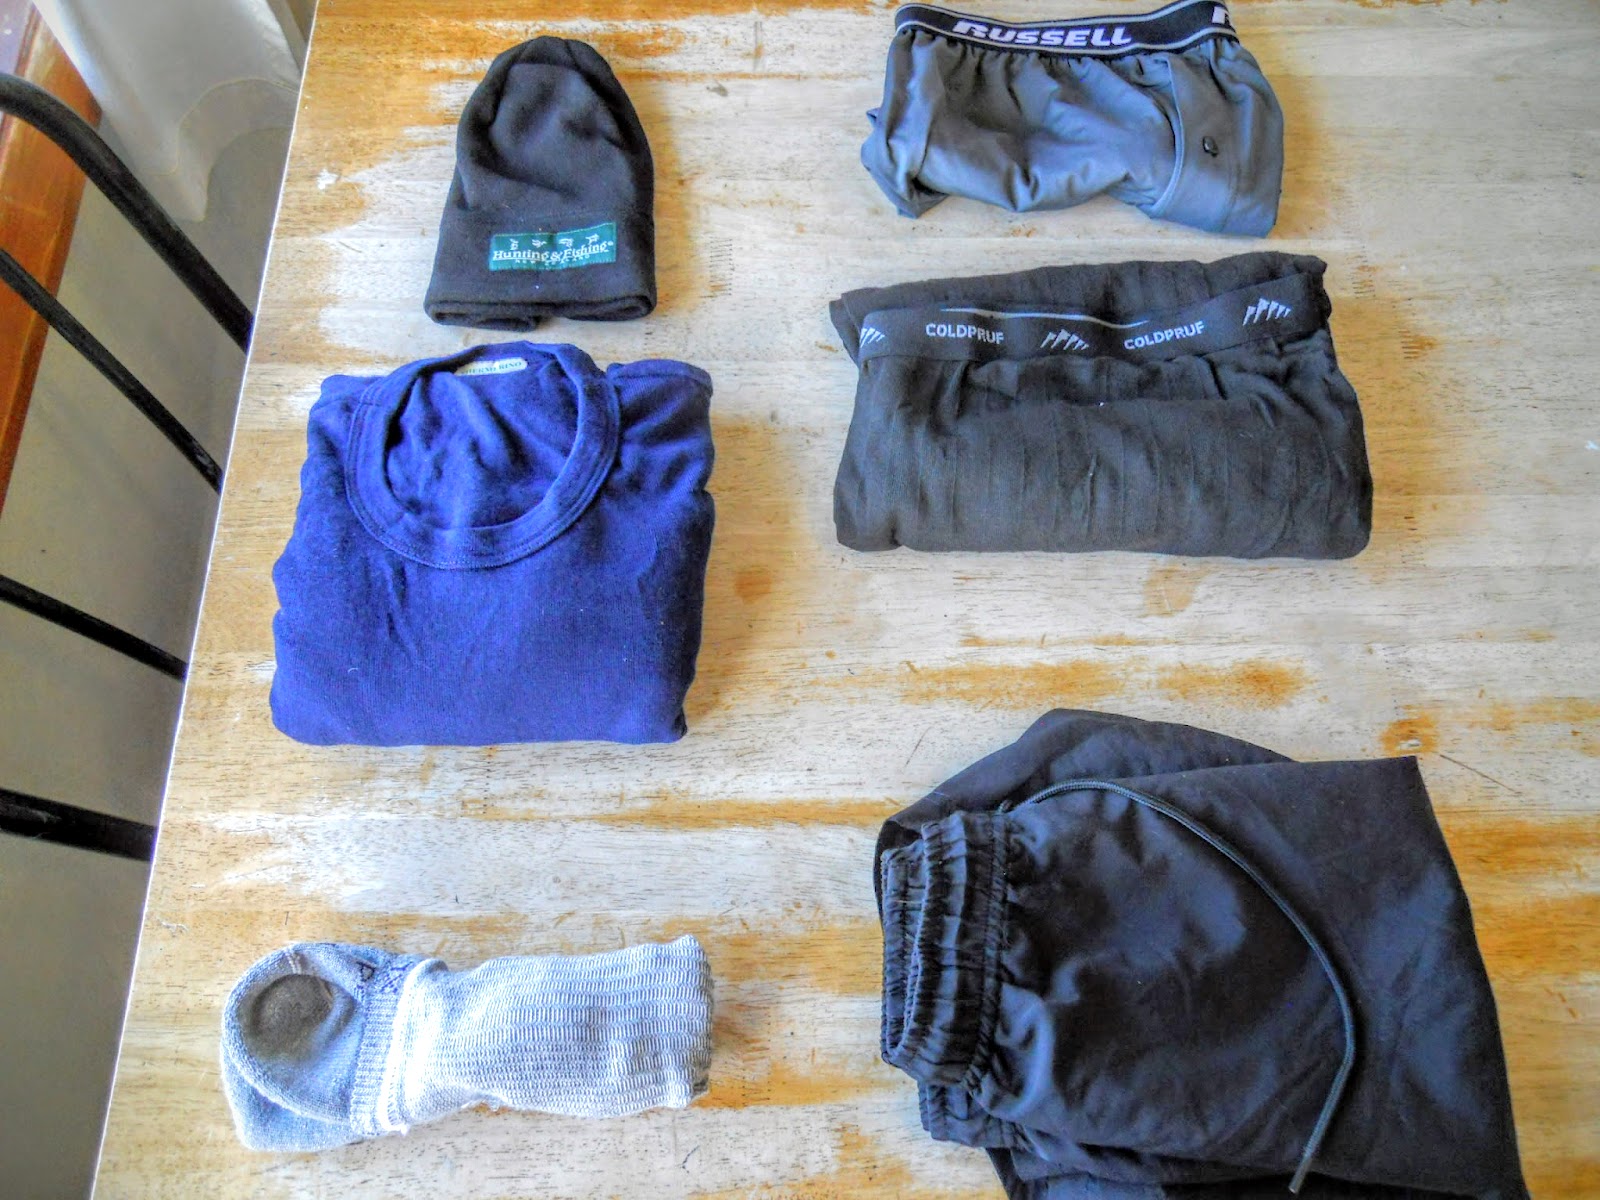
The quintessential Kiwi tramper: A short sleeve t-shirt and shorts over a pair of long-johns, an awesome look since the 1940's. The long-johns protect your legs from the cold but more importantly from the sand flies and bush lawyer.
Nothing quite like the slap of a thorny bush lawyer vine across bare skin....invigorating!
Nothing quite like the slap of a thorny bush lawyer vine across bare skin....invigorating!
 |
| Thermal leggings added for total body coverage |
Cool but Dry: If it is cool-cold but not raining a a merino top paired with your long-johns will normally see you right. If you have your longs on then the boxers are optional, long-johns are basically thermal underwear anyway.
 |
| Cold, dry weather layering system |
Cold but dry: In very cold but dry conditions maintaining warmth is your number one priority so I add my fleece top to my tramping attire. This is put on and taken off as required, you want to stay as dry as possible without getting hot and sweaty.
Wet, cold body draws away heat and can lead to hypothermia so minimising perspiration is important.
Wet, cold body draws away heat and can lead to hypothermia so minimising perspiration is important.
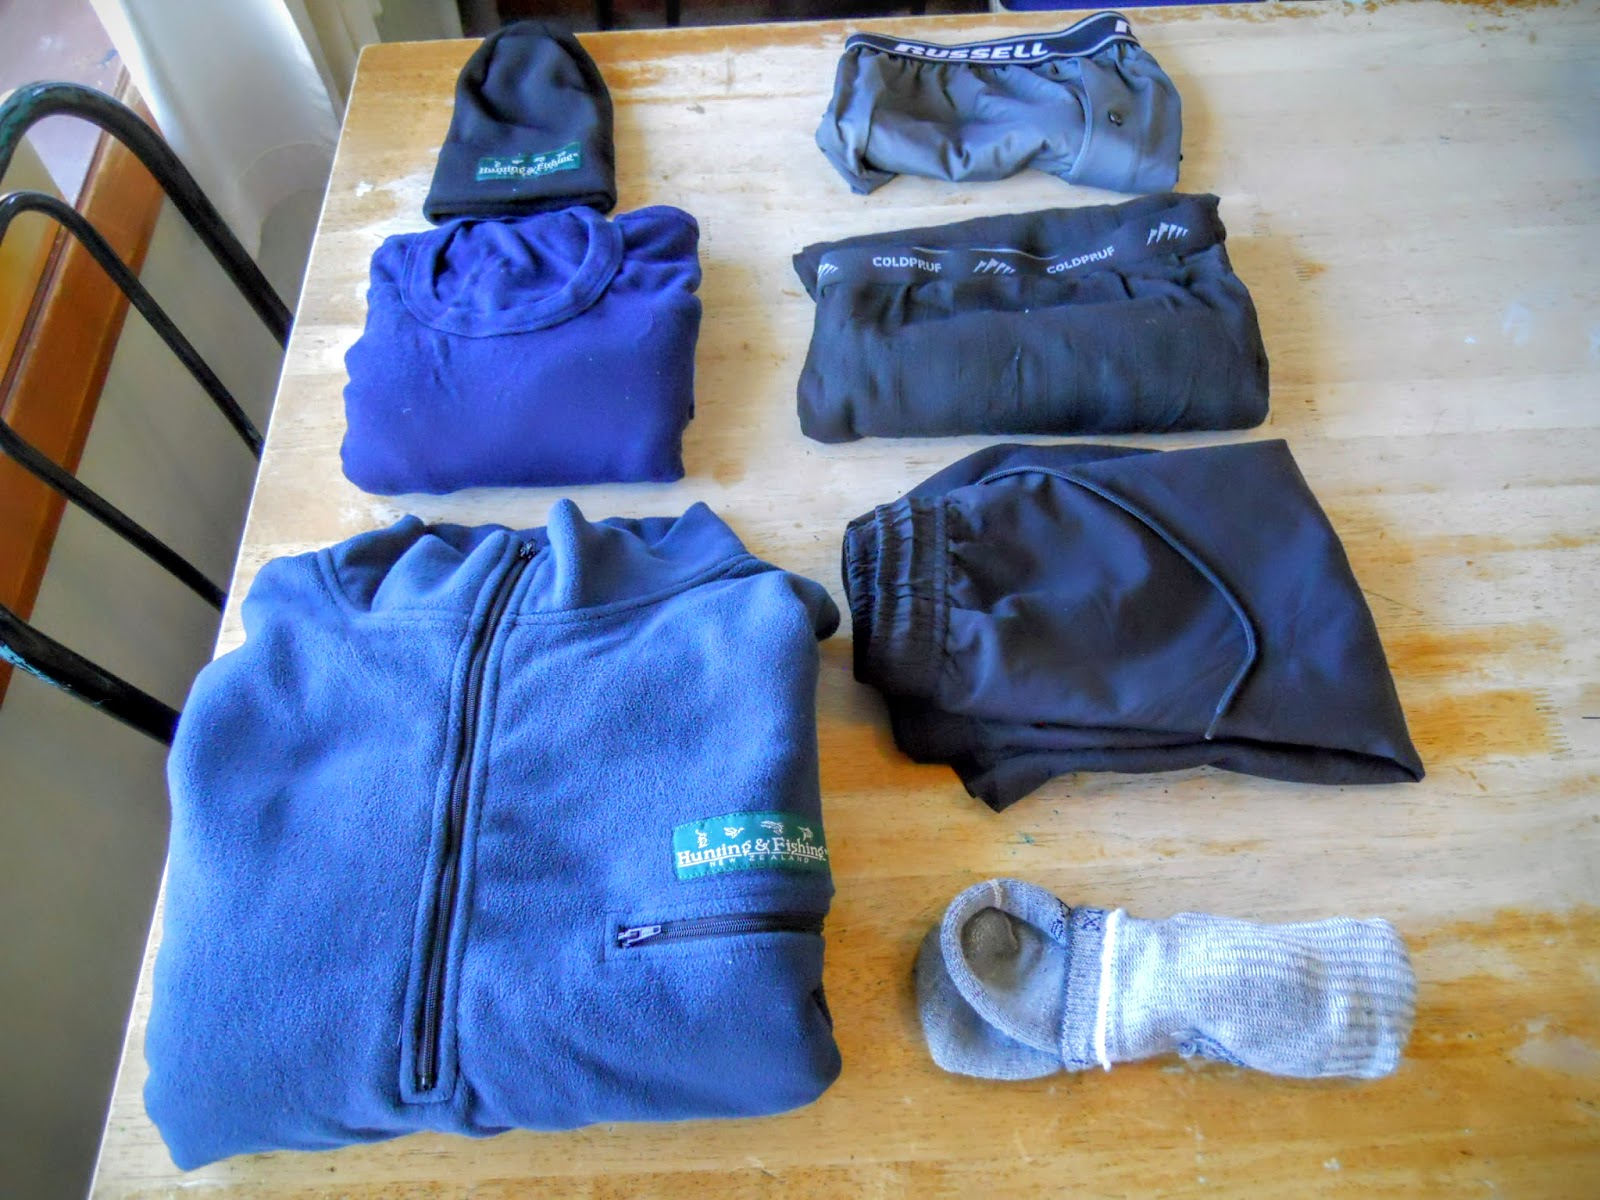 |
| Very cold, dry weather layering system..part of the JMOC's system |
Cold and wet: For cold, wet conditions I wear warm merino base layers for warmth and a shell jacket plus over- trousers to keep me dry. A warm fleece hat for the head polypropylene gloves and over mitts would complete the look.
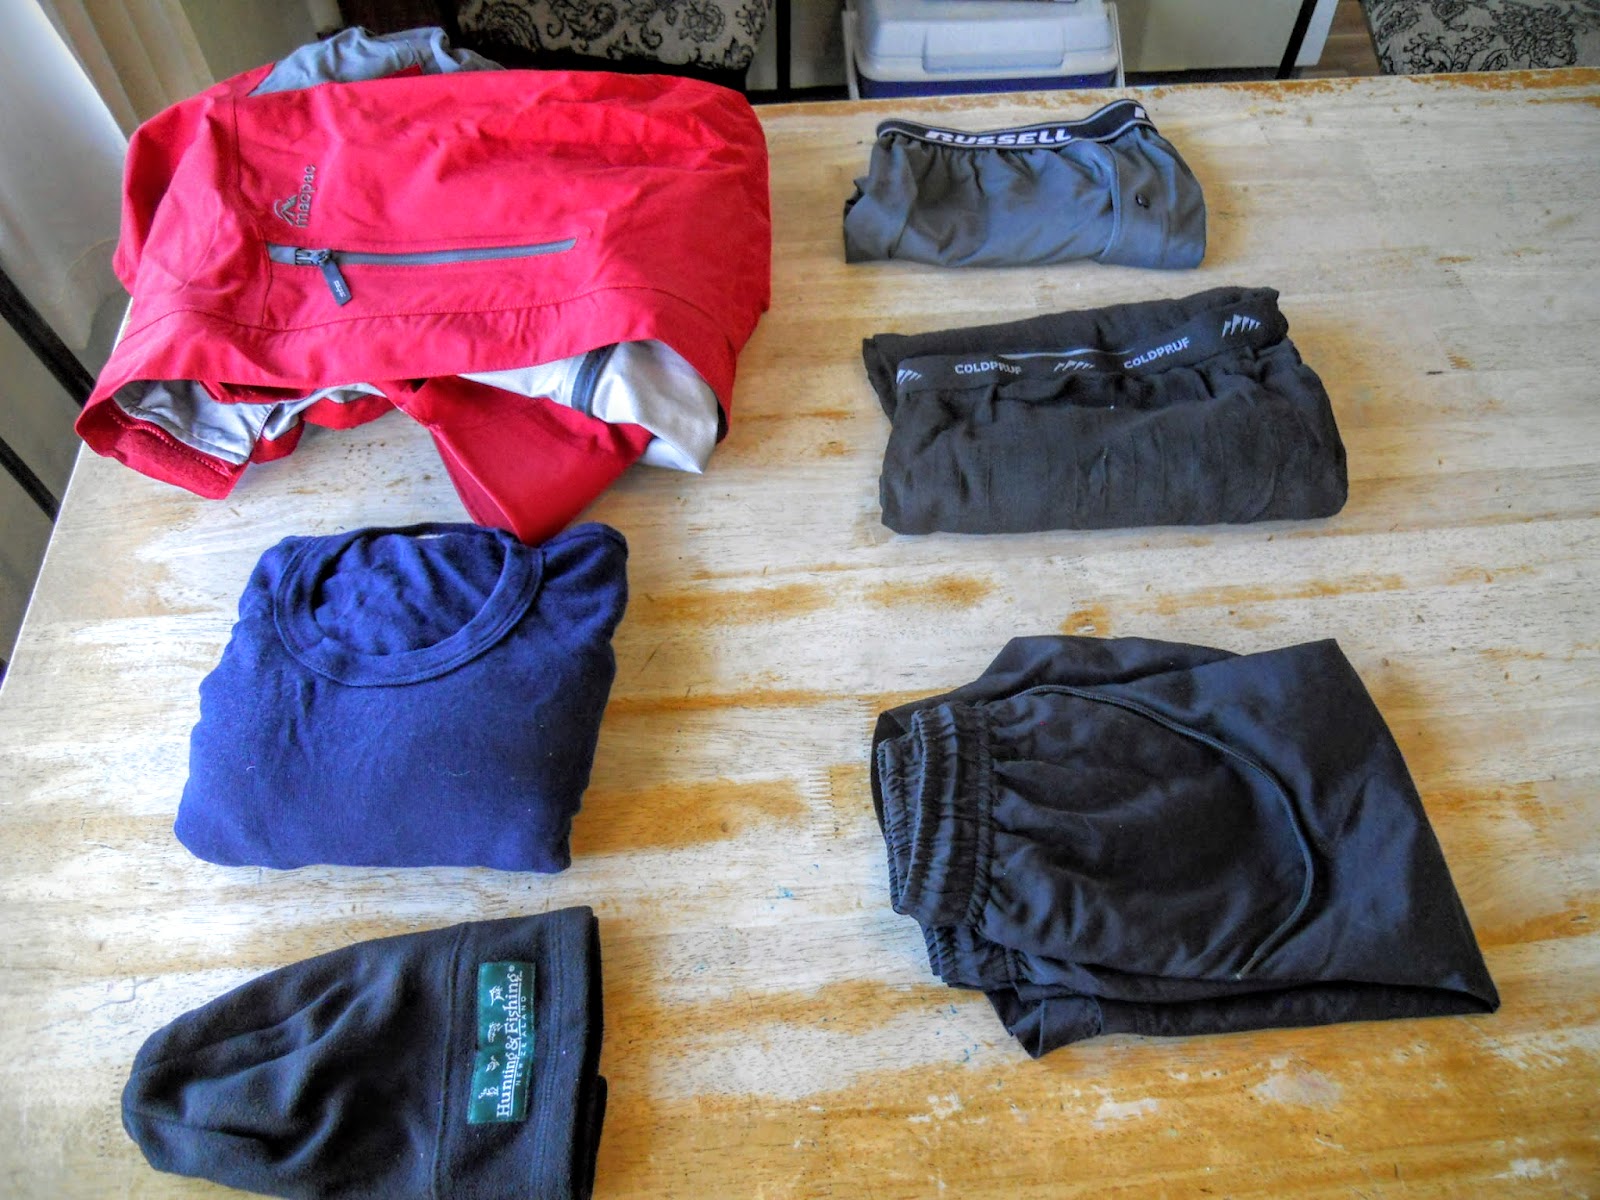 |
| Clothing layering for cold wet conditions |
 |
| Wearing a merino top and my jacket on a cold day, Milford Track 2018 |
The actual Jon Moake outdoor clothing system or A-JMOCS
Disregarding all that I have stated before, the photo below shows the actual clothing I most often wear when I am tramping.
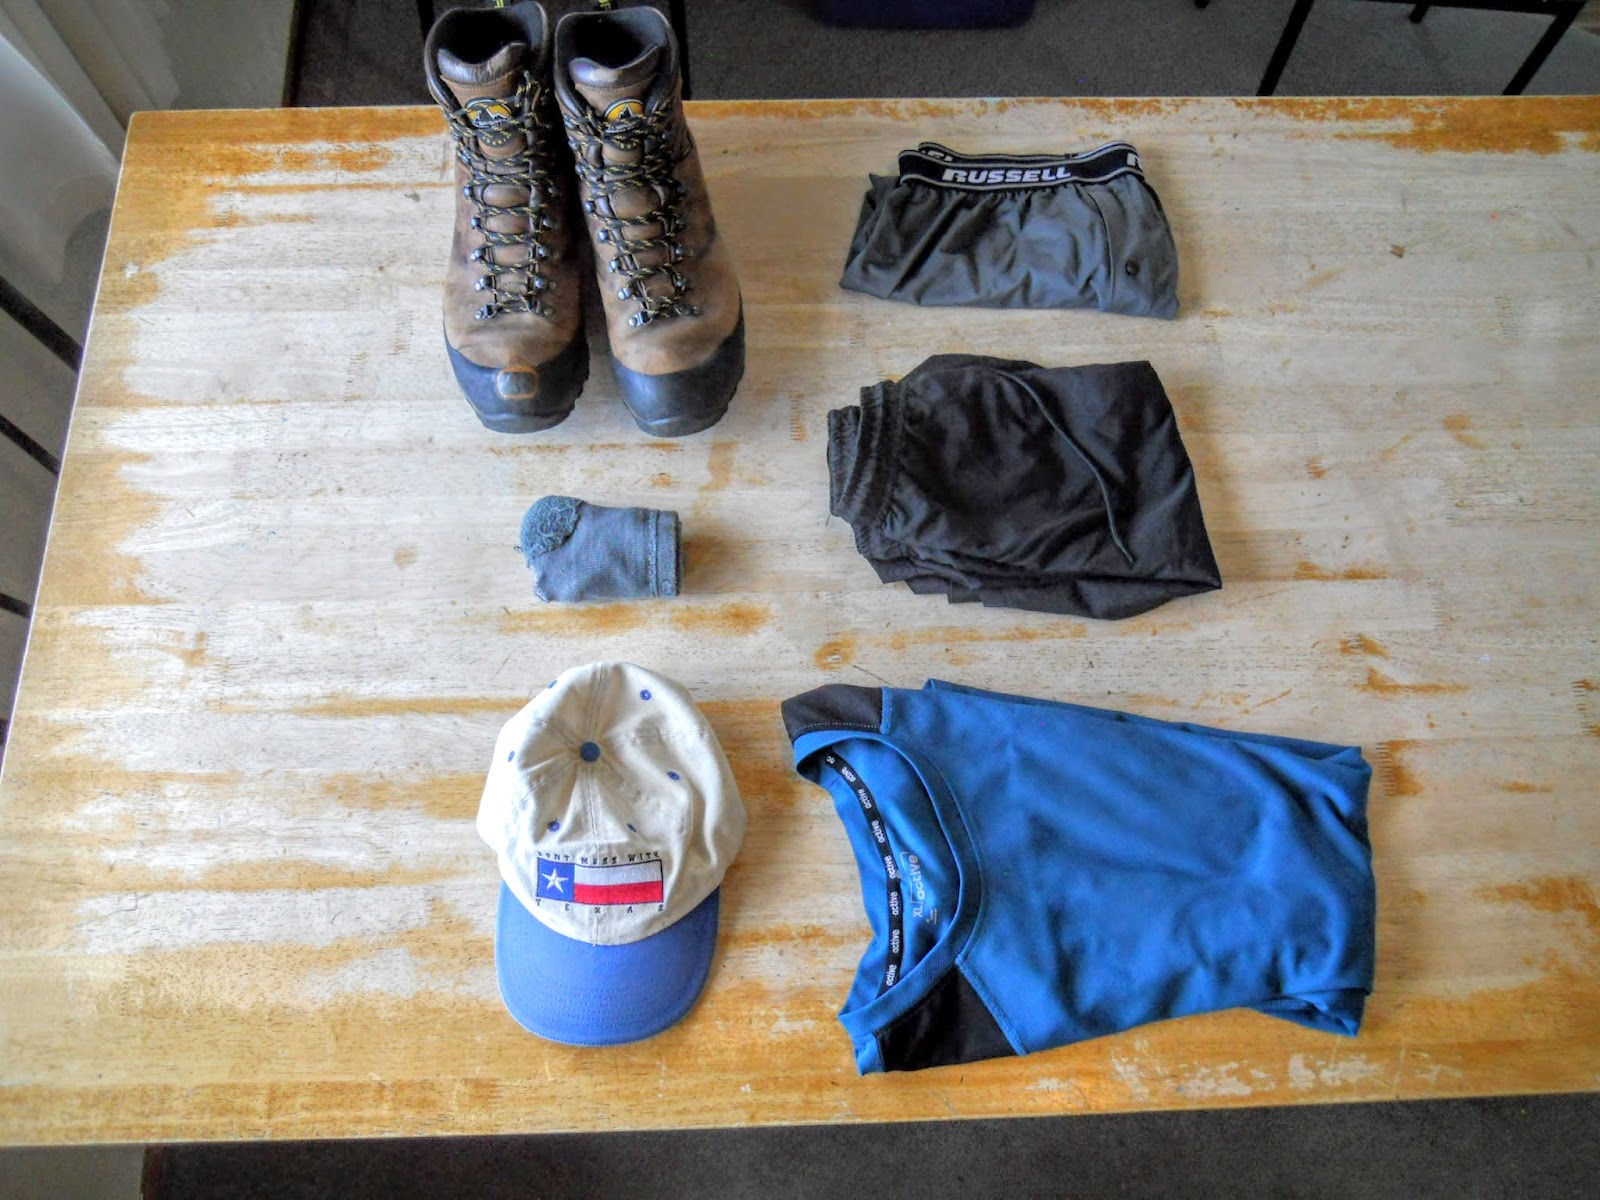 |
| Clothing worn 90% of the time: shorts, tee shirt and boots... |
 |
| My summer tramping attire atop Mt Richardson... |
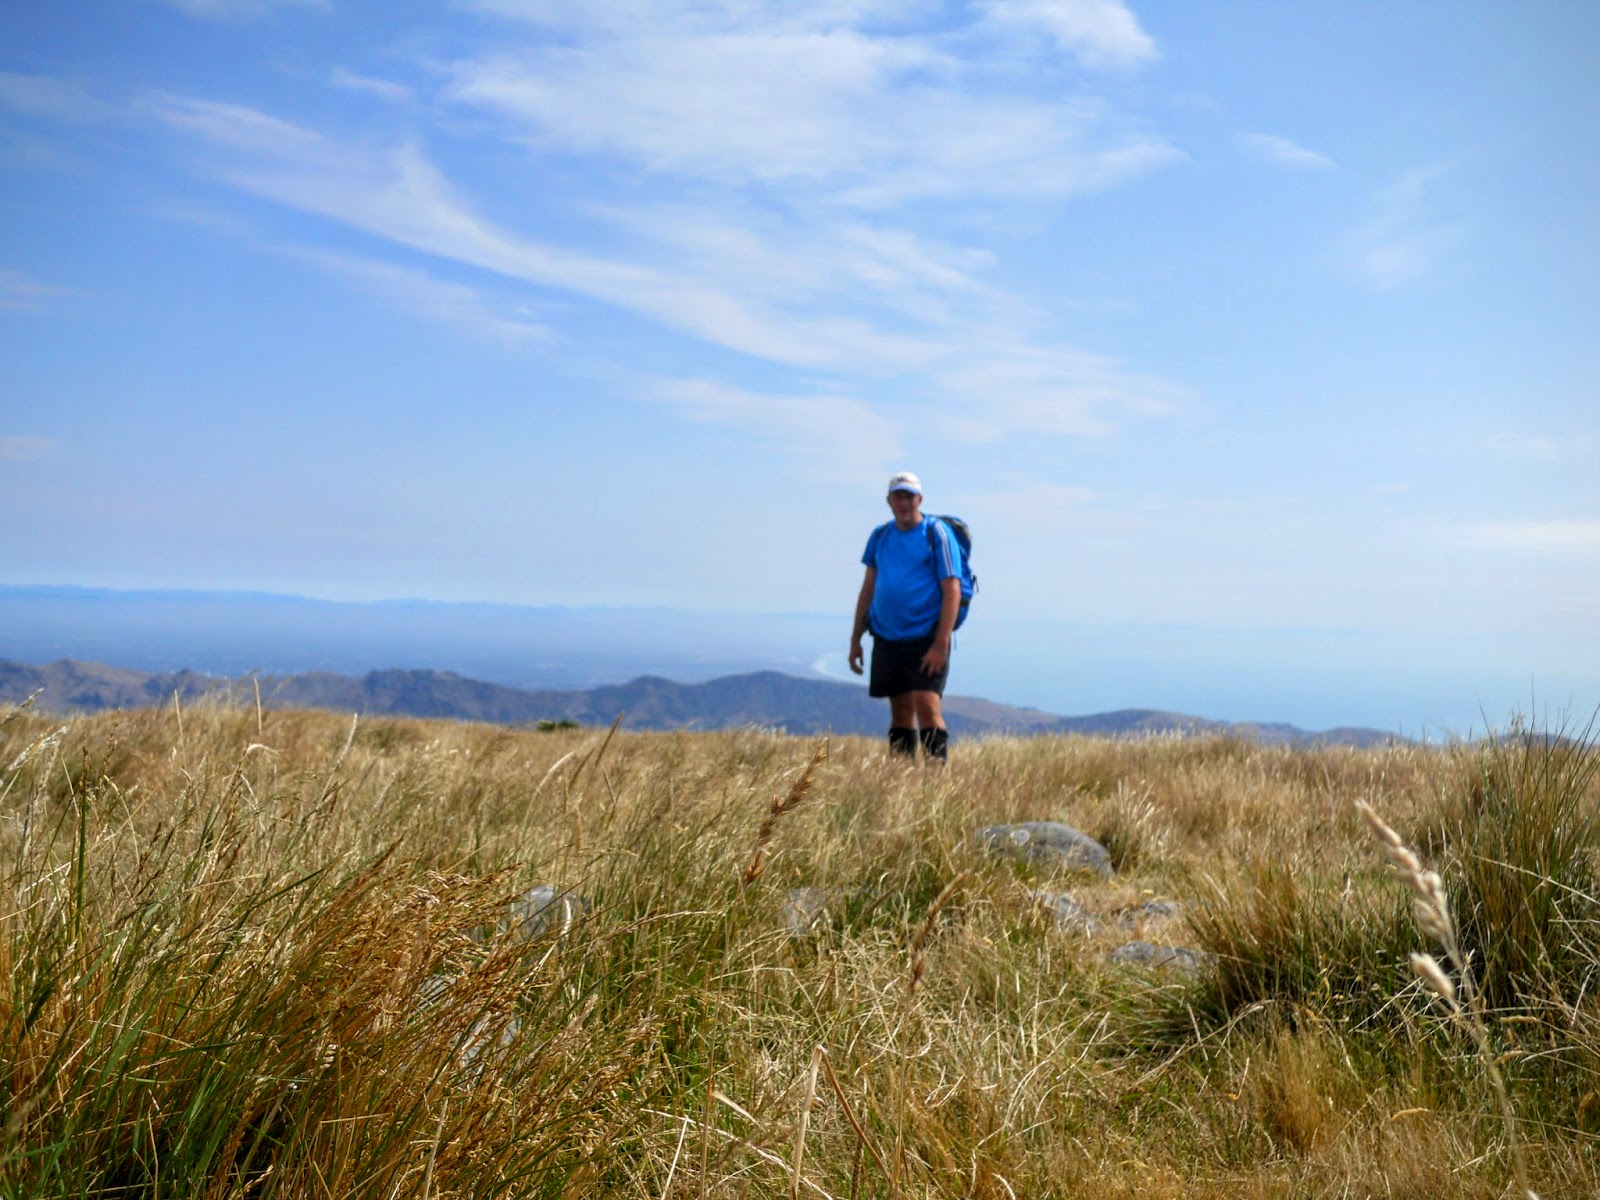 |
| ...and on top of Mt Herbert, summer of 2014 |
 |
| On the Queen Charlotte Track in 2016... |
I mostly tramp in fine, dry weather so you will usually find me wearing a tee shirt, shorts and boots. In reality this is what I wear 90% of the time so it is my real system. All the other stuff is just there in case it rains (common) or it gets cold (not infrequent).
Otherwise it is simply ballast in my pack.
 |
| Still wearing my shorts even on a cold, windy day on MacKinnon Pass, Milford Track |
Otherwise it is simply ballast in my pack.


