Of tents, fly sheets and shelters...oh my!!
 |
| My Luxe tent in the Cowshed Bay camp-ground on the Queen Charlotte Track in 2016 |
To cover these eventualities I carry either a tarp/fly sheet, tent and or bivvy bag depending on the conditions I expect to encounter.
Fly sheets/shelters/tarps
A fly or tarp is a lightweight nylon sheet used to provide shelter from rain, sleet and snow. Their main advantage is lightweight, great ventilation and the ability to cook under them.Oztrail hiking fly (2015)
I sometimes carry a Oztrail hiking fly which I use as an emergency shelter when expecting an over full hut.Total weight with guys/pegs + a Sea to Summit bug net is only 1 kg. I have never needed it as an emergency shelter as I have yet to arrive at a hut so full to the brim that I couldn't even sleep on the floor.
 |
| The Oz Trail Hiker Fly |
Specifications are:
Oztrail Hiker Fly, 3.5(W) x2.1(H), 850gms (with pegs)+
Sea to Summit 1 person bug net, 240gms
I brought this small tarp before Karen and I visited Rakuira/Stewart Island in February 2020. We walked the Rakuira Great Walk over several days and while there are camp shelters at a couple of places most of the track is just bush. I thought we might need some shelter at lunchtime etc. and brought this light tarp for that purpose.
Didn't need it of course as we had good weather on all three days but I now carry it on all my trips.
DD Tarps are one of the better US hammock camping gear supplies and their gear has an excellent reputation with outdoor people.
Specifications are:
DD Tarps, Magic Carpet Tarp:1.4(L)x1.4(W), 174gms (with cords & 4 Titanium V-pegs)
A note on using flys/tarps...
I would use a tarp all of the time as I find flysheets to be very adaptable shelters, but they are not always the best choice especially in areas with a large bug population (most of the South Island of New Zealand especially the West Coast and Fiordland).
Fly's are not ideal shelters for tops travel either as wind can damage them very easily. On the tops you really need the more durable shelter offered by a quality 3-4 season tent.
There are many online articles dealing with the subject of tarps, one of the best I have seen is on the Section Hiker website.
Oztrail Hiker Fly, 3.5(W) x2.1(H), 850gms (with pegs)+
Sea to Summit 1 person bug net, 240gms
 |
| Oz Trail Hiker fly in use on Mt Oxford |
DD Tarps, Magic Carpet Tarp (2020)
I brought this small tarp before Karen and I visited Rakuira/Stewart Island in February 2020. We walked the Rakuira Great Walk over several days and while there are camp shelters at a couple of places most of the track is just bush. I thought we might need some shelter at lunchtime etc. and brought this light tarp for that purpose.
Didn't need it of course as we had good weather on all three days but I now carry it on all my trips.
 |
| The DD Magic Carpet Tarp... |
DD Tarps are one of the better US hammock camping gear supplies and their gear has an excellent reputation with outdoor people.
Specifications are:
DD Tarps, Magic Carpet Tarp:1.4(L)x1.4(W), 174gms (with cords & 4 Titanium V-pegs)
 |
| The DD Magic Carpet Tap is meant as a day shelter or ground sheet |
I would use a tarp all of the time as I find flysheets to be very adaptable shelters, but they are not always the best choice especially in areas with a large bug population (most of the South Island of New Zealand especially the West Coast and Fiordland).
Fly's are not ideal shelters for tops travel either as wind can damage them very easily. On the tops you really need the more durable shelter offered by a quality 3-4 season tent.
 |
| A selection of shelters you can make with your standard rectangular tarp |
Tents: tramping and car camping options
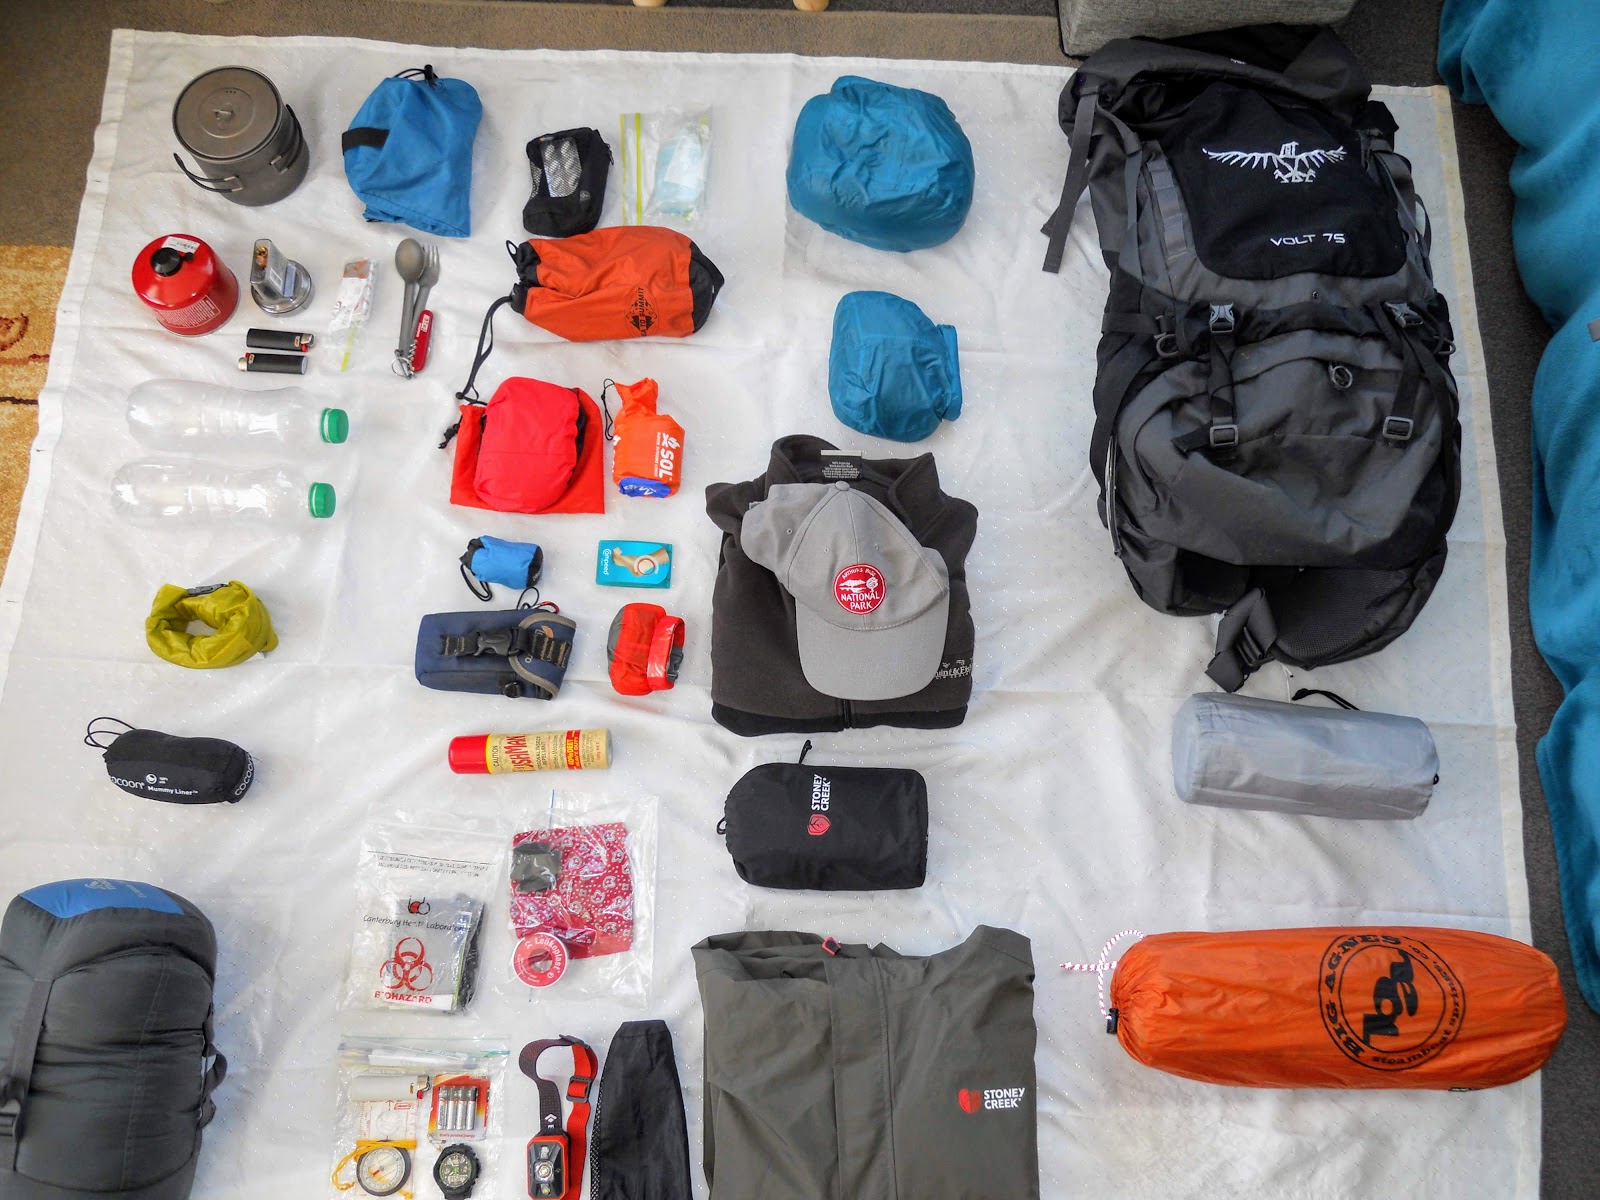
I currently have six tents- one is my main solo tent I take with me on the majority of my trips. Three are used as two person shelters depending on the weather conditions I expect to encounter. The last two are larger two/three person base camp tents I brought as I intend to do a few trips where I car camp and go for tramps during the day.
I brought a new light weight tent for my Te Araroa Trail thru-hike, it is the Big Agnes Copper Spur UL 1 tent. This is a true free standing 3+season tent which weighs a light 1 kg. I brought this in a 2017 summer sale for only $450 down from the usual price of over $700 NZD.
Specifications are:
Big Agnes, Copperspur UL 1, 2.24(L)x1.10(W)x.98(H), 950 gms
Big Agnes have a good name with trampers and hikers the world over. Their gear is top quality and much favored by the long trail community as they have taken the message of weight loss seriously in all of their products.
I will use this tent if planning to camp and continue to carry my hikers tarp/fly + bug net combo when I expect to be in a hut.
 |
| My sleeping gear set up in my Luxe tent, QCT 2016 |
Big Agnes Copperspur UL 1 (2017)
I brought a new light weight tent for my Te Araroa Trail thru-hike, it is the Big Agnes Copper Spur UL 1 tent. This is a true free standing 3+season tent which weighs a light 1 kg. I brought this in a 2017 summer sale for only $450 down from the usual price of over $700 NZD.
Specifications are:
Big Agnes, Copperspur UL 1, 2.24(L)x1.10(W)x.98(H), 950 gms
 |
| Copper Spur UL 1: fast shelter only |
 |
| Copper Spur UL 1: no fly |
 |
| Copper Spur UL 1: fly fitted but open |
 |
| Copper Spur UL 1: fly closed |
I will use this tent if planning to camp and continue to carry my hikers tarp/fly + bug net combo when I expect to be in a hut.
 |
| My Big Agnes Copper Spur 1 set up in the Totaranui camp grounds, April 2018 |
Macpac Nautilus (2020)
Karen brought us a very fine Macpac Nautilus tent at the Macpac summer sale this last year...this is a two person tent as we intend to do some camping trips going forward. Macpac have a good reputation for their gear and many people carry one of their tent range when out and about here in New Zealand. |
| The Macpac Nautilus tent..... |
Both the Macpac Nautilus and the Olympus are well known tents which have been around in modified form for decades now. They are known for their water repellent nature and ability to withstand strong winds.
Specifications for the tent are:
Macpac, Nautilus (2 person): 2.2(L)x1.4(W)x1.0(H), 2.1 kg
 |
| The Macpac Nautilus can be used in snowy conditions... |
We will distribute the tent between both of us so that we are each carrying about 1.1 kg, or one person will carry the tent while the other carries other heavy gear. We have yet to use it but I will post some photos once we have...
Luxe- Lightwave(2015)
I invested in a lightweight 1-2 person tent from the Chinese company Luxe back in 2015. After a lot of searching and comparison I went with the Luxe Lightwave, it is 1.28 kg, tunnel shaped for wind resistance and has an large annex for my pack.
This has served my needs nicely, the NZD $280 price was also very competitive.
Specifications are:
Luxe Lightwave II, 2.4(L) x 1.55(W)x1.05(H)cm, 1.3 kg
This has served my needs nicely, the NZD $280 price was also very competitive.
Specifications are:
Luxe Lightwave II, 2.4(L) x 1.55(W)x1.05(H)cm, 1.3 kg
 |
| Luxe Lightwave tent |
Luxe is a newer Chinese outdoor company, quality looks to be comparable
to well known brands like Vaude/ MSR/ Exped/Marmot etc. I have read some
very good reviews for Luxe gear. In use since 2015 I have found it to be a reliable, durable and roomy tent.
 |
| Luxe Lightwave in use on the QCT, 2016 |
 |
| Me in my Luxe Lightwave on the QCT, 2016 |
 |
| The Lightwave in action on the QCT |
 |
| Luxe Lightwave II floor plan |
This tent has now been superseded by my Big Agnes UL 1 as my main tramping tent although I will still be using it from time to time as circumstances dictate.
Coleman Spirit 2 (2015)
My other two person tent is a Coleman Spirit 2 person tent, this is a excellent tent- roomy, good ventilation, stable and waterproof.
Specifications are:
Coleman ‘Spirit 2′ (small 2 person) 2.6(L) x 1.4(W) x 1.0(H), 1.9kg
 |
| The Coleman Spirit 2 tent |
The Spirit 2 is a one pole or "hoop" design, it is not free standing and must be pegged to the ground to allow it to stand. You have to be very careful when selecting a tent site as these one pole designs are prone to collapse in strong wind. That said, I have used this tent in strong Nor'Wester winds and it was very secure.
 |
| Another view of the Coleman Spirit 2 tent |
I have replaced the heavy steel pegs with triangular aluminium for a saving of over 150 gms. Unfortunately, it
is still a bit heavy at 1.9kg for a solo shelter, I continue to use this as a true 2 person tent or as a base camp shelter.
This tent has now been superseded by my Big Agnes UL 1 as my main tramping tent although I will still be using it from time to time as circumstances dictate.
 |
| The Coleman Spirit in use, Ryde Falls Campsite, Mt Oxford Forest 2013 |
This tent has now been superseded by my Big Agnes UL 1 as my main tramping tent although I will still be using it from time to time as circumstances dictate.
Coleman Camper 2 dome tent (2020)
Another recent purchase I brought this tent for shorter car camping trips when I am on my own as the Coastline 3 tent is a litle difficult for me to set up by myself.
Specifications are:
Coleman ‘Camper' 2 (2 person) 2.6(L) x 1.6(W) x 1.2(H), 2.4kg
Coleman ‘Camper' 2 (2 person) 2.6(L) x 1.6(W) x 1.2(H), 2.4kg
 |
| The Coleman Camper 2 tent... |
This is a light weight 2 person tent with interlocking poles which means it is a free standing shelter. I have tried and I can easily set this one up by myself, move it around my camp site and then peg it in for added stability.
Here are some of the tents features etc:
- Ground vent and large windows allow air to move up and out
- Rain fly awning for shade and rain protection
- WeatherTec system-patented welded floors and inverted seams to keep water out
- Inst-Clip pole attachments stand up to wind
- Fabric Polyester 68D, 1500mm fly & 8000mm floor
- Frame: 8.5mm fibreglass
- 2 person
I brought this tent before Karen brought our expensive new Macpac tent...it was on sale for $99 down from $200 as a clearance item. This tent will only get used for car camping and festival visits etc.
Coleman Coastline 3 Tent (2019)
I intend to do a bit of base camping going into the future, this is where you choose a location and do a number of tramps while staying at the same place each night. In other words this tent is for extended car camping tripswhere you set up for more than one night. . |
| Entrance to the Kerr Bay camp ground, St Arnauld |
To facilitate this I have purchased a larger three person tent, a Coleman Coastline 3. I am also working my way through a list of other camping equipment: gas stove, a couple of seats, chilly bin, cooking gear and a larger two person sleeping mat.
 |
| The Coleman Coastline 3 tent |
 |
| Dimensions of the Coleman Coastline 3 tent |
 |
| Other aspects of the Coleman Coastline 3 tent I purchased |
The Coleman Coastline 3 is a large single room tent with side windows and an extended vestibule at the front of the tent. There is space for three people in the main room and enough space in the vestibule for a couple of people.
Other features include:
- Large D side doors at front and rear
- A large vestibule with heavy duty PU floor
- Color coded poles to ensure easy set up
- Large carry bag for the tent and all ancillary items
 |
| Heavy duty PU floor in the Coleman Coastline 3 |
Specifications for the Coastline 3 are:
Size: 2.6(L) x 2.25(W) x 1.4(H) and the vestibule is 1.6(H)
Material: 75 Denier with taped seams, 2000,mm proof fly, PE floor
Weight: 7.6 kg
SOL Survival Bivy Bag
If I am out on a day trip and expect to be home by nightfall I obviously don't want to carry a tent/fly with me. Safety dictates that I should be carrying some form of cover in case of accident, getting lost, or being forced to spend a night outdoors.
 |
| The SOL bivy reflects 99% of body heat.... |
These bags reflect body heat to keep the occupant warm (...ish...I have slept out in an older style survival bag and it was a bit chilly even with a fleece on...), it would be uncomfortable but at least you would survive the night.
 |
| The SOL emergency bivy bag is breathable... |
One of the problems with these survival bags is condensation, happily the SOL bag is breathable which negates the condensation problem entirely.
 |
| It will keep you alive but not comfortable.... |
Weight of these is about 250gms, they cost $90-$100 from most New Zealand outdoor stores.
Future purchases:
I think I have enough tents to see me out but I am in the market for a Bivy Bag under 1kg and a new tarp to replace the Oztrail one I have been using for 10 years. For a bivy bag I am looking at brands like Macpac, Outdoor Research (OR), Mont and Rab.
 |
| An OR Bivy Bag with integrated bug mesh.... |
This would be a better light weigh option than a foil bivy bag to carry on day trips and short hikes as an emergency shelter. Because it needs to be breatheable they are really expensive...Gortex, Pertex and NGX material is not cheap...
Camp-site cooking shelters
Something you will see if you are camping on the DOC estate are cooking shelters. You most often see these on the Great Walks and other front country tracks but they are also present in more remote locations as well.
 |
| Davies Bay cooking shelter, Queen Charlotte Track (2016) |
These can range from the simplest of overhead cover to mini huts but all will feature some or all of the following amenities:
- cooking benches, either aluminium or stainless steel
- a sink for washing dishes
- a stream, fresh water source or rainwater storage tanks
- seating of some type, normally fixed benches
- toilets, either attached or nearby
During the afternoon, early evening and in the morning these will often be the focal point of life in a DOC camp site. Here are some photos of various cooking shelters I have visited.
 |
| Cooking shelters: Bay of Many Coves, Queen Charlotte Track (2016) |
 |
| Blackrock Campsite Shelter, Queen Charlotte Track (2016) |
 |
| Cooking shelters: Anchorage shelter, Abel Tasman NP (2017) |
 |
| Cooking shelters: Kerr Bay camp ground, St Armaud (2016) |
 |
| Cooking Shelters: inside Avalanche Peak shelter, Arthur's Pass NP (2016) |
 |
| Hawdon Campsite shelter, Arthur's Pass NP (2015) |
 |
| The camp site cooking shelter at Onetahuiti Beach, Abel Tasman NP (2018) |
 |
| The imposing camp-site shelter at Pelorous Bridge camp grounds (2018) |
 |
| Bark Bay cooking shelter, Abel Tasman NP (2017) |
 |
| Cooking shelter at Maori Beach on the Rakuira Track, Rakuira/Stewart Island (2020) |
 |
| The brand new cook shelter at Manson-Nichols Hut, Lake Daniell (2020) |