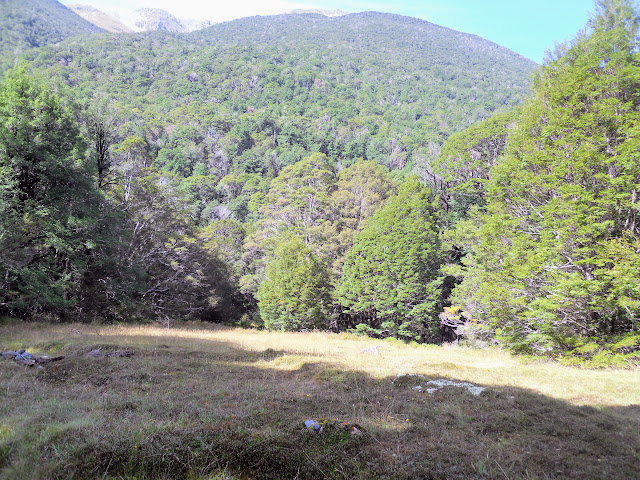
Exploring the Travers Valley, Nelson Lakes NP
This is the first tramp I have been on for a couple of months so I figured I would go out for a couple of days. My first thought was a Travers Sabine Circuit but as my pack fitness was low due to a lack of trips I decided on an exploration of the Travers Valley instead.
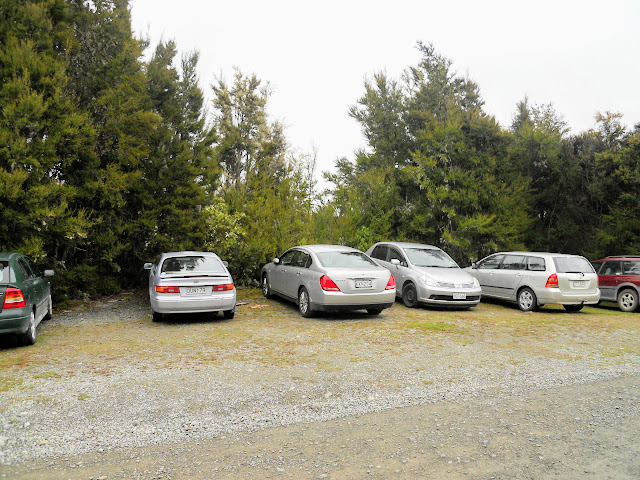 |
| The 'Silver Surfer' (third from left) parked in St Arnaud |
I headed up to St Arnaud early on Thursday morning, with an end goal of reaching Hopeless Hut by the end of the day. Unfortunately the extremely slow trip from Christchurch to St Arnaud (6+ hours) due to roadworks meant I was too late to get that far up valley.
Day One: St Arnaud to Lakehead Hut
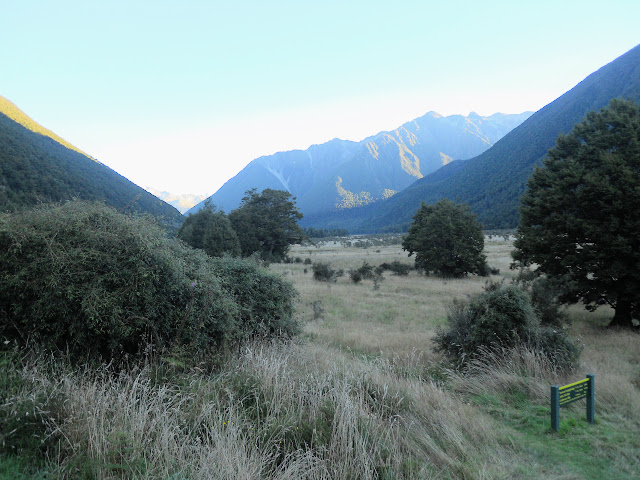
As I was saying, I started tramping around 12 noon, instead of the 10 am I was expecting. This meant I only got as far as Lakehead Hut, rather than my original goal of Hopeless Hut another 3 hours up valley.
 |
| Day One: St Arnaud to Lakehead Hut |
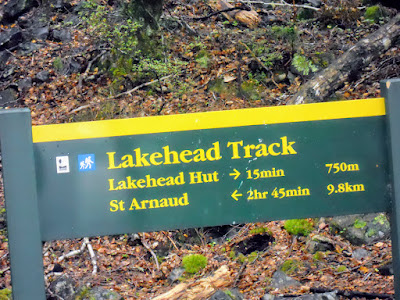
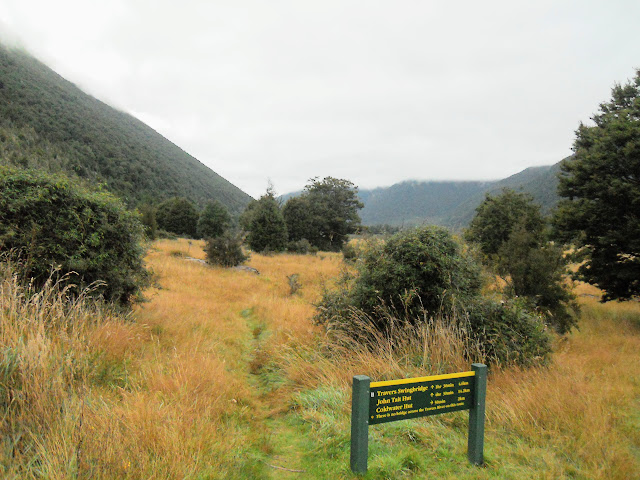
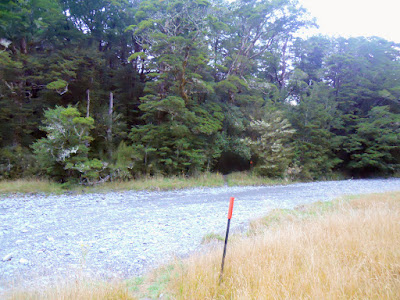
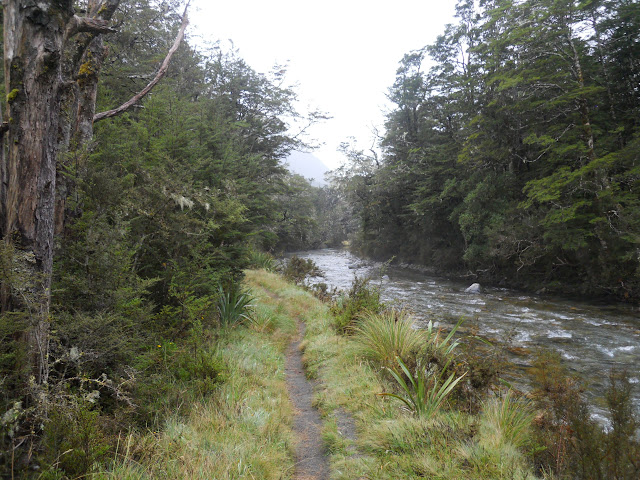
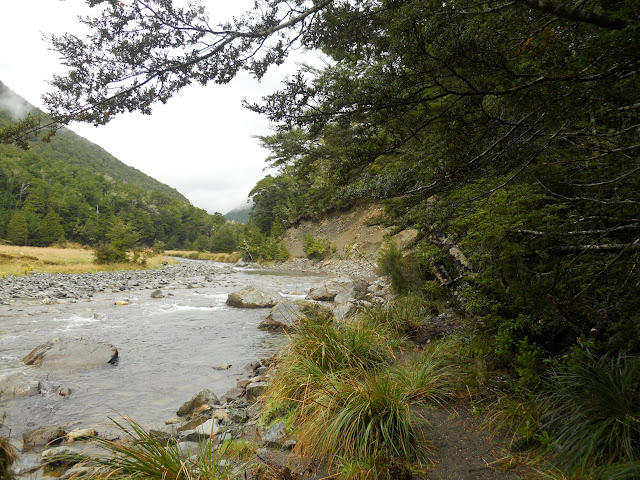
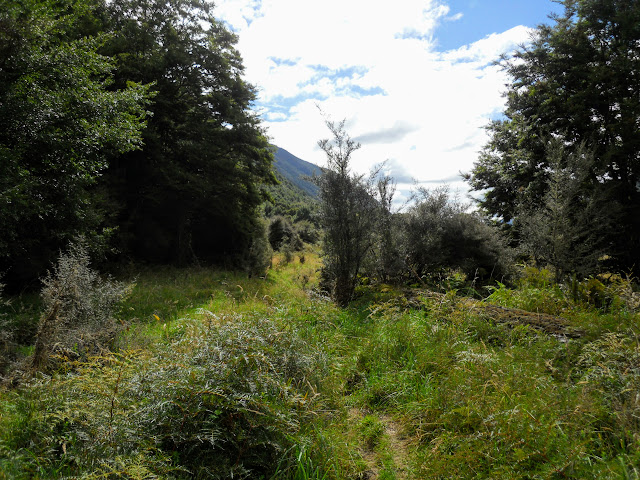
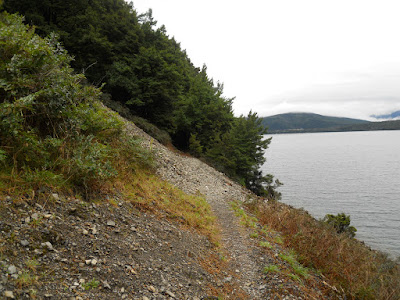
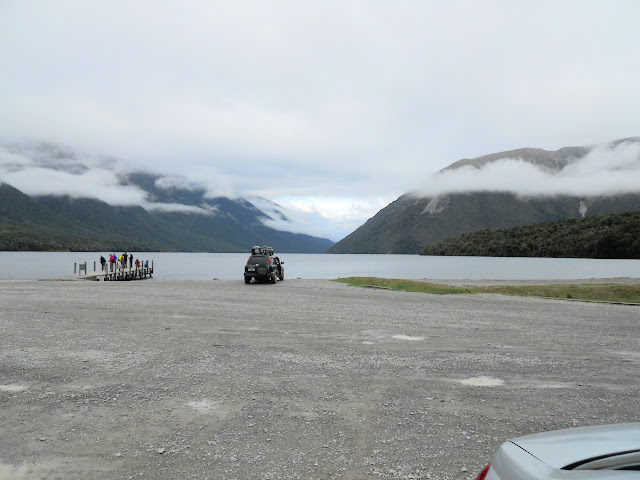
As always I started out at the Kerr Bay track head, and followed Lakehead Track
(12 km's, 2-2.5 hours) up the eastern side of the lake. This is the second time I have walked this track in the last 6 months (fifth time overall) so it is becoming familiar to me.
 |
| Kerr Bay Jetty- overcast and late! |
 |
| Start of the Lakehead Track |
 |
| That seems familiar....on the Lakehead Track |
 |
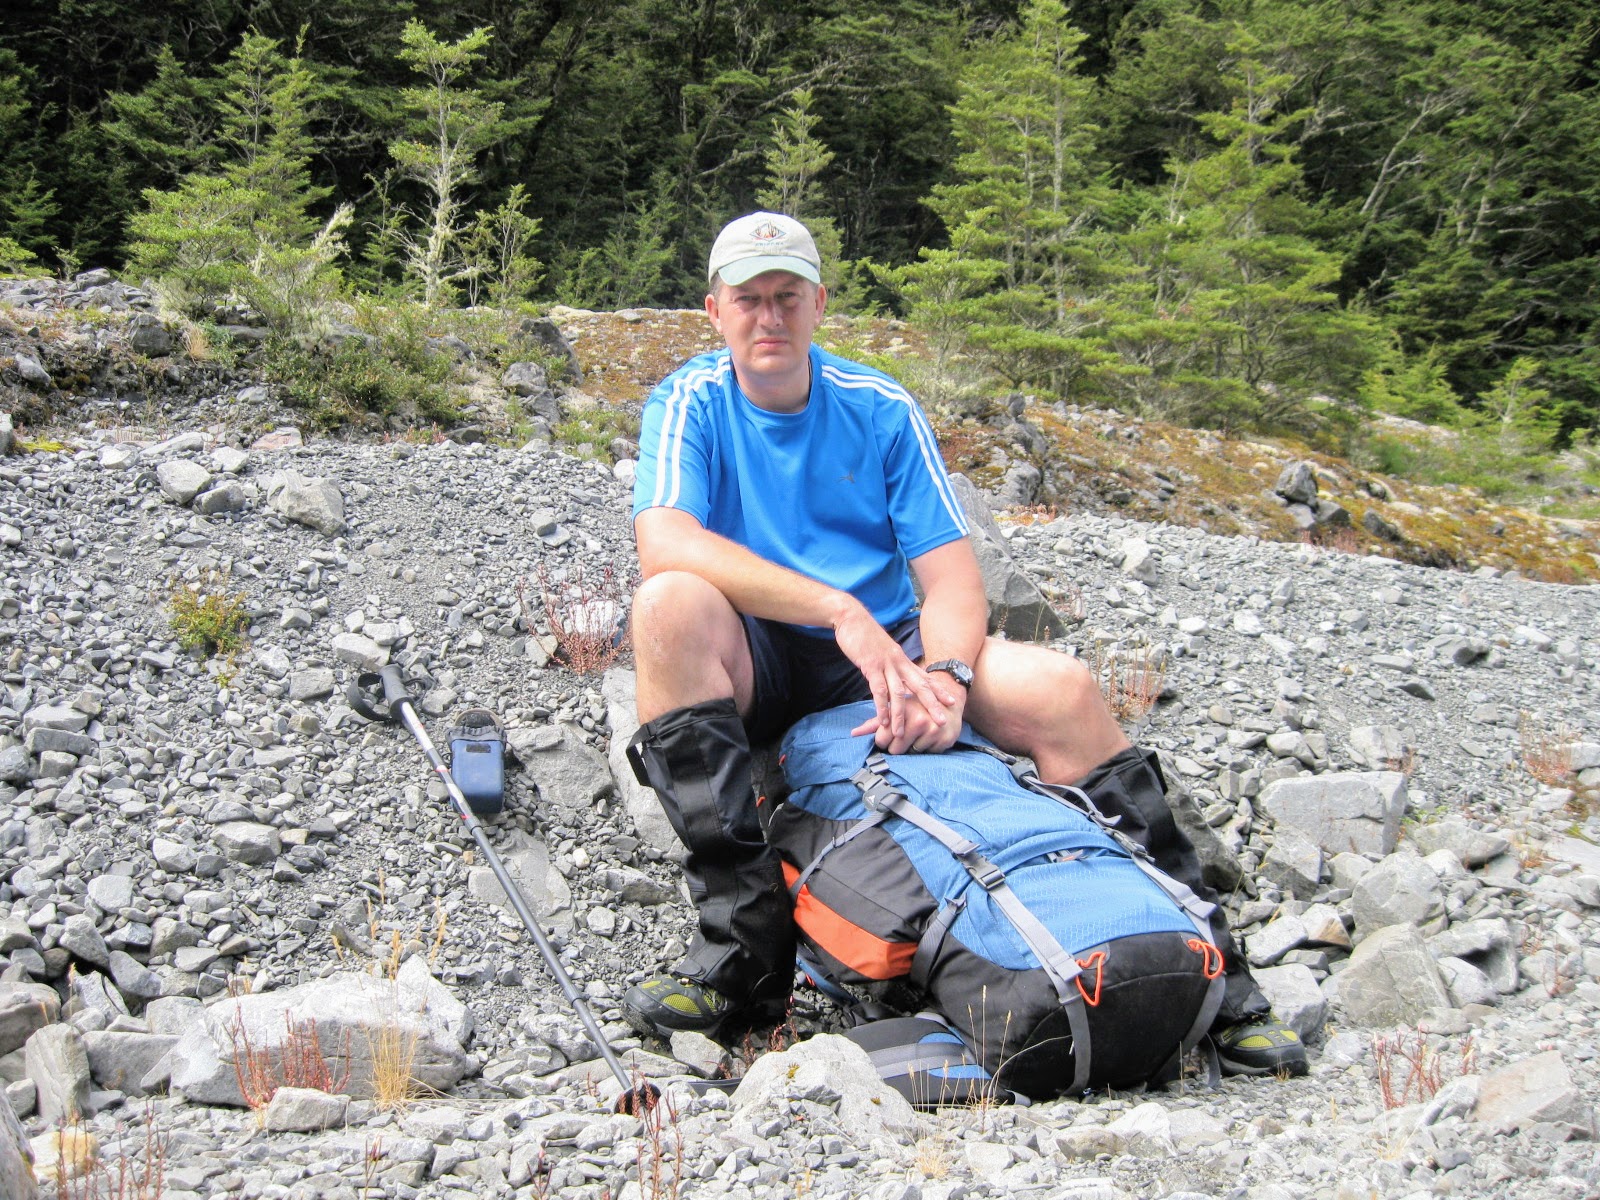
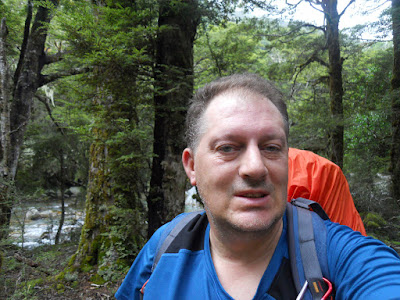
| Jon on Lake head Track, Nelson Lakes NP |
 |
| Lower Lakehead Track |
 |
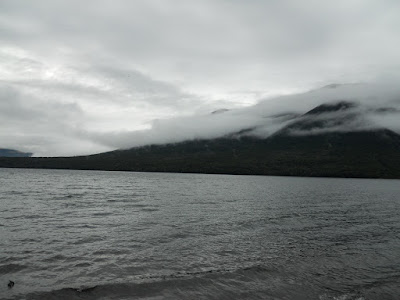
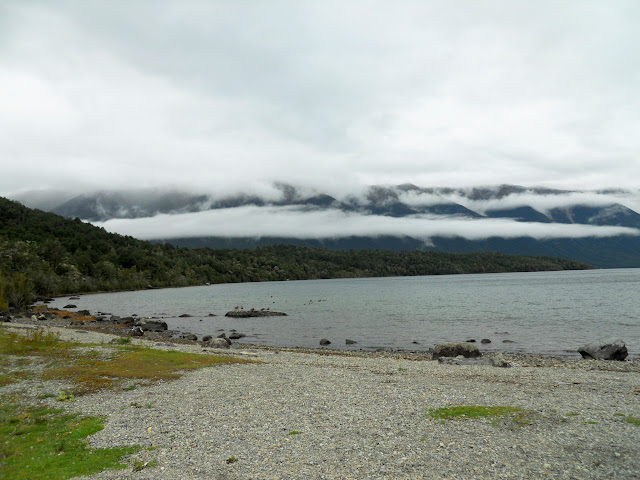
| A cloud covered Robert Ridge |
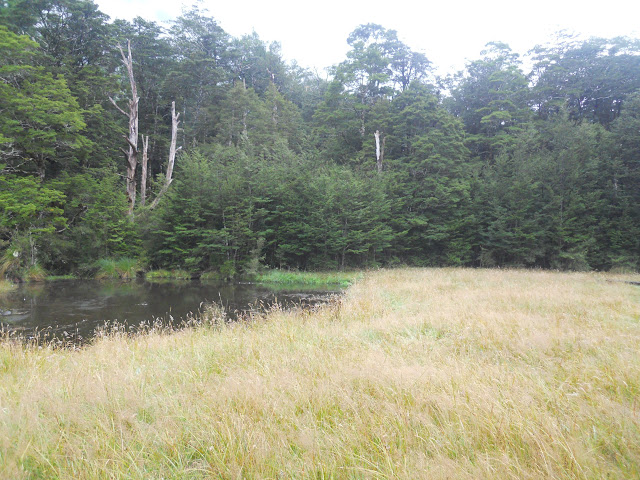
The weather was overcast but warm, probably about 20 degrees and very calm. Makes a change from the rain and wind I experienced when I walked the track in October last year.
 |
| Looking back over Lake Rotoiti to St Arnaud |
 |
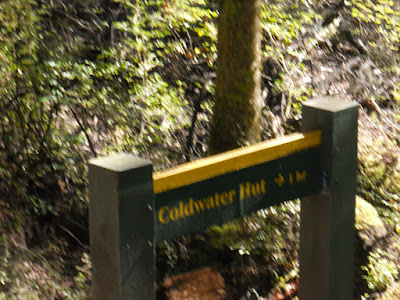
| Coldwater Hut on the other side of Lake Rotoiti |
Having walked this track before it was a swift and unsurprising trip. I reached
Lakehead Hut at about 2.30 pm after a pleasant trip of 2.5 hours. The track was much nicer to walk on as it was dry, I wasn't walking in pools of water like you do when it is raining.
 |
| It's actually about 2 hours to St Arnaud |
 |
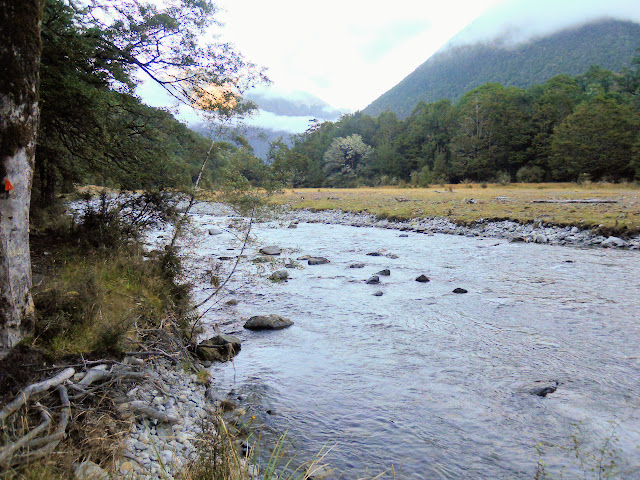
| Travers River mouth in the distance |
 |
| The Lakehead Hut jetty |
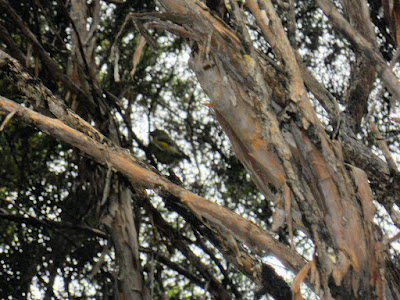 |
| Bellbird near the Lakehead Hut jetty |
I got to the hut at 2.30 pm for a late lunch of soup and wraps. I thought about continuing up valley but as I knew it was a least 3 hours to Hopeless Hut I decided to stay at Lakehead Hut instead.
 |
| Looking up valley from Lakehead Hut afternoon |
 |
| View down valley from Lakehead Hut |
 |
| My direction of travel for tomorrow |
I shared the hut that night with a French guy heading to Upper Travers Hut and a German couple who were on their way out to St Arnaud in the morning. It was a pleasant night discussing this and that and I turned in early at 8.30 pm as we had no candles so reading was out of the question.
 |
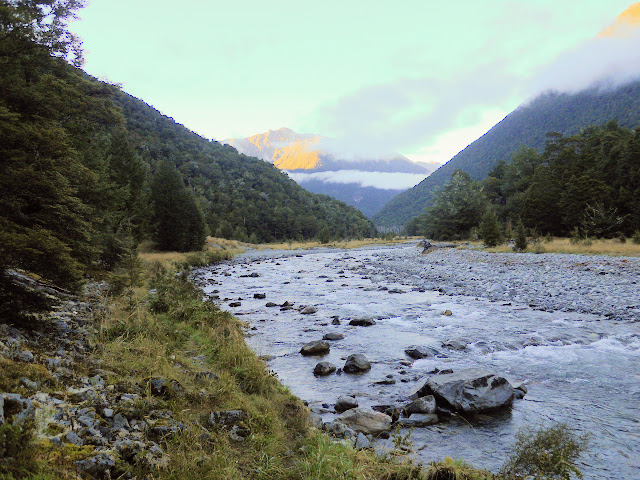
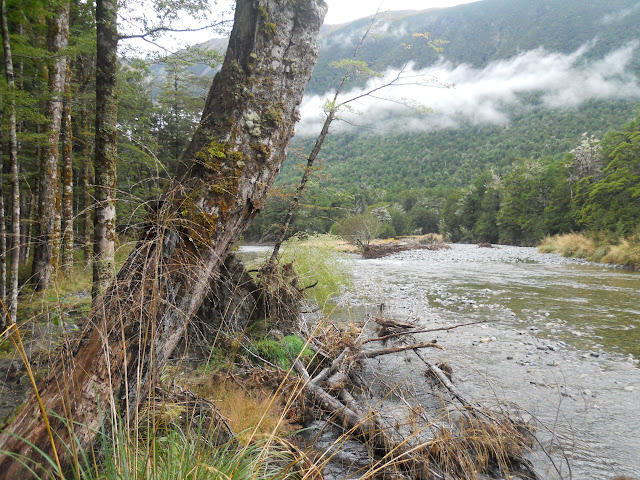
| Late afternoon fog in the Travers Valley |
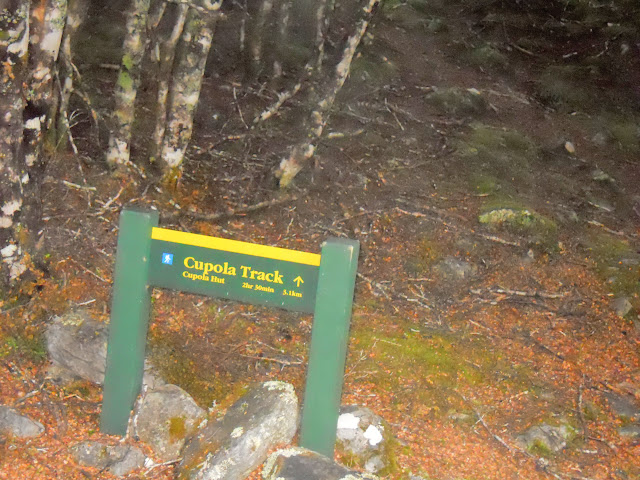
Day Two: Lakehead Hut to Cupola hut via John Tait Hut
On day two I was tramping from Lakehead Hut to John Tait Hut (15 km's, 4-5 hours) up the Travers valley. From there I would be walking another (6 km's, 2.5 hours) to get to Cupola Hut which was my destination for the night.
 |
| Day Two: Lakehead Hut to the Travers Swingbridge |
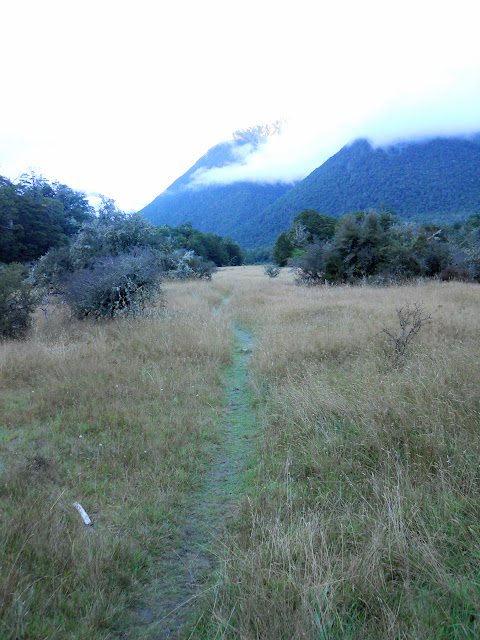
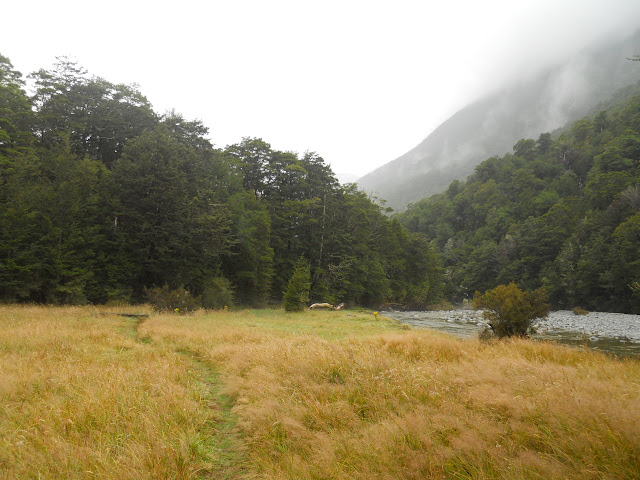
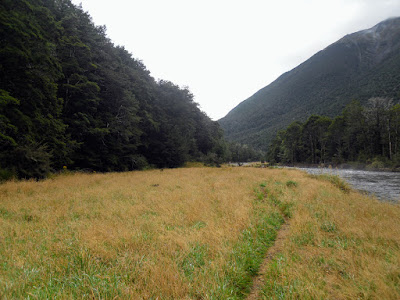
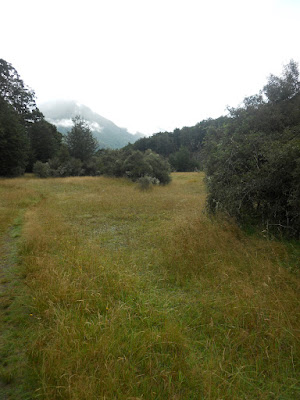
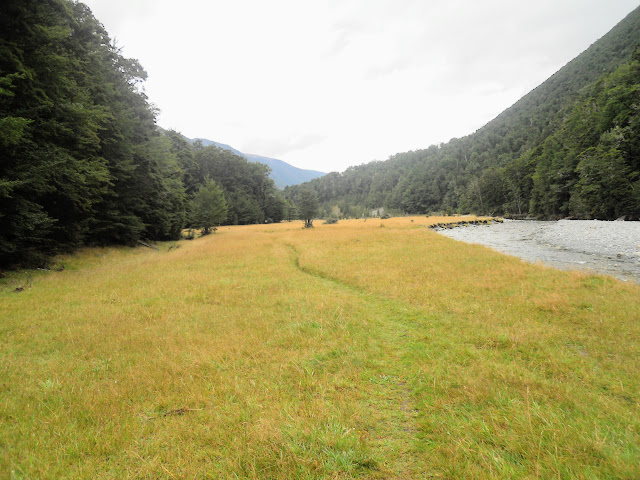
I was up at the crack of dawn and set off up valley just as the sun was cresting the eastern peaks along the Travers. The first hour or so was an easy walk over grass flats to the swing-bridge over the Travers River.
 |
| Starting out from Lakehead Hut |
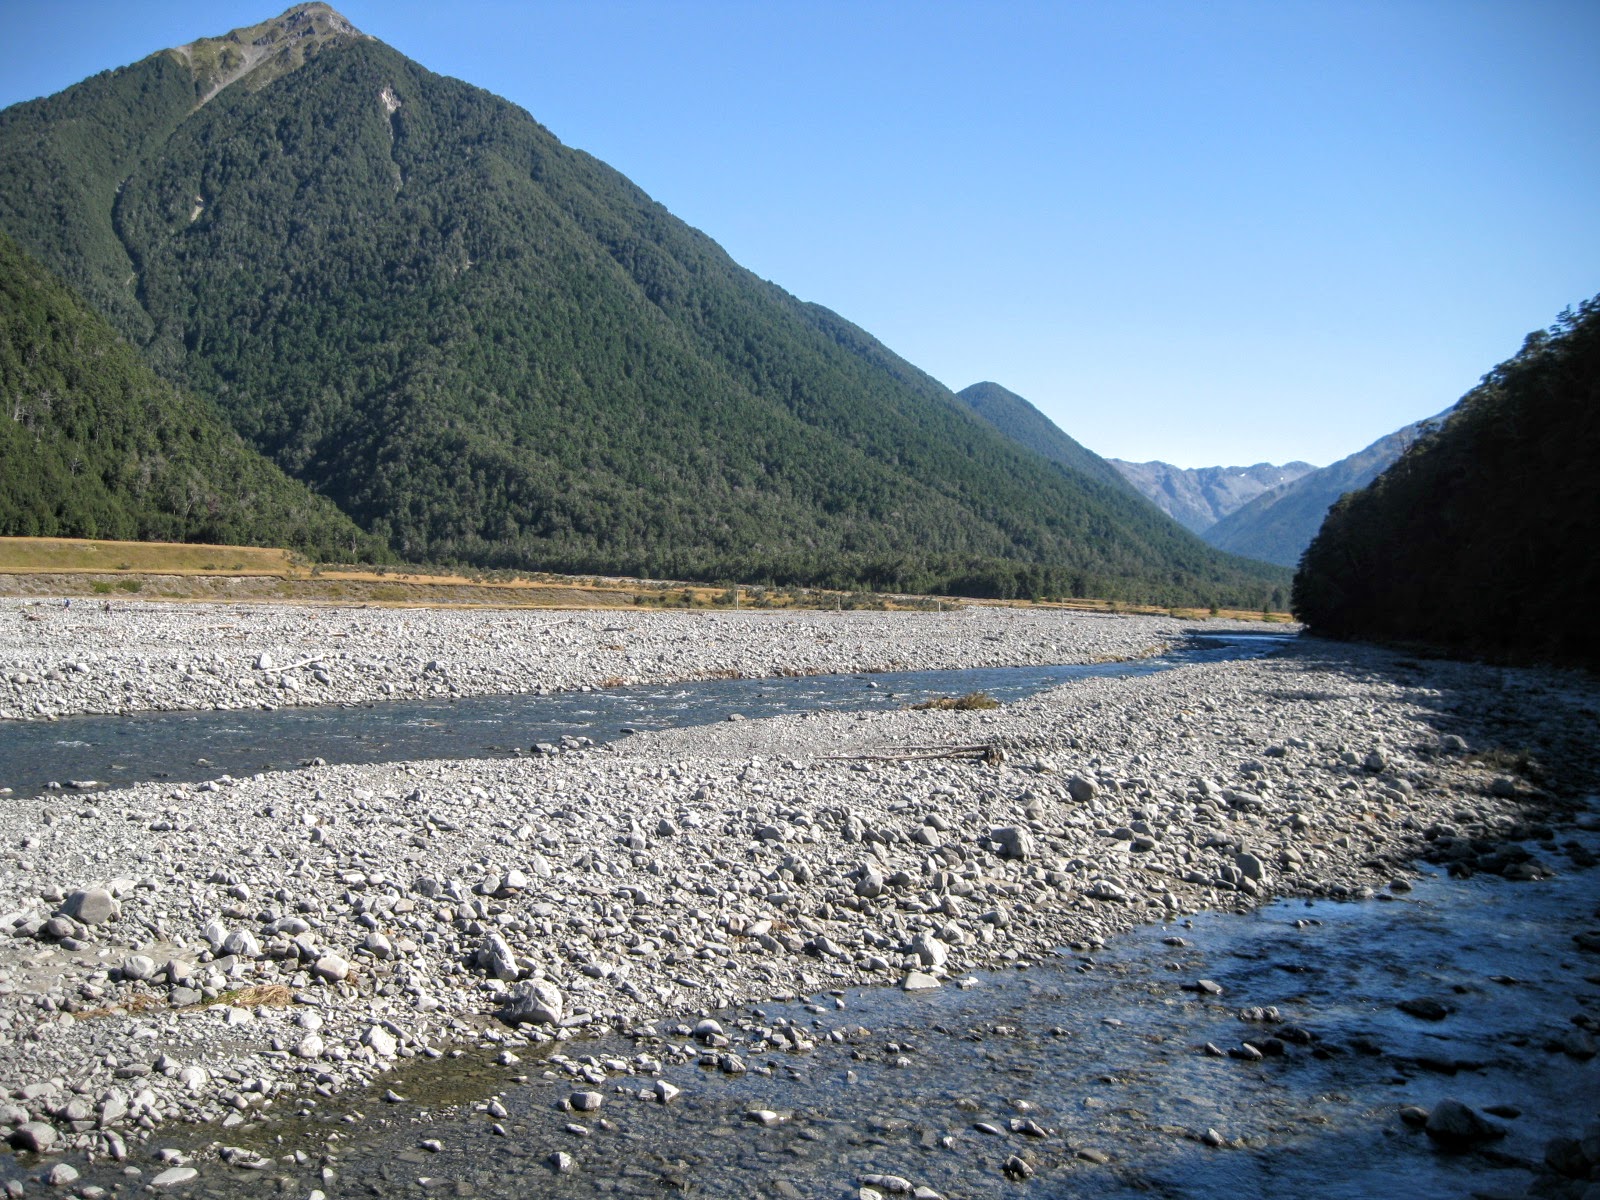
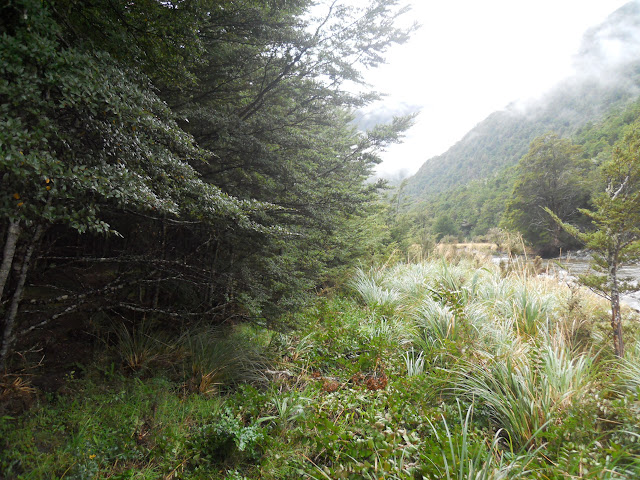
The Travers River used to run down the eastern side of this valley, but re routed itself during a big storm back in 2010. If there is a lot of rain then the river will still use the old bed as well as inundating the flats between the two braids of the river.
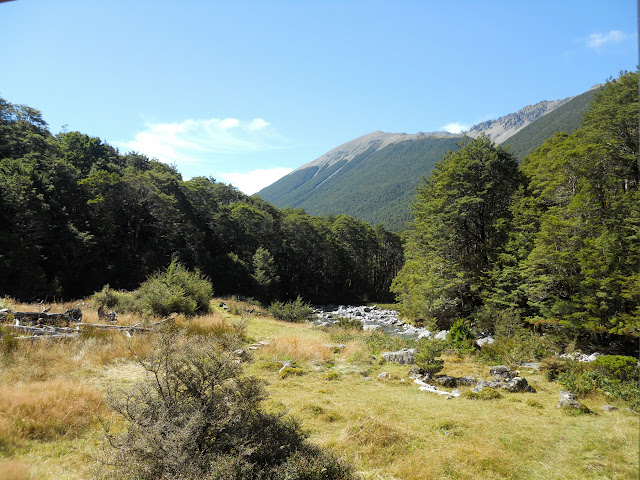
 |
| The old Travers river bed 25 mins up valley |
 |
| Obvious track heading to the Travers swing-bridge |
 |
| Recent flood debris over 200 metres from the Travers River.... |
 |
| Matagouri and long grass- Travers River Valley |
 |
| The old course of the Travers River |
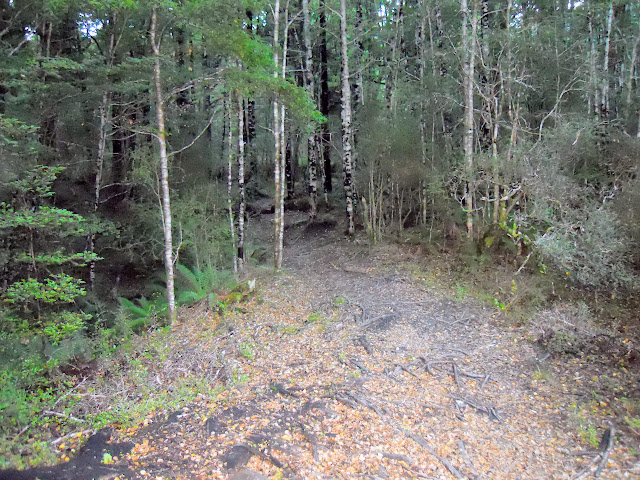
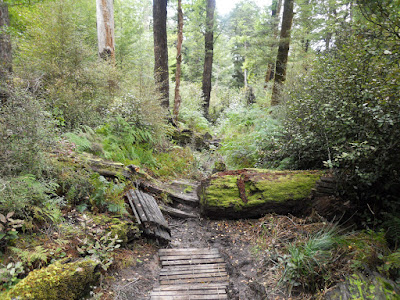
Once across the flats there is a short 20 minute section of forest and bush to pass through before reaching the Travers swing bridge. There are several places along here where the river has eaten the track away and you need to navigate past them.
 |
| The short forest section heading up to Travers swing-bridge |
 |
| Bit muddy but not too bad- Travers Valley Track |
 |
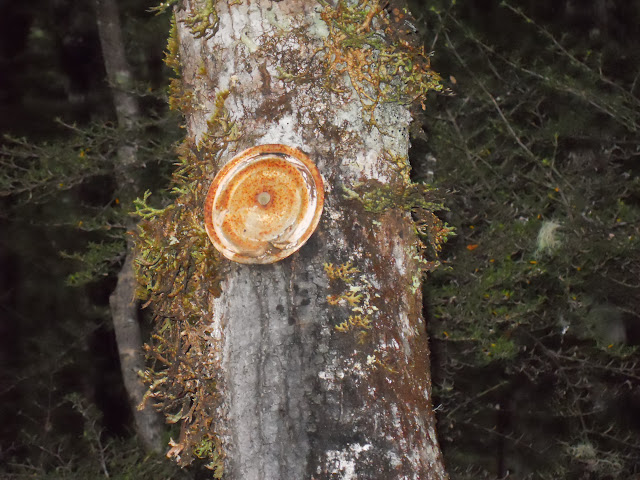
| Object d'Arte in Travers Valley...O.K......??? |
 |
| The Travers River has eaten the track..... |
 |
| Last bush finger before swing bridge |
 |
| Old cairn on the Travers Valley Track |
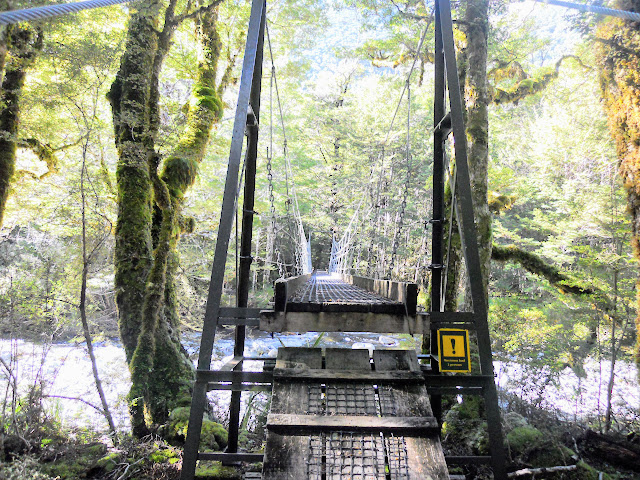
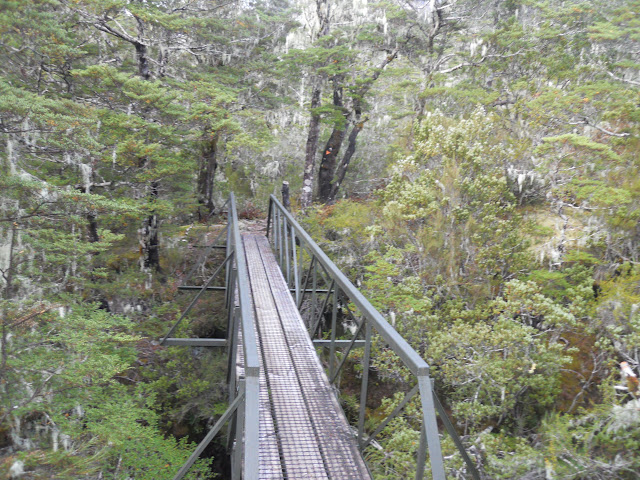
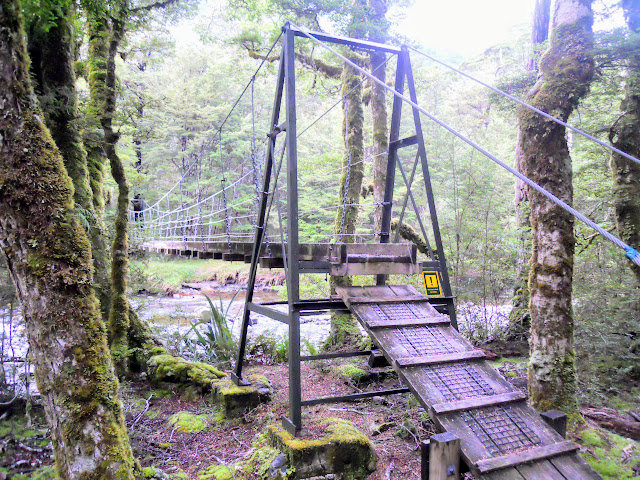
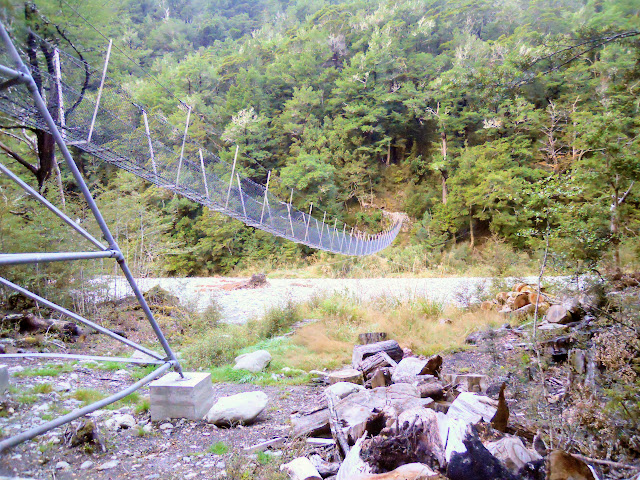
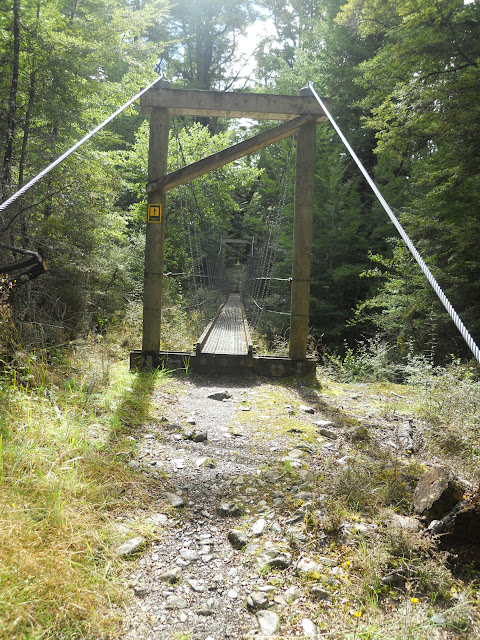
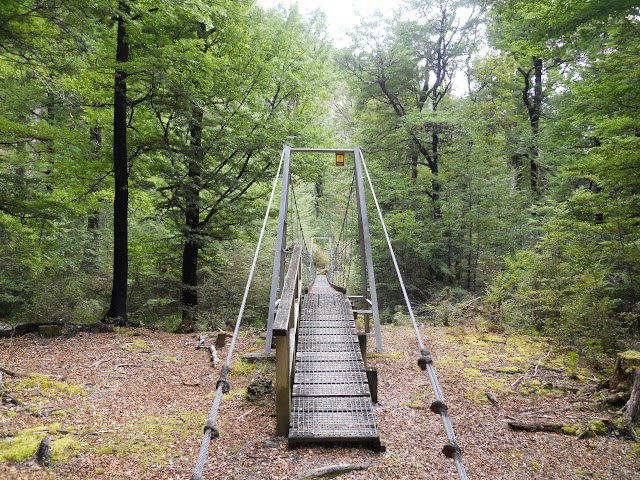
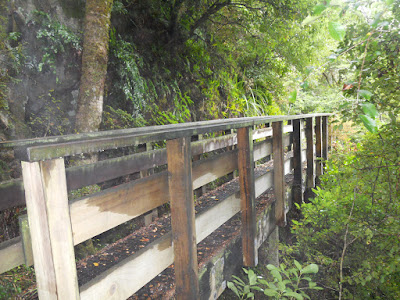
If you are doing the Lake Rotoiti circuit and are unable to use the lower ford this is the bridge you need to cross to get to the true left of the Travers River. It is a long and rickety bridge- so be prepared!
 |
| Travers River swing bridge |
From the swing-bridge it is about 40 minutes to Hopeless Creek, it is then another 2-2.5 hours to John Tait Hut closer to the head of the valley.
 |
| Map: Hopeless Creek to John Tait Hut |
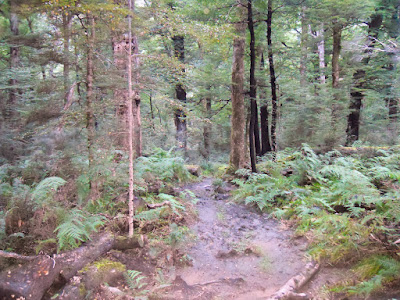
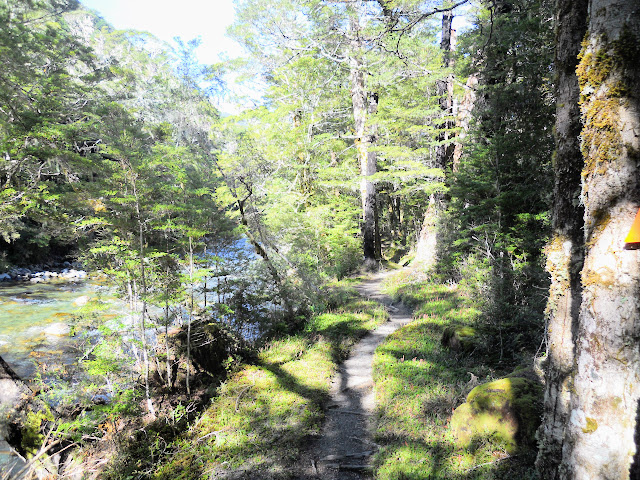
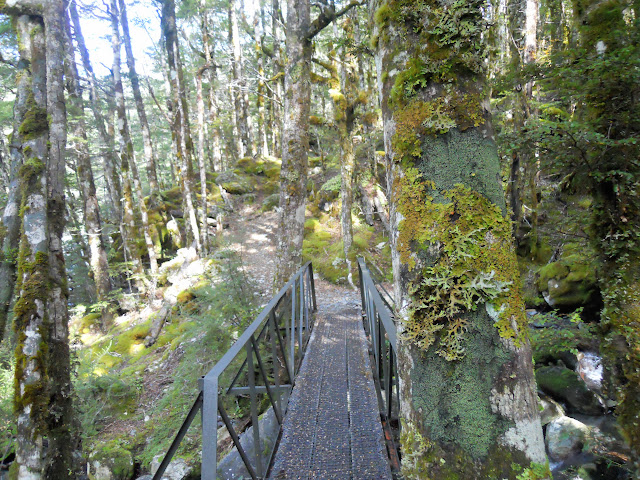
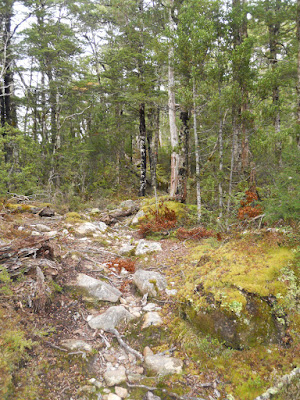
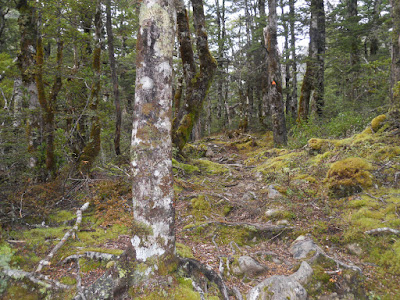
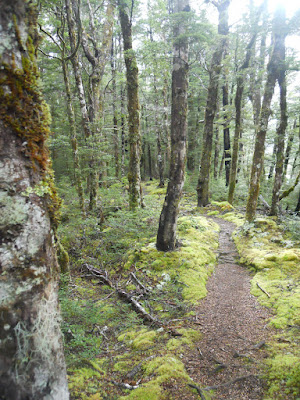
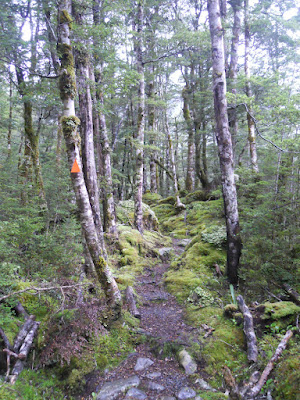
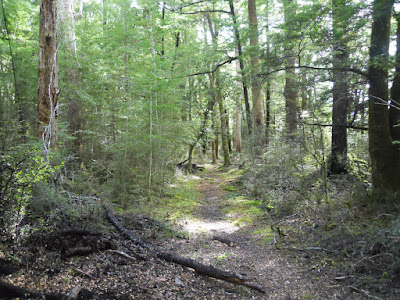
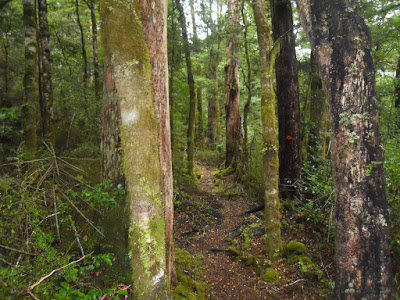
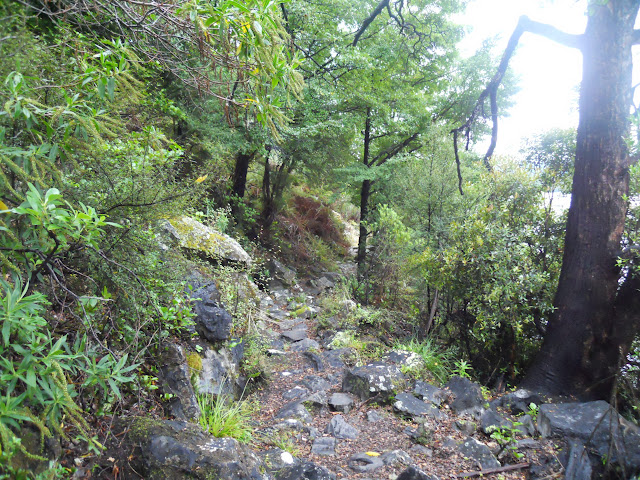
The track between the swing-bridge and John Tait hut is very nice. The track is a mixture of bush, river flats and small up and down climbs over the tail end of the ridges.
 |
| Heading up valley from the Travers swing-bridge |
 |
| Approaching Hopeless Creek |
 |
| Jon on the Travers Track day two |
 |
| Travers Track- nice easy tramping |
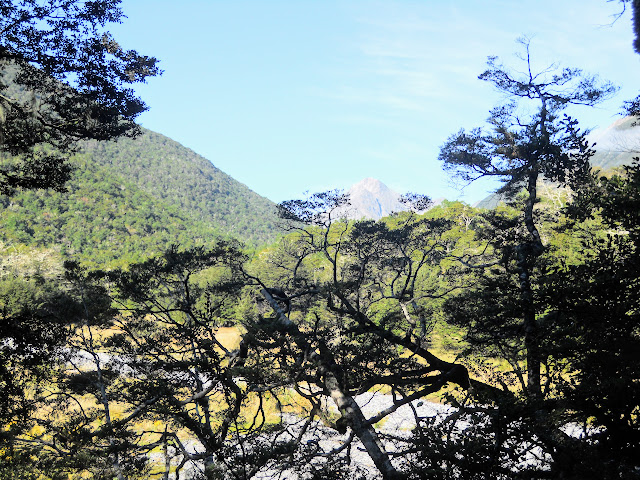 |
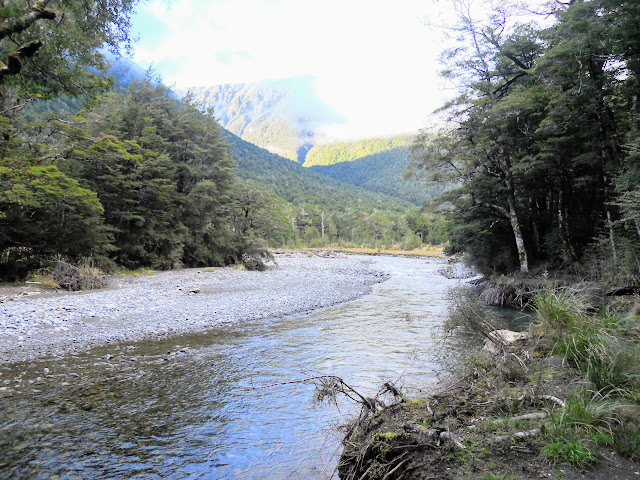
| Mt Travers in the distance |
 |
| Climbing up to Hopeless Creek Track |
 |
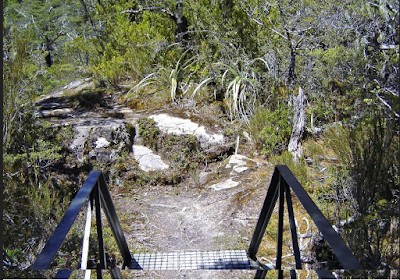
| Swingbridge over Hopeless Creek |
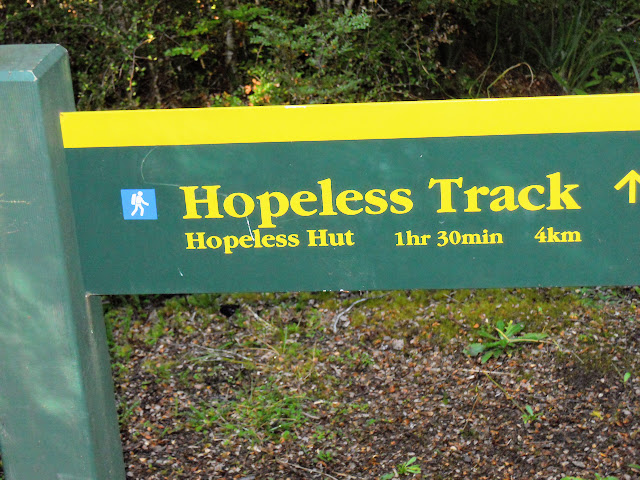
Hopeless Creek has a hut an hour and a half up the one of the side valleys. This is the destination for my next Nelson Lakes tramp, hopefully before the end of April.
Hopeless Hut is a small 6 bunk NZFS hut most commonly used by climbers accessing the surrounding peaks. It can also be visited from Lake Angelus but it would be a total pig of a climb down over dangerous bluffs- no track.
Not for the faint of heart or inexperienced!
 |
| Track junction for Hopeless Hut... |
 |
| ...my next objective in Nelson Lakes NP! |
 |
| Travers Valley narrows as you climb |
This fantail below followed me for about 30 minutes as I walked up the Travers Valley.
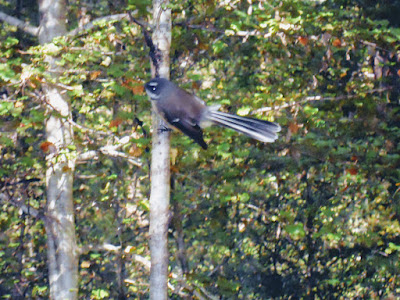 |
| New Zealand Fantail... |
 |
| ...shakin that ass...! |
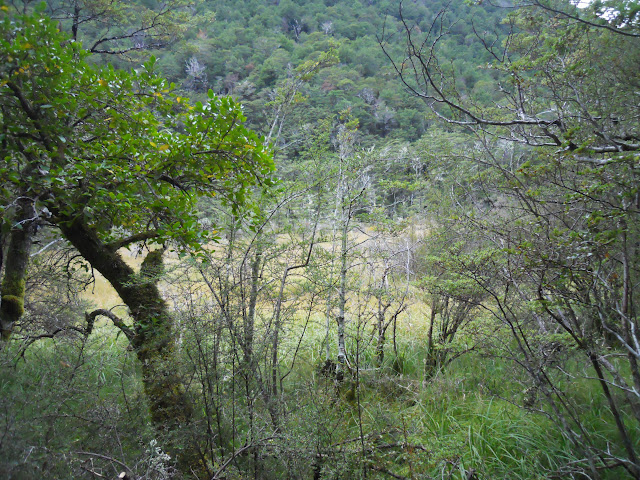
There are a number of very nice looking camping sites up the Travers Valley, none of them are official but it is perfectly legal to camp provided you are not right on top of the track.
 |
| Nice camping spot 2.5 hours up from Travers Swing bridge |
 |
| It is a nice wide track up the Travers Valley |
You strike a foot bridge and attractive cascading stream about 30 minutes from John Tait Hut.
 |
| Bridge about 30 minutes from John Tait Hut |
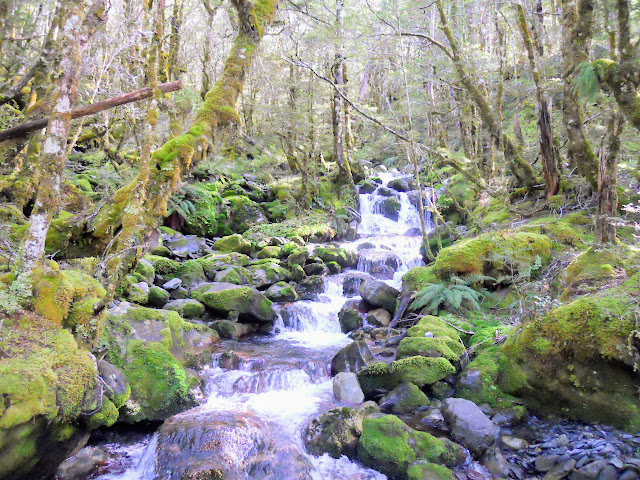 |
| Nice cascade 30 minutes from John Tait Hut |
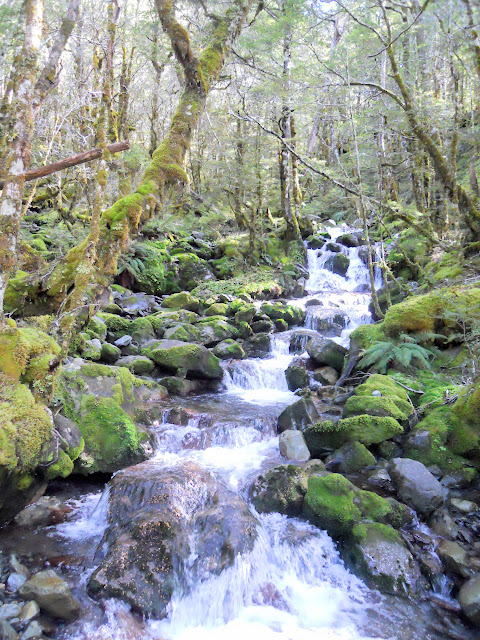 |
| Travers Valley Track: another view of the stream... |
 |
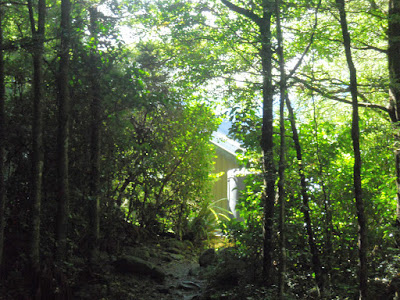
| First view of John Tait Hut through the forest... |
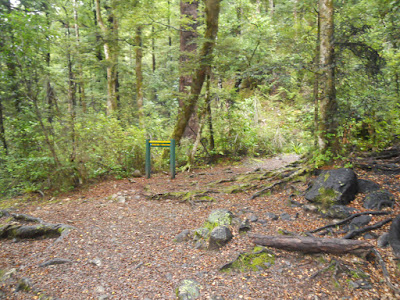
The Upper Travers Valley is notorious for avalanches in the winter/spring, hence all the warning signs. Both John Tait, Upper Travers and Cupola Hut's all sit on or near avalanche paths so can potentially get hit at any time from May through December.
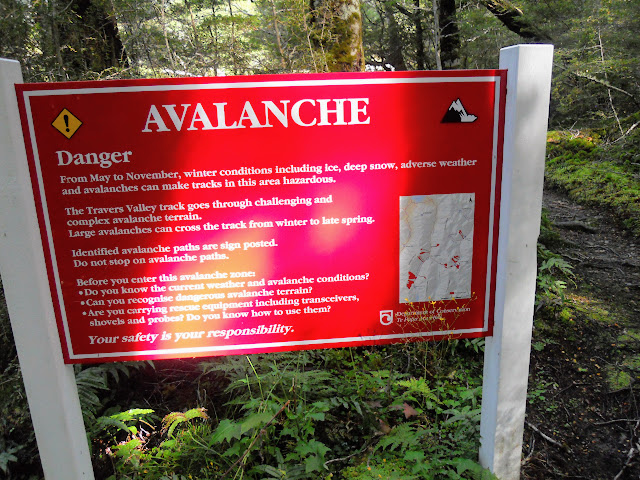 |
| Avalanche warning sign on the Travers Track |
I finally arrived at
John Tait Hut after 4.5 hours of trekking. This is an awesome hut, 28 bunks and is in excellent condition given it is over 40 years old. It was recently re painted and some maintenance has been done on it from the look of it.
This is the second John Tait Hut the original from the 1940's was replaced with the current hut in the late 1960's.
 |
| John Tait Hut II |
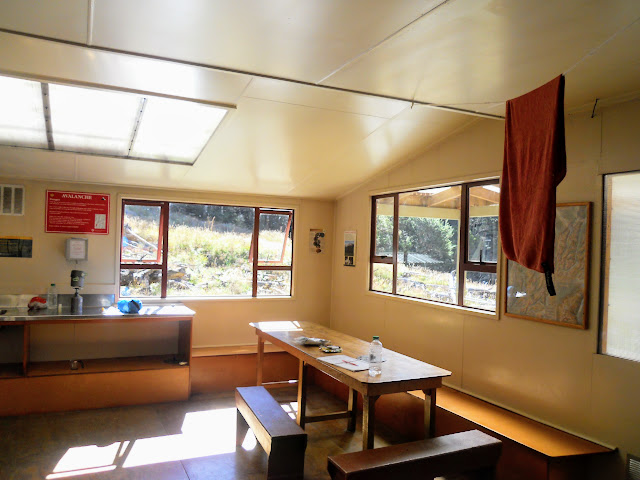 |
| Eating area at John Tait Hut |
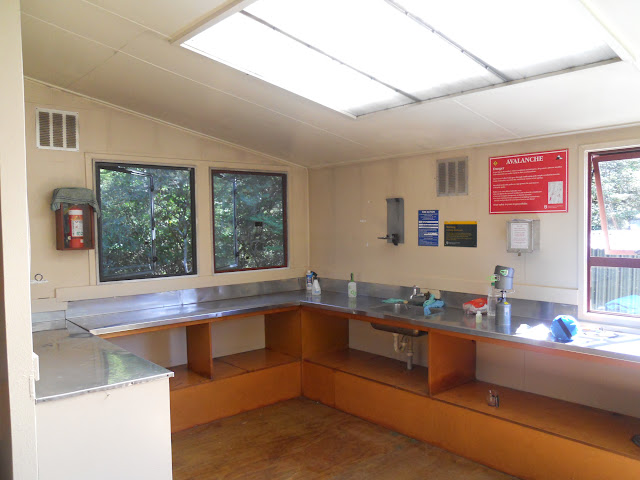 |
| Cooking space in John Tait Hut |
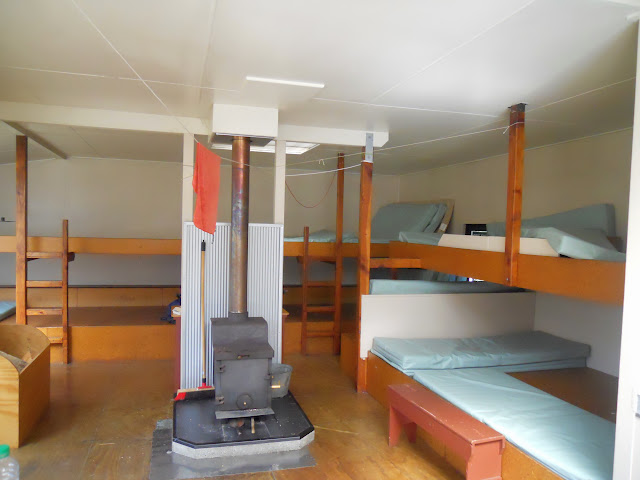 |
| The bunk area- John Tait Hut |
I stopped at the hut for about 40 minutes as I rested and ate my lunch, much better than being eaten alive by the sand-flies sitting on the side of the track somewhere.
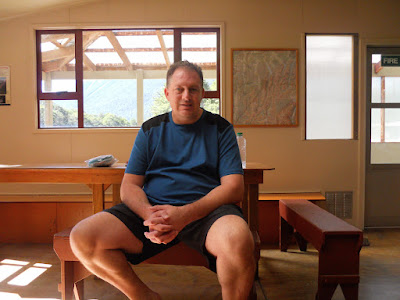 |
| Jon still feeling o.k at John Tait |
 |
| Lunch: Wraps, pate, soup and tea- I have a big climb ahead! |
 |
| View down valley from the verandah at John Tait |
As you can see from the photo below the avalanche path is literally 5 metres from the hut. That slide is made of decades if not centuries of avalanche material coming down. There is a photo inside of both the clearing AND the hut totally covered by an avalanche back in 2008. Not a place to be if there are heavy snow storms in the upper valley.
 |
| Avalanche fan & debris piled up near John Tait Hut |
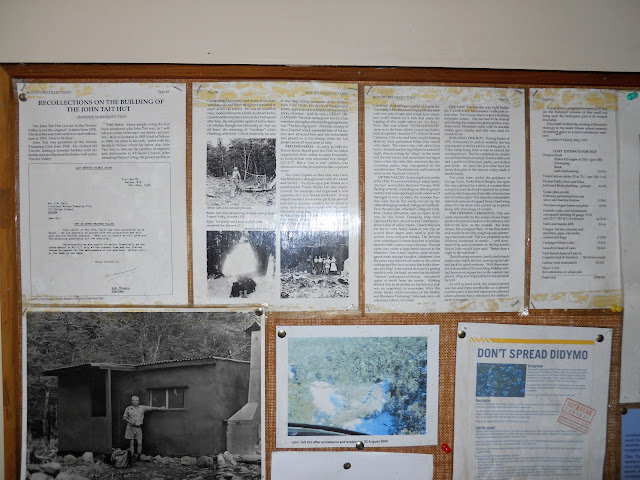 |
| Some information about John Tait and the first hut |
 |
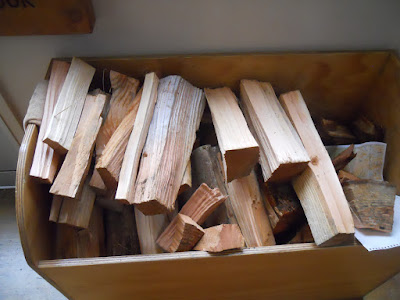
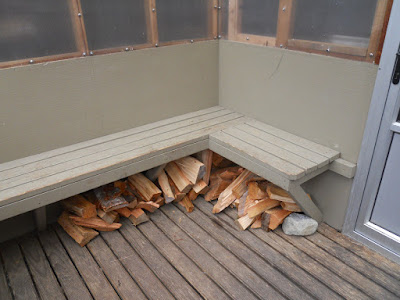
| Look at all that lovely wood....! |
After lunch I refilled my water bottles and set out for my destination for the night, Cupola Hut. Cupola Hut is about 3 hours up valley, there is a side track about 30 minutes from the hut, it is then 2-2.5 hours to the hut.
 |
| John Tait Hut to Cupola Hut |
The distance to both Upper Travers Hut and Cupola Hut are around three hours- the distance to both is about 6 km. Slow, slow travel. Yes...it is very steep in places!
 |
| Heading for Cupola Hut after lunch |
 |
| The track starts off flat-ish after John Tait... |
 |
| ...then gets much steeper! |
 |
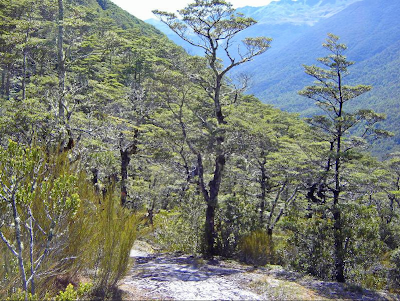
| Open forest-Upper Travers Track |
 |
| Travers Valley Track: the turn off to Cupola Hut |
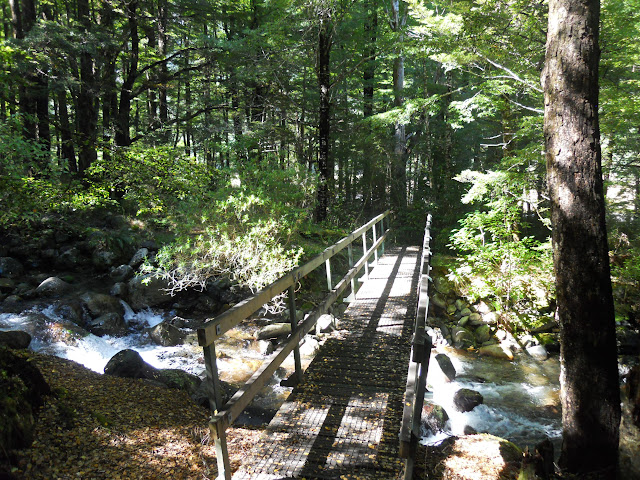
After turning off the main Upper Travers Track you start a gradual climb up to the head of Cupola Creek. You are on the true right to start but cross over another foot bridge about an hour up the side valley and stay on that side all the way to the hut.
 |
| Starting up Cupola Creek Track, Nelson Lakes National Park |
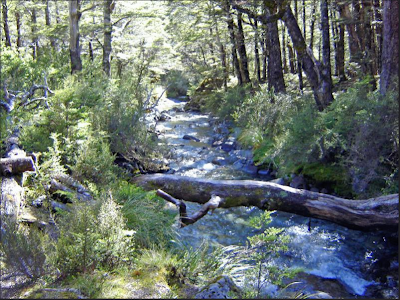 |
| Cupola Creek is your companion for awhile, Nelson Lakes National Park |
 |
| Crossing the bridge mid way to Cupola Hut, Nelson Lakes National Park |
The last section of the track is a switch back, it takes longer to cover the distance but it sure is a lot less painful way to do so. It wont be the original track: back in the old NZFS days they just went straight up ridgelines, none of this fancy back and forth stuff.
Because they were HARD!
 |
| Nelson Lakes National Park, Start of the switch back climb to Cupola Hut |
 |
| Nearly at Cupola Hut, Nelson Lakes National Park |
I arrived at
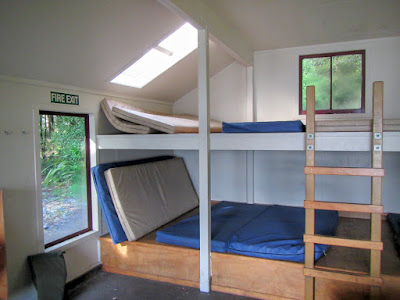
Cupola Hut around 4 pm. The view from Cupola Hut isn't magnificent, there are too many trees in the way for that. It is in a nice location though, perched high up on a ledge on the mountain side. The hut is a modified NZFS70 6 bunk hut from the 1960's.
 |
| View from Cupola Hut- not much of a view! |
I was surprised because the hut has a water tank, the DOC website says there is no water source. Also bloody irritated as I had 3.5 litres of HEAVY water on me as I was expecting a dry hut
 |
| End of Cupola Track, Cupola Hut Ledge, Nelson Lakes National Park |
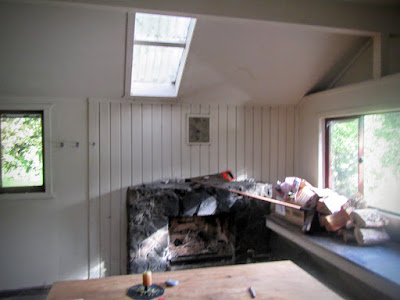
The hut is classic NZ Forestry Service goodness: it has 6 bunks, an open fire, a small table and bench seats, cooking bench and a selection of FMC and hunting magazines. It is mostly used by climbing parties attempting the local peaks.
 |
| View of the outside of Cupola Hut, Nelson Lakes National Park |
I had the hut to myself that night which was nice as every other night I was sharing a hut. Just as well as I was knackered- 8 hours on track doesn't sound like much to a young bugger but I'm a semi fit 49 year old. I lay down for a rest when I arrived and didn't wake up until 7 pm....
 |
| Potential avalanche source above Cupola Hut |
Cupola Hut is also on an avalanche pathway, in this case high steep cliffs above the hut sometimes release snow after large storms. There are signs on the track warning of the avalanche danger.
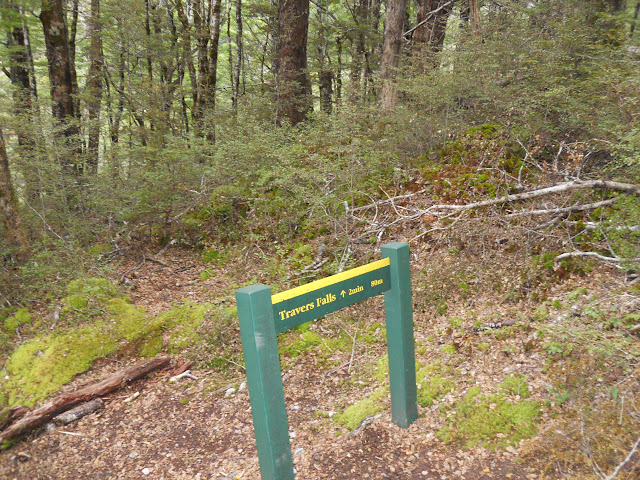
Day Three: Cupola Hut to Travers Falls, then to John Tait Hut
Day three was a short trip back down to John Tait Hut (about 5 km's, 2.5 hours) for the night, as an added bonus and because it was only 30 minutes away I went up valley to visit Travers Falls. The first hour and a half was back out to the main Travers Valley track, then right turn and marche.
 |
| Map: Cupola Hut to John Tait Hut |
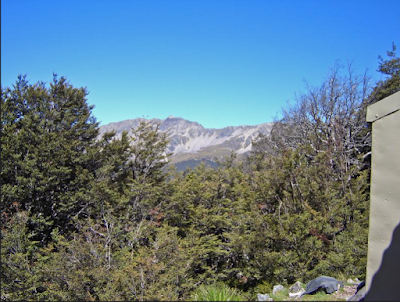
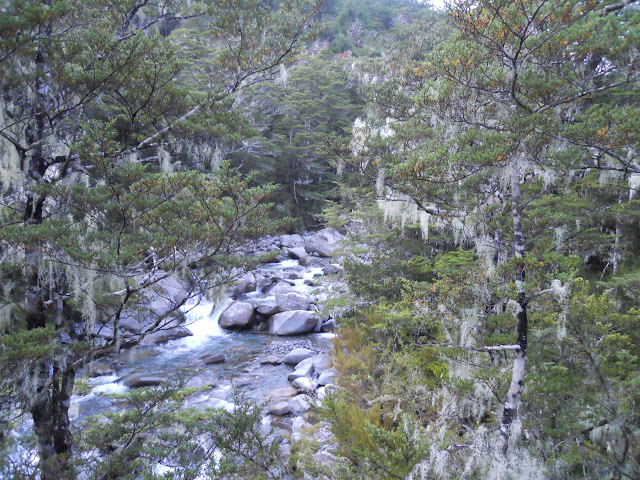
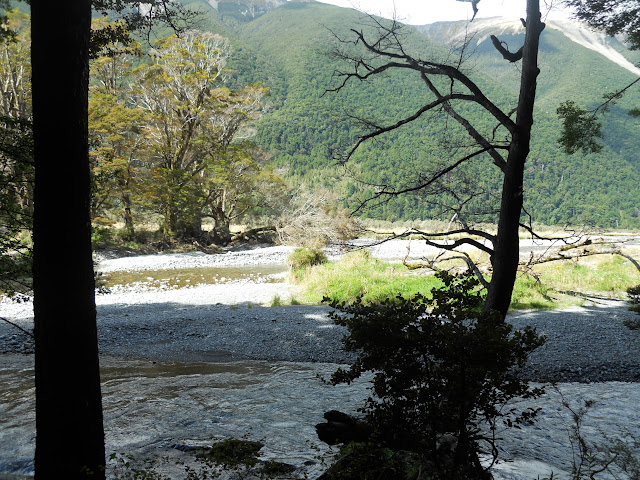
Once on the main Upper Travers Track it is a steep climb uphill to the Travers Falls turn off about a kilometre away. The track follows alongside the Travers River with the occasional climb to avoid gorges.You are just able to make out Mt Travers as you climb the track.
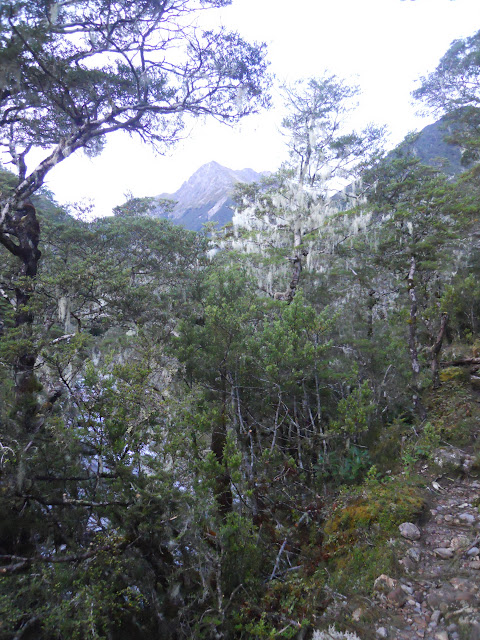 |
| View of Mt Travers through the trees, Upper Travers Valley Track |
 |
| Bridge over Cupola Creek, main Upper Travers Track |
 |
| Cupola Creek: Deep gorge down there! |
 |
| Upper Travers Valley: moss covered alpine stream bed |
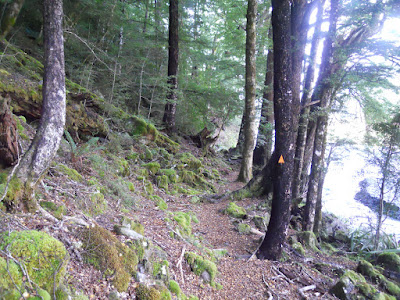
Below is a classic form of track marking, the top of a can has been cut off and nailed to a tree. In the old days the Forestry Service used old paint tin lids and later strips of Permolat which was a reflective strip much like a metal Venetian blind. The ubiquitous orange triangle only came in with the birth of DOC in the late 1980's.
 |
| Old style NZFS paint lid track marker....Upper Travers Valley Track |
 |
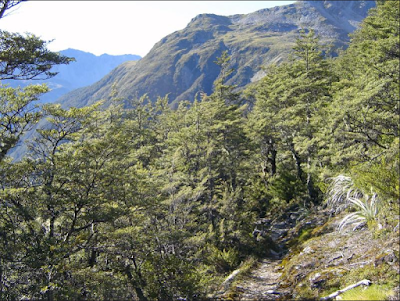
| Upper Travers Valley Track is steep, rocky... |
 |
| ...and covered with roots! |
 |
| A high alpine Mire near Travers Falls, Nelson Lakes National Park |
 |
| Heading down to Travers Falls, Travers Valley Track |
Travers Falls is only 15 meters high but the volume of water passing over it still makes it worth a visit. It was really loud as it is in a water carved amphitheatre, be careful of the track/ viewing area as it is steep and wet from the spray. Go have a look if you are passing this way.
 |
| Travers Falls from the viewing track, Nelson Lakes National Park |
I continued on up the track for another 15 minutes to see what I could see, I turned back at the first stream/avalanche path as the bridge that used to cross the stream has been washed away. Then it was back tracking to John Tait Hut for the night.
 |
| Upper Travers Hut is 2 hours that way.... |
 |
| Upper Travers Valley: there should be a bridge here....avalanche chute! |
 |
| Heading back down to John Tait Hut |
 |
| View downstream from John Tait Hut, Travers Valley |
 |
| John Tait Hut: Someone has a fetish about making wooden faces.... |
 |
| I went a bit crazy with the axe...John Tait Hut |
 |
| ...still more wood...at John Tait Hut |
 |
| ...and even more wood! |
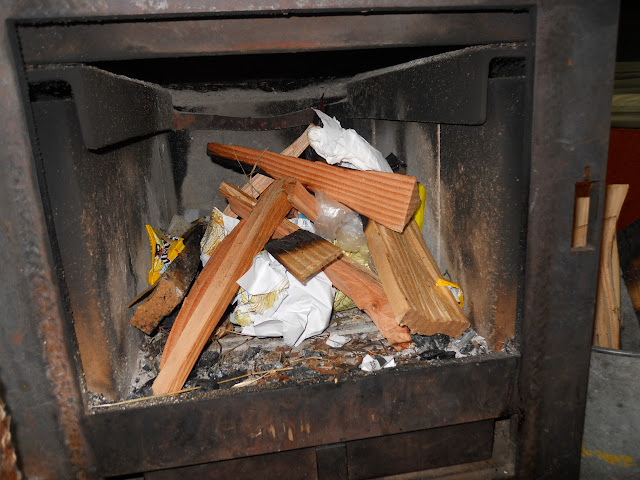 |
| John Tait Hut: Firebox set up and ready to go! |
There were just the two of us in the hut that night: myself and a young woman from Germany (...hi Luisa, I hope the rest of your trip goes well, it was nice meeting you...).
It must be slightly weird to find yourself staying in a hut overnight with a stranger, especially if you are a young woman from another country. In the dark because, you guessed it, there weren't any candles in the hut.
 |
| Jon outside John Tait Hut, Nelson Lakes National Park |
I'm such a Dad though I generally put people at ease fairly quickly, you just chat to them and shove some tea in their hand. Works wonders in my experience.
I was a bit surprised the hut was so empty as it was a Saturday, I thought there might have been more people tramping over the weekend. I think people were put off by the forecast of bad weather which only arrived mid-day on Monday. So you missed out on some fine weather!
We had the fire going later that night as it got cold once the sun went down at about 5 pm, very nice it was too!
Day Four: John Tait Hut to Coldwater Hut
Day four started out cloudy but got progressively better as the day wore on. The trek today was back down valley following the main Travers Track till the swing-bridge (13 km's, 3 hours). Then it was following the track down the true right of the Travers to Coldwater Hut (6 km's, 2 hours).
Luisa and I walked separately down valley, she was nursing some awesome blistered heels and wanted to go at her own pace. In the event she was only 25 minutes behind me at the end of the day.
 |
| The John Tait Hut veranda |
 |
| John Tait Hut in its clearing, Travers Valley |
 |
| Heading for Coldwater Hut- near John Tait Hut |
 |
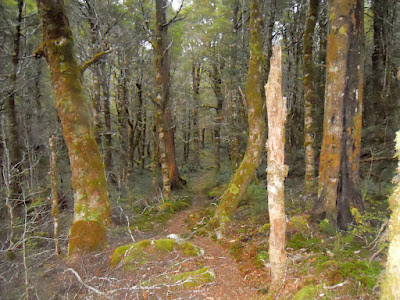
| Nice open forest, near John Tait Hut |
 |
| Mossy goblin forest, Travers Valley |
 |
| Jon on his way to Coldwater Hut |
 |
| Walking alongside the Travers River, Nelson Lakes National Park |
 |
| Travers Valley Track: small tarn halfway to the swing-bridge, and... |
 |
| ...the very nice camping spot nearby, Travers Valley Track:. |
 |
| Lovely open red beech forest on the Travers Valley Track: |
 |
| The Hopeless Creek bridge, Travers Valley |
 |
| Travers Valley Track: there is a track there....somewhere... |
About half way to the swing-bridge there is a point where the river has eaten away the bank causing a shingle slide. To pass it there is a very obvious track but it is high, steep and slippery. Don't use this as you will probably end up falling over. Instead you should just follow the low track right next to the river.
 |
| The problematic shingle slide near Hopeless Creek, Nelson Lakes NP |
 |
| Beech and ferns, John Tait Track |
 |
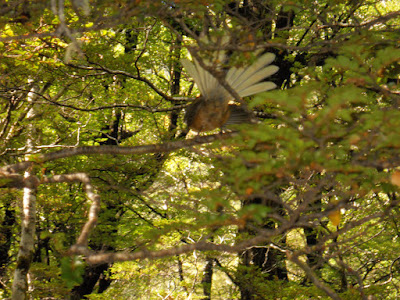
| A native New Zealand Wren, Travers Valley Track |
 |
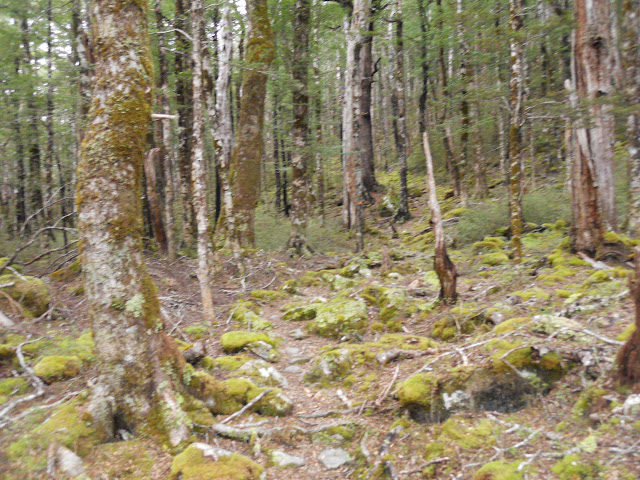
| Another patch of goblin forest, Travers Valley |
Below is another spot where the river is gradually eating away the river bank, you need to do a bit of a bush bash to get around it...
 |
| More river damage between John Tait and the Travers swingbridge |
There are a number of excellent camping spots in the Travers Valley, all of them have had obvious use, in fact I saw two of them occupied when I headed up the valley earlier in my trip.
 |
| Travers Valley Track: another nice camping spot an hour from the Travers swing bridge |
 |
| More possible camping spots along the Travers River |
 |
| The flats just up from the Travers swing bridge |
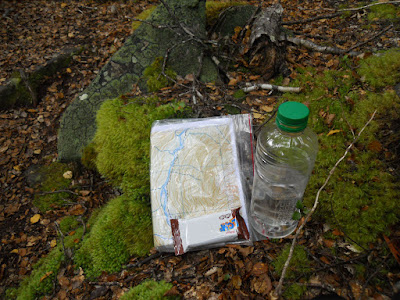 |
| Snack and map check, near Travers swing-bridge |
 |
| Travers Valley Track: the last significant climb for the day |
 |
| Back at the Travers swing-bridge, lower Travers Valley |
 |
| NO!!!! More like 1.5-2 hours..... |
 |
| Down stream of the Travers swing bridge, Nelson Lakes NP |
Downstream of the Travers swing-bridge the track is a mixture of river flats, short bush sections and bridges which cross all of the major side streams on this side of the Valley. It takes about 2 hours to get from the swing-bridge to Coldwater Hut, ignore the bogus track times posted by DOC.
 |
| River flats, true left of Travers River, Nelson Lakes National Park |
 |
| Nice track between Travers Swing-bridge and Hukere Stream |
 |
| First suspension bridge over Hukere River, Travers Valley |
 |
| The mighty Hukere River...is not so mighty! |
 |
| The second suspension bridge over Shift Stream, Nelson Lakes NP |
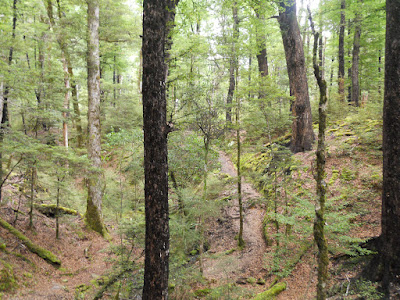
The track up to this point is rather nice and easy to walk. From Shift Stream to the ford over the Travers it turns into a bloody irritating son of a bitch. The track isn't terrible, just not well maintained: muddy, too many ups and downs to avoid hazards, lots of fallen trees, unclear track signs etc etc. This is the only part of the whole five days that had me swearing aloud.
It wasn't just me, all four of the people staying in Coldwater Hut that night said exactly the same thing.
 |
| Travers Valley Track deteriorates mid valley on the true left |
 |
| First view of Lake Rotoiti for the day, Travers Valley, Nelson Lakes National Park |
 |
| Frickin irritating long grass and indistinct track- Lower Travers Valley |
 |
| Gawd-damn never ending slog to Coldwater Hut |
 |
| The Travers River ford sign |
 |
| Those times are about right...near the Travers River Ford |
 |
| Walking next to the Travers River, Lower Travers Valley |
 |
| Lower Travers Valley near the river mouth, Nelson Lakes National Park |
 |
Chandler Stream- last bridge before Coldwater Hut, Nelson Lakes National Park |
 |
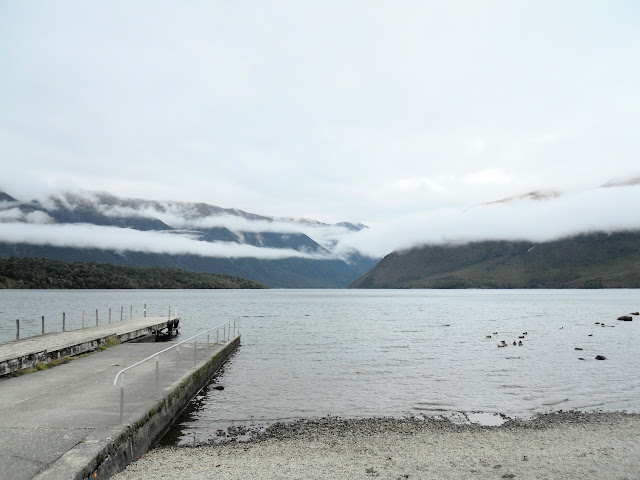
| First view of Coldwater Hut |
 |
| Coldwater Hut from the jetty |
 |
| Inside of Coldwater Hut (October 2016) |
 |
| Sleeping platforms, Coldwater Hut (October 2016) |
 |
| Coldwater jetty at dusk, Lake Rotoiti and St Arnaud Ranges to front, Nelson Lakes National Park |
There were four of us in
Coldwater Hut that night: myself, Luisa (Germany), a guy called Christen (Belgium) and a woman from Spain. An international mix if ever there was one.
Its a nice wee hut, 12 bunks, open fireplace (no wood) with an awesome view of the lake but the sand flies are murderous. You can see some big old eels from the end of the jetty (3-4 metres long at least).
A group of Canterbury University trampers stopped for a swim off the jetty, they said the water was warm but I noticed they didn't stay in very long (they almost levitated out of the water when the eels started swimming around them....).
It absolutely hosed with rain overnight, from about 7 pm right through to 5am in the morning... winter has arrived folks...
Day Five: Coldwater Hut to St Arnaud
The last day was the walk back to St Arnaud along Lakeside Track (16 km's, 3 hours). I've been down this track four times now so the distance just seemed to motor past. I have my time from Coldwater Hut to the Mt Robert road down to just over 2 hours.
Easy walking even with a wet, slippery track.
 |
| Map: Coldwater Hut to start of last climb to Mt Robert Road |
The weather was great for walking; mild, with the odd patch of drizzle
but not enough to call for a wet weather jacket. The higher ranges on
both sides of the lake were covered with cloud for most of the day.
 |
| Coldwater Hut jetty at dawn on the last day, Lake Rotoiti |
 |
| Start of Lakeside Track near Coldwater Hut |
 |
| First bridge on Lakeside Track, Nelson Lakes National Park |
 |
| Another view, first bridge Lakeside Track |
 |
| Approaching Whisky Falls on the Lakeside Track |
 |
| The turn off to Whisky Falls 45 minutes down valley |
 |
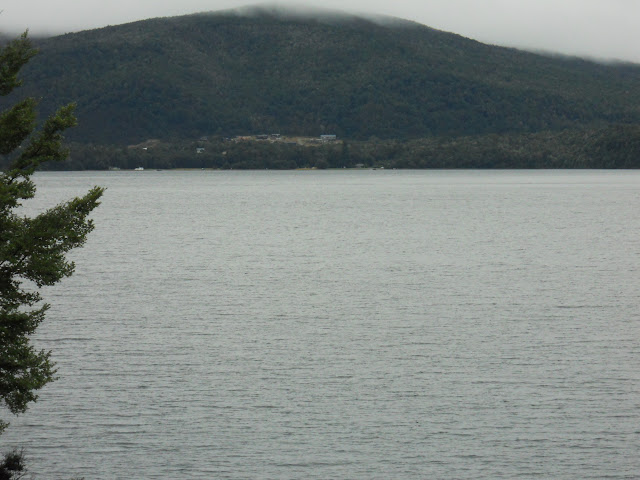
| Lake Rotoiti from the Lakeside Track, Nelson Lakes National Park |
 |
| Bridge over side stream, Lakeside Track |
 |
| St Arnaud in the distance, from Lakeside Track, Nelson Lakes National Park |
 |
| One of the shingle slides coming down from Mt Robert, Lake Rotoiti |
 |
| Stony part of the Lakeside Track, Nelson Lakes National Park |
The track was a bit wet and slippery but I just took extra care and was very aware of foot placement.
 |
| Parachute Rocks are up there somewhere, from Lakeside Track, Nelson Lakes National Park |
 |
| Jon at Lake Rotoiti, Nelson Lakes NP |
 |
| Map: Mt Robert Road to St Arnaud |
The last bit of
Lakeside Track is the slow steady climb up to the road, it is about 35 minutes to the end of the track once you start climbing. To start with it is steep but it levels out the higher you climb.
 |
| Starting the climb to Mt Robert road, from near Lake Rotoiti |
 |
| Nearly at the Mt Robert road, Lakeside Track, Nelson Lakes National Park |
 |
| There is the end of Lakeside Track...Mt Robert Road in front |
Once on the Mt Robert road it is 20 minutes to West Bay and then another 15 minutes to the car parking area at the DOC workshops.
 |
| Mt Robert access road from the end of the Lakeside Track |
 |
| Lake Rotoiti from West Bay, Nelson Lakes National Park |
 |
| Rotoiti Peninsula from West Bay, Nelson Lakes National Park...nearly there! |
 |
| Lake Rotoiti and Mt Robert from the Kerr Bay car park |
Another good trip in Nelson Lakes National Park, this is now my favourite location for tramping adventures. There are certainly a lot more people passing through here but I never felt like the park was crowded at any time. While you are walking you still have the forest largely to your self, and the huts were mostly empty.
I hope to be back late in April to finish my exploration of the Travers Valley by visiting Hopeless Hut....lets hope the weather holds out!
 |
| On SH 6 just past Hanmer on the Thursday morning |
Travel to St Arnaud and Picton
Just a final note to anyone travelling between Christchurch and points north, you should factor extra time into your travel plans. Normally I can get to Nelson Lakes in 4.5 hours; this trip it took me 6 to get there and 6.5 on the return. Its not the traffic it is the road works: at least 40% of SH7/6/65 are being repaired or widened at the moment.
It makes for SLOW travel....
Access: Via the Travers Valley track, from St Arnaud Township
Track Times: 3 hours to Lakehead Hut, 4-5 hours to John Tait Hut, 3 hours to Cupola Hut, 6 hours from John Tait to Coldwater Hut, 4 hours to St Arnaud
Hut Details: Lakehead; serviced, 24 bunks, wood burner, water tank: John Tait: serviced, 28 bunks, wood burner, water tank: Cupola: standard, 6 bunks, wood burner, water tank: Coldwater: standard, 14 bunks, open fire, water tank
Miscellaneous: In an active avalanche zone, care needed in Winter-Spring, some un-bridged side streams