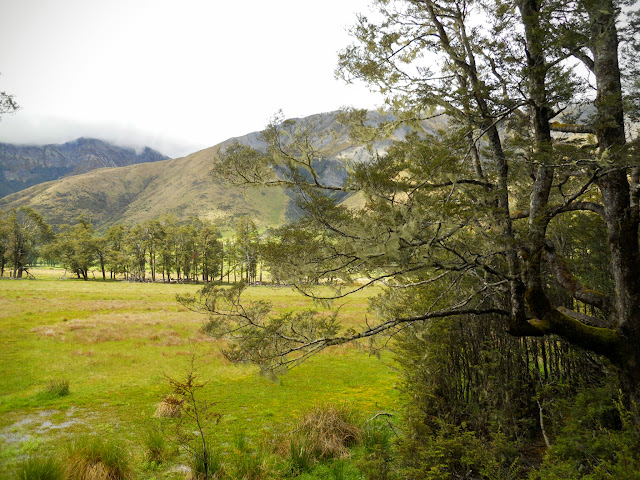
To Boyle Flat: A trip on the St James Walkway
Over the weekend I went for a overnight trip along the St James Walkway to Boyle Flat Hut near Lewis Pass. The hut is about 4-4.5 hours from the car park at Boyle Village.
This is yet another of my alternate plans as my first option was scrubbed by the weather. The St James is a great destination for a walk, the track has good huts and bridges across all of the major rivers. The walkway can be tramped in most conditions, except very heavy rain when some of the side streams can be impassable.
 |
| Southern terminus of the St James Walkway |
Day One: To Boyle Flat from Boyle Village
This tramp is also part of the Te Araroa Trail, one day of a longer 7-8 day trip. The section consists of: Lake
Rotoiti -Travers Saddle - Waiau Pass - Waiau Valley - Ada Homestead - St James Walkway - Anne Hut - Anne Saddle - Boyle Village.
 |
| St James Walkway...the southern section of the track |
The road end car park is a moderately secure spot to leave your car, you can also leave it at the Boyle Outdoor Education Centre if you like. It is $10 per day, they can also drop you at the northern end of the walkway for $20 NZD (call to arrange first).
 |
| Access road to St Andrews Flats and St James Walkway |
As usual, I followed the 4 W/D access road which heads up the valley, it starts right next to the car park. About 1.5
km's along it you come to a track junction which leads you to the St
James Walkway. Using this road will cut about 30 minutes off your time,
the track itself is a series of wearing climbs and descents.
 |
| Turn off for St James Walkway from access road |
There are a series of flat swampy terraces along the track, they are always alive with new flowers at this time of the year, really magical.
 |
| Open area on the St James Walkway |
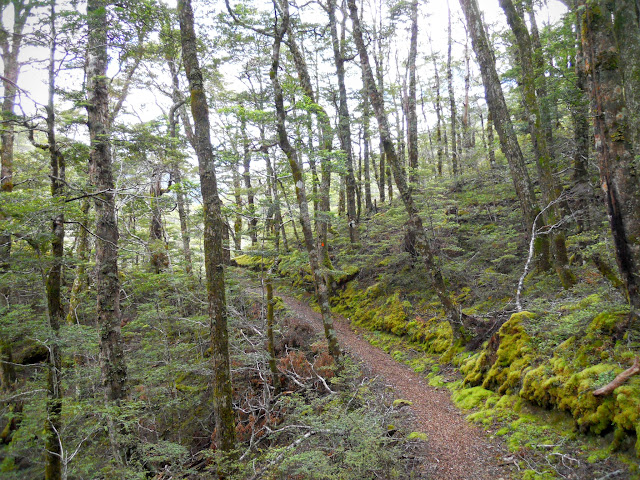
The first part of the track is through open red beech forest, with the river as a background soundtrack.
 |
| St James Walkway: Descending to first Swing bridge |
You eventually arrive at the first swing bridge over the Boyle River, a classic sight in the NZ back country. There is supposed to be some really excellent trout fishing in the large pools around the bridge.
 |
| Boyle River swing bridge |
The track meanders alongside the river for the first couple of kilometres, eventually it descends to the valley floor and heads off across it towards the head of the valley. The track is a bit rough, and also muddy, especially after rain.
 |
| Boyle River, St James Walkway |
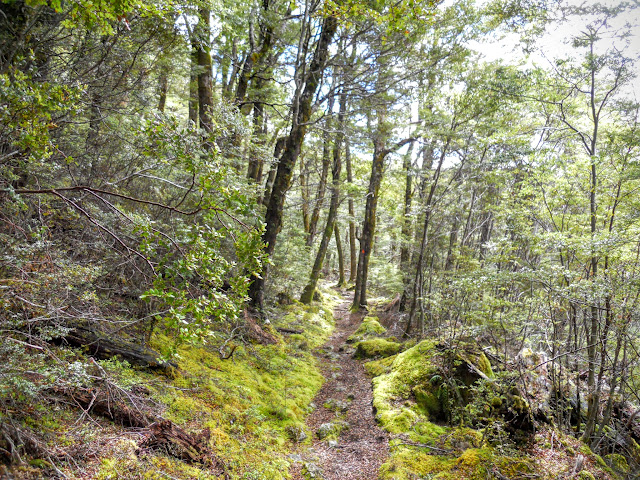 |
| St James Walkway...open beech forest |
 |
| St James Walkway: crossing a bush finger |
You cross a series of side stream's on the way, they are usually very low, but can cause some problems in heavy rain. I noticed that they are now infested with "rock snot", a type of invasive aquatic weed, it makes for foul, slippery footing.
 |
| Unnamed side stream on the St James Walkway |
The river flats along the bottom of the valley were also awash with broom/gorse flowers, that is Pt. 1271 in the centre of the photo.
 |
| St James Walkway: colourful gorse on St Andrews Flats |
Here I am having a 5 minute break on my way up the valley. It was warm on the Friday, I believe it got up to 25 degrees in the area, the first really good tramping weather I have had this season.
|
|
| Jon on the St James Walkway |
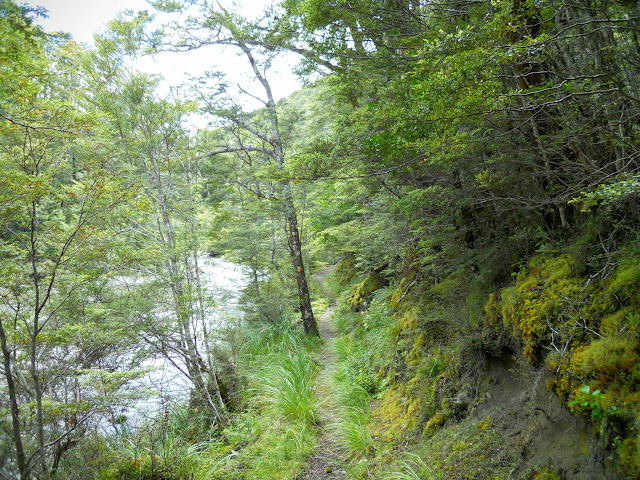
The track meanders along, always with the river in view, along the river terraces and through some tongues of forest.
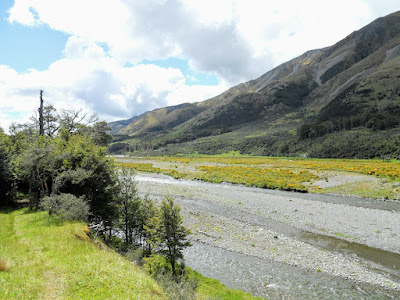 |
| Boyle River and river flats, St James Walkway |
 |
| East towards Mt Maritana and St Andrews |
There were some threatening looking clouds out to the East, fortunately they never amounted to anything.
 |
| Threatening weather over the Opera Range |
 |
| Crossing cattle flats on the St James Walkway |
I had a New Zealand Robin following me for about a kilometre, they like to catch the insects you disturb as you walk along- they make for good company. I managed to get a couple of good shots of this one as he was very bold.
 |
| New Zealand Robin on the St James Walkway |
 |
| Close-up of same robin, St James Walkway |
Just before you start the descent to the second Boyle swing bridge you can see down to the clearing where Magdalen Hut sits. Normally all you would see is forest but so many trees have been blown over you can actually see down to the river in a number of places.
 |
| View towards Magdalen Hut from the St James Walkway |
 |
| St James Walkway, heading down to the second swing bridge |
Classic view of the second Boyle River bridge. I've been over this beauty 11 times now, mostly as I'm on my way to/from Magdalen Hut which is one of my favourites in the area.
 |
| Second swing bridge on the St James Walkway |
You turn left over the bridge and start walking up hill towards the gorge of the Boyle River. The track starts to climb straight away, and generally continues for the next hour to the hut. There is a stile and fence across the track to stop cattle from getting into the rest of the Boyle Valley.
 |
| St James Walkway: stile near the second Boyle River swing bridge |
I was having a short break near the stile when Chris, one of the
instructors at the Boyle Outdoor Education Centre, came along. He was
out for a week long tramp as part of his end of year annual leave. We
had a good chat for about 20 minutes about tramping and the general
state of play in the area.
 |
| The start of the climb into the Upper Boyle Valley |
After climbing over a spur, there is about a 1 kilometre section of track meandering alongside the river, all slightly up hill of course.If you could get over to the true right side of the river there are some nice looking camp sites.
 |
| Middle Boyle Valley from the St James Walkway |
 |
| Gorge on middle section of Boyle River |
 |
| St James Walkway skirting Boyle gorge area |
The track then sidles slowly upwards, at one point you are about 80-100 metres up from the river itself. The track is moderately steep through here, it was certainly easier to walk downhill the next morning.
 |
| Steeper incline on the track climbing to Boyle Flats |
 |
| St James Walkway, open forest in the Middle Boyle |
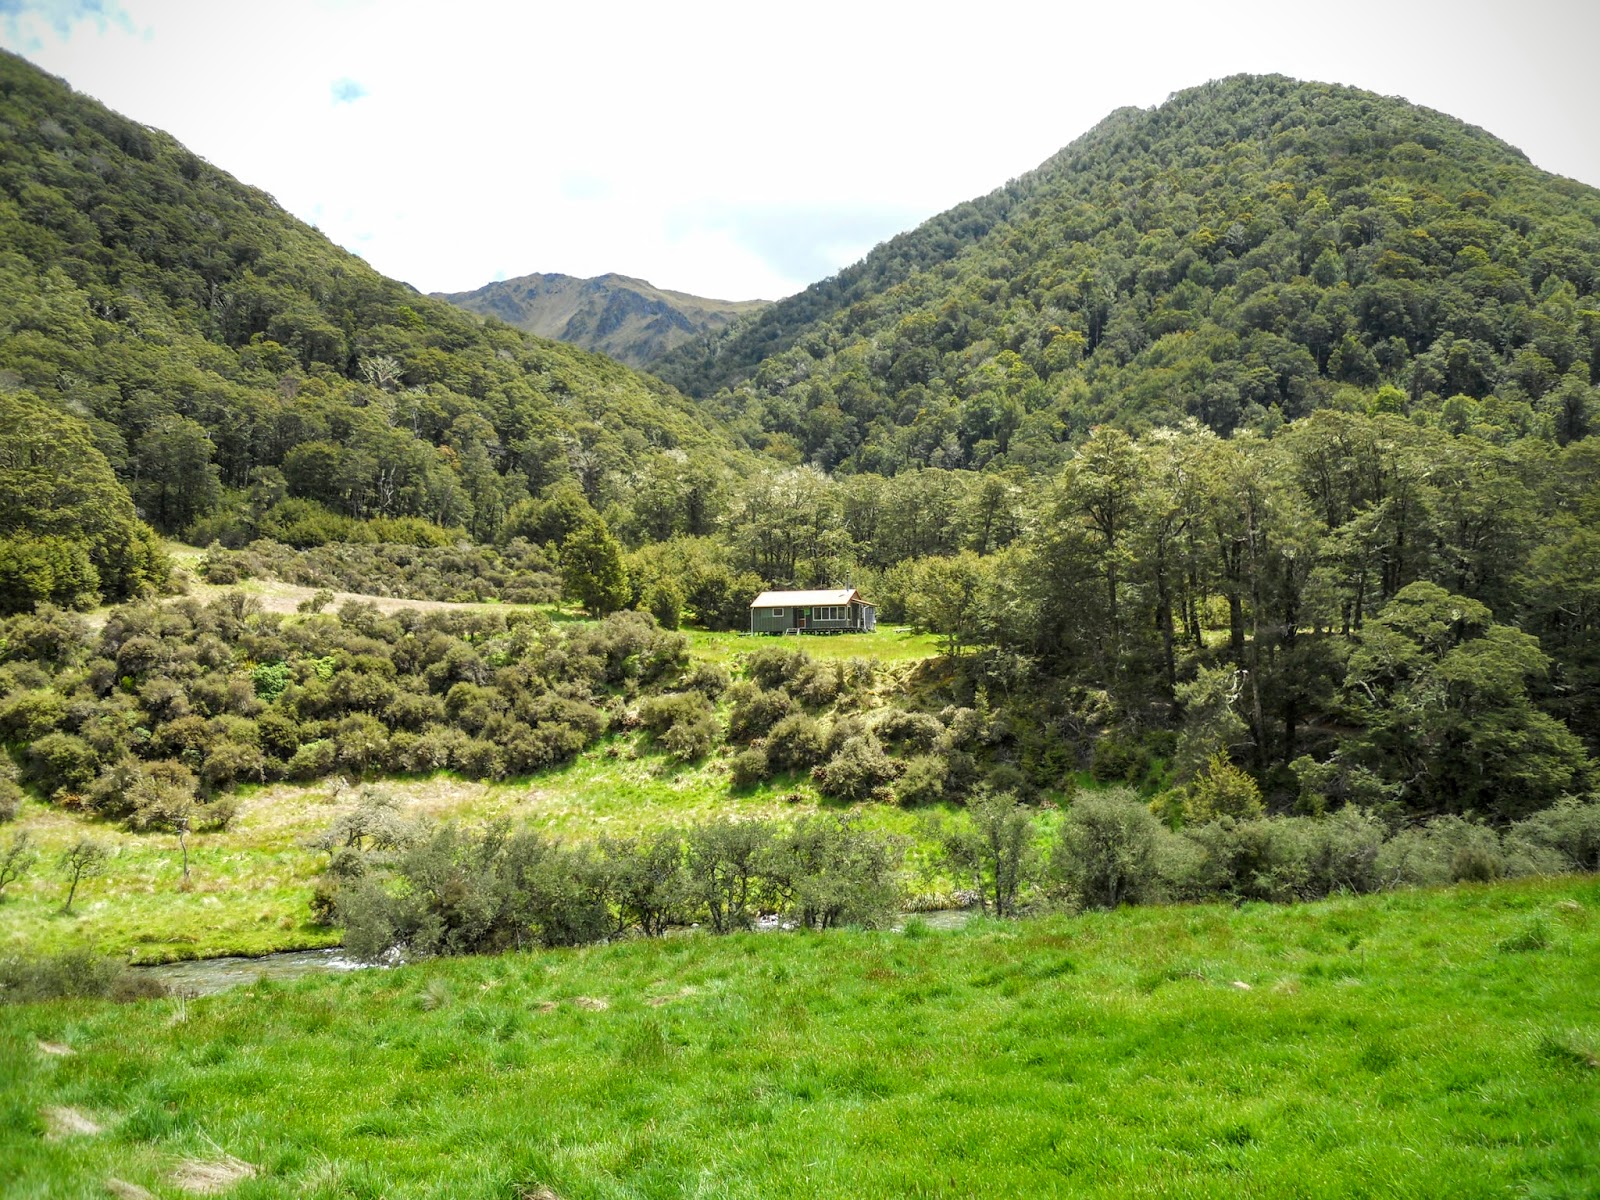
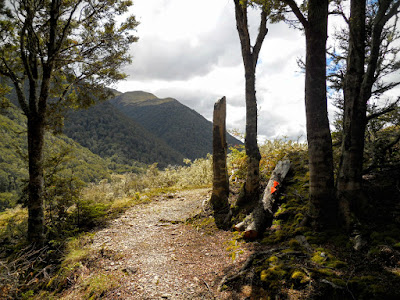
Eventually you make it to the apex of the climb, from here you have an excellent view north of the Upper Boyle Valley. The hut is visible about a kilometre away on the true right of the river.
 |
| Apex of climb into Upper Boyle Valley, Boyle Flats |
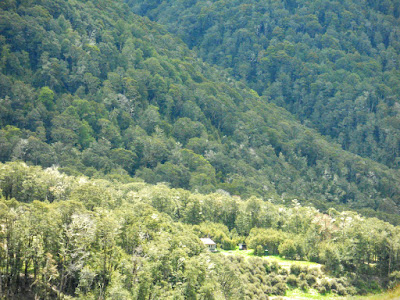 |
| Boyle Flat Hut from the apex on the St James Walkway |
 |
| Boyle Flats: view north towards Libretto Range, Anne Pass |
A short 15 minute walk across the meadow like terraces will see you at the swing bridge over to the hut. There is a DOC track sign showing times to the next sections of the walkway: Rokeby Hut is 1 hour away and Anne Hut is another 6 hours distant.
Notice they mention the Boyle Flat Hut turn off on the sign. Some people probably walk right past the turn off as it is not clear where the track and swing bridge are leading.
 |
| Boyle Flat Hut, Libretto Range in Background |
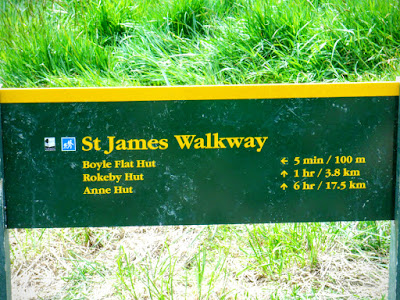 |
| DOC track sign at Boyle Hut swing bridge |
 |
| Swing bridge to Boyle Flat Hut: not obvious |
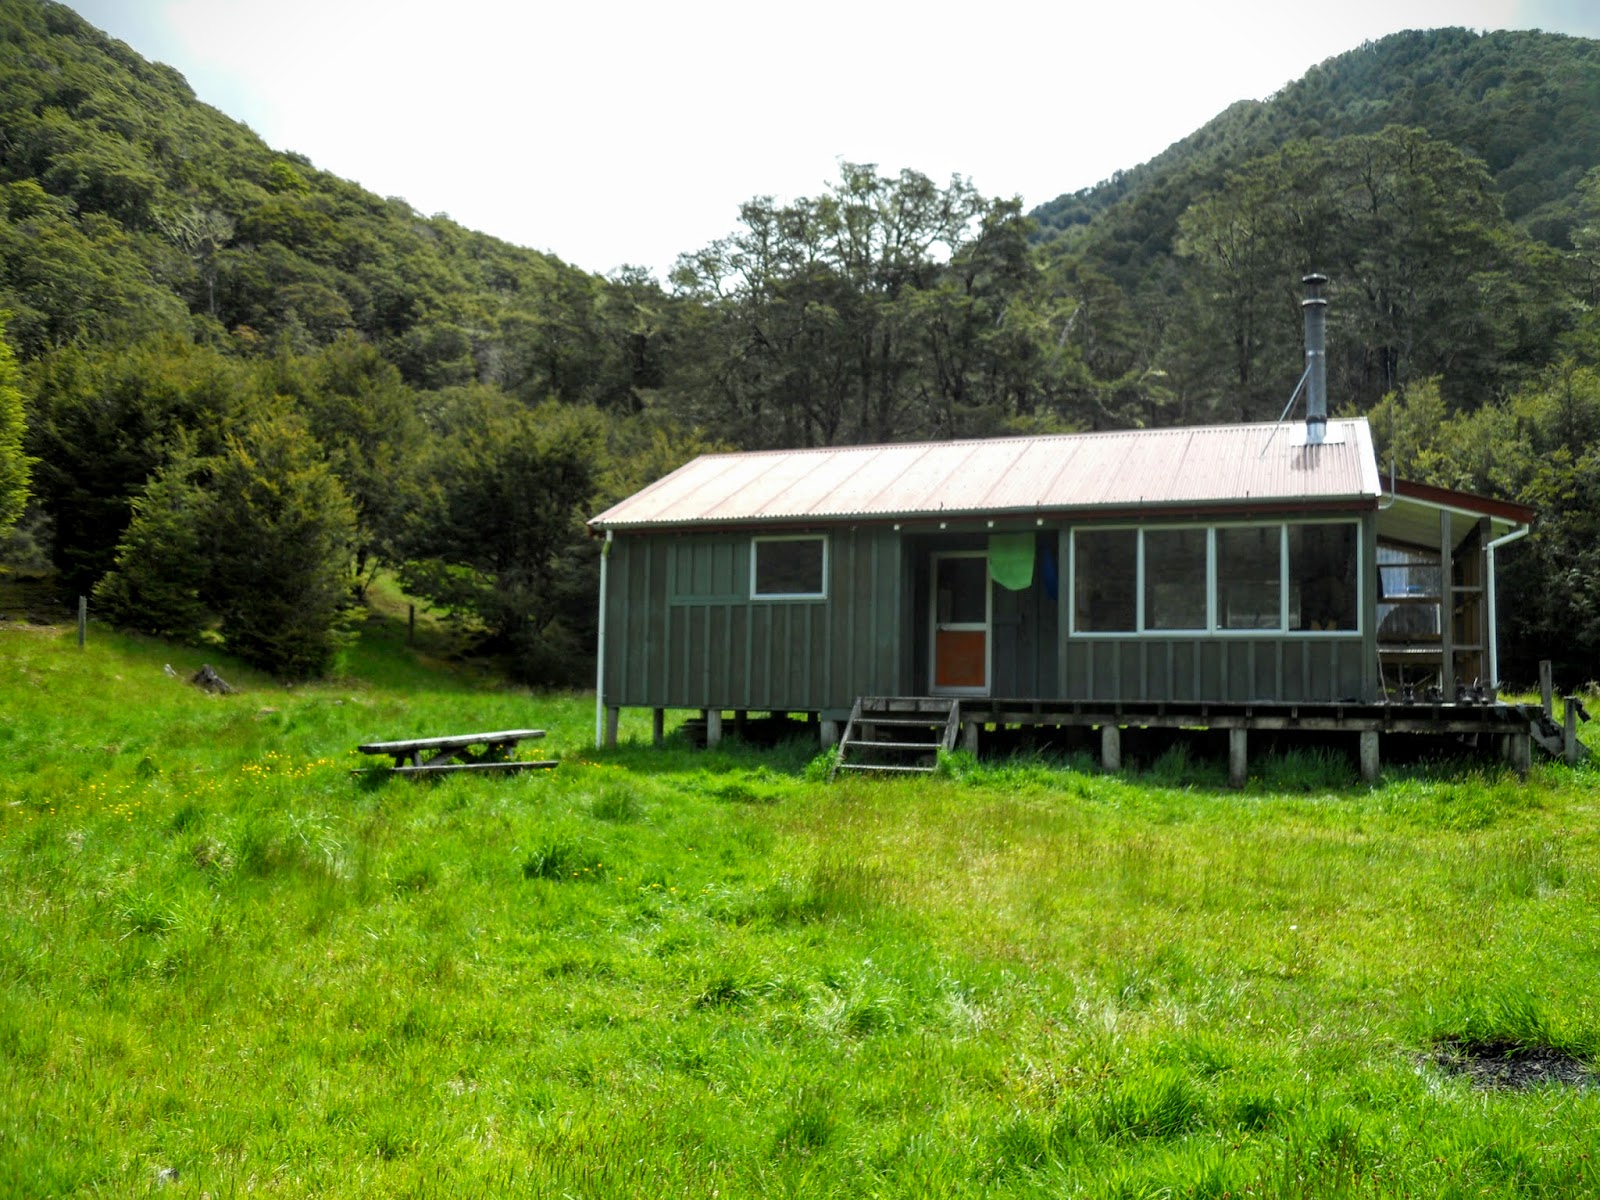
Boyle Flat Hut was built in 1981 as part of the redevelopment of some existing herding tracks into a walkway. It is in excellent condition and is located on a very nice river terrace on the true right of the Boyle River. Lots of sun and warm even in winter time.
It has the usual amenities and bunk space for 20 people. It is the last hut on the main route of the St James Walkway- this is usually the last overnight stay for people walking the 3-5 day track.
 |
| Boyle Flat Hut (1981) |
There is a large central dining/cooking/relaxation area with two 10 bunk rooms off to the side. Plenty of space in here for several large groups, on the night there were only three of us.
 |
| Boyle Flat Hut: Interior, view of bunk room |
As you can see the hut is very nice, heavy on the wood motif popular with the Walkways Commission who built the hut way back when. I shared the hut with a German couple Heewes and Susanah, who were excellent company. They were on the last tramp of a year long OE to New Zealand, having set out from Lake Rotoroa 7 days previously.
On the last day I walked out to the car with them and gave them a ride back to Christchurch. Its always good to help out fellow trampers and it doesn't do the country any harm being helpful to tourists either.
 |
| Boyle Flat Hut: Interior, the dining area and fire box |
DOC have recently been up to the hut to do a bit of maintenance, a coat of paint on the outside and new varnish on the interior woodwork.
 |
| Boyle Flat Hut: Interior, the gun rack and benches |
Here is an interesting carving that you find in all of the older huts on the St James, obviously put in when the walkway first opened. There are similar carvings at Cannibal Creek Hut and Christopher Hut. Nice workmanship!
 |
| Boyle Flat Hut, carved map of St James Walkway |
 |
| Boyle Flat Hut: Interior, the other bunk room |
It is a well appointed hut with plenty of tables, a small selection of books and magazines and a very nice bay type window with cushions. Those of you that do a bit of tramping will know, the standard wooden benches in the huts are hard, so a bit of padding is well appreciated.
 |
| Boyle Flat Hut on its extensive flat area |
There is plenty of space for tents around the hut, it would be easy to set up 20-30 on the immediate river terrace. Also some nice spots tucked into the forest edge nearby, it is a very good spot for a hut.
 |
| View south from Boyle Flat Hut |
2017 Update: The spring feeding water into the hut water tank was dry the last time I visited in 2016. Instead you should get your water from the stream 25 metres to the north of the hut. This water will be a lot cleaner than the main Boyle River, as there are cattle in the Upper Boyle Valley.
 |
| No name stream behind Boyle Flat Hut is water source |
We passed a very quiet evening, there were several red deer bellowing on the flats across the river as dusk approached. I thought we might have more company but being so close to Christmas people are probably waiting for the holidays.
 |
| No name stream behind Boyle Flat Hut: get water here! |
Day two: With two to Boyle Village
Early the next morning I set out with Heewes and Susanah for the road
end, it was good to tramp with some company for a change, although being
very fit 20 something's they set a blistering pace. They had started
out on their tramp 8 days previously at Lake Rotoroa in Nelson Lakes NP.
 |
| Opera Range from Boyle Flat Hut |
 |
| Last view of Upper Boyle Valley, dawn on Saturday |
The guide books will recommend that you walk the St James in a clockwise direction as it takes advantage of the generally downhill nature of the land going that direction.I can certainly see what they mean, it is so much easier to walk down the big incline than up it!
 |
| St James Walkway...heading back to the swing bridge |
 |
| St James Walkway: on way to Boyle Village |
 |
| Boyle River from just above the gorge |
The middle reaches of the Boyle are very attractive, nice deep pools, shear bluffs and thick forest.
 |
| Boyle River from below the gorge |
 |
| St James Walkway from near 2nd swing bridge |
The last big uphill slog on the way to the road end, once past this point it is mostly gentle sidles for the rest of the way out.
 |
| Climbing a spur on the St James Walkway |
 |
| Beautiful sunshine on the St James Walkway |
Looking fresher than I felt after walking for 3 and a half hours!
 |
| Jon on the St James Walkway |
We were basically racing the weather from this point on as there was a storm brewing over the Western side of the valley, luckily we managed to get to the car just before it began to hose with rain.
 |
| Cattle flats on the St James walkway |
Here is a view of my German companions zipping around a corner of the track, we basically took turns leading for most of the last 2 hours walking out.
 |
| St James Walkway, descending spur near second swing bridge |
We passed one three person group on the track who were on their way to
my favourite hut, Magdalen. They were carrying fishing gear although I
would be surprised if they caught anything in the pelting rain.
 |
| Back over the Boyle River swing Bridge |
Another good trip and the first one this year without snow, appreciated for a change. I really like the Lewis Pass area, it is by far my favourite tramping location in the Canterbury region.
On SH7 (Lewis Pass Highway), turn off at Boyle Village, follow southern half of St James Walkway to hut
Track Times: 3 hours to Magdalen Hut: 4 hours to Boyle Flat Hut, 5 hours to Roxeby Hut
Hut Details: Magdalen Hut: standard, 6 bunks, wood burner, water tank, wood shed, toilets: Boyle Flat Hut: serviced, 20 bunks, wood burner, water from stream, wood shed, toilets: Roxeby Hut: basic, 4 canvas bunks, open fire place, water from stream, dog house
Miscellaneous: The spring feed water tank at Boyle Flat was not working on my last visit (2016) so water comes from the stream behind the hut